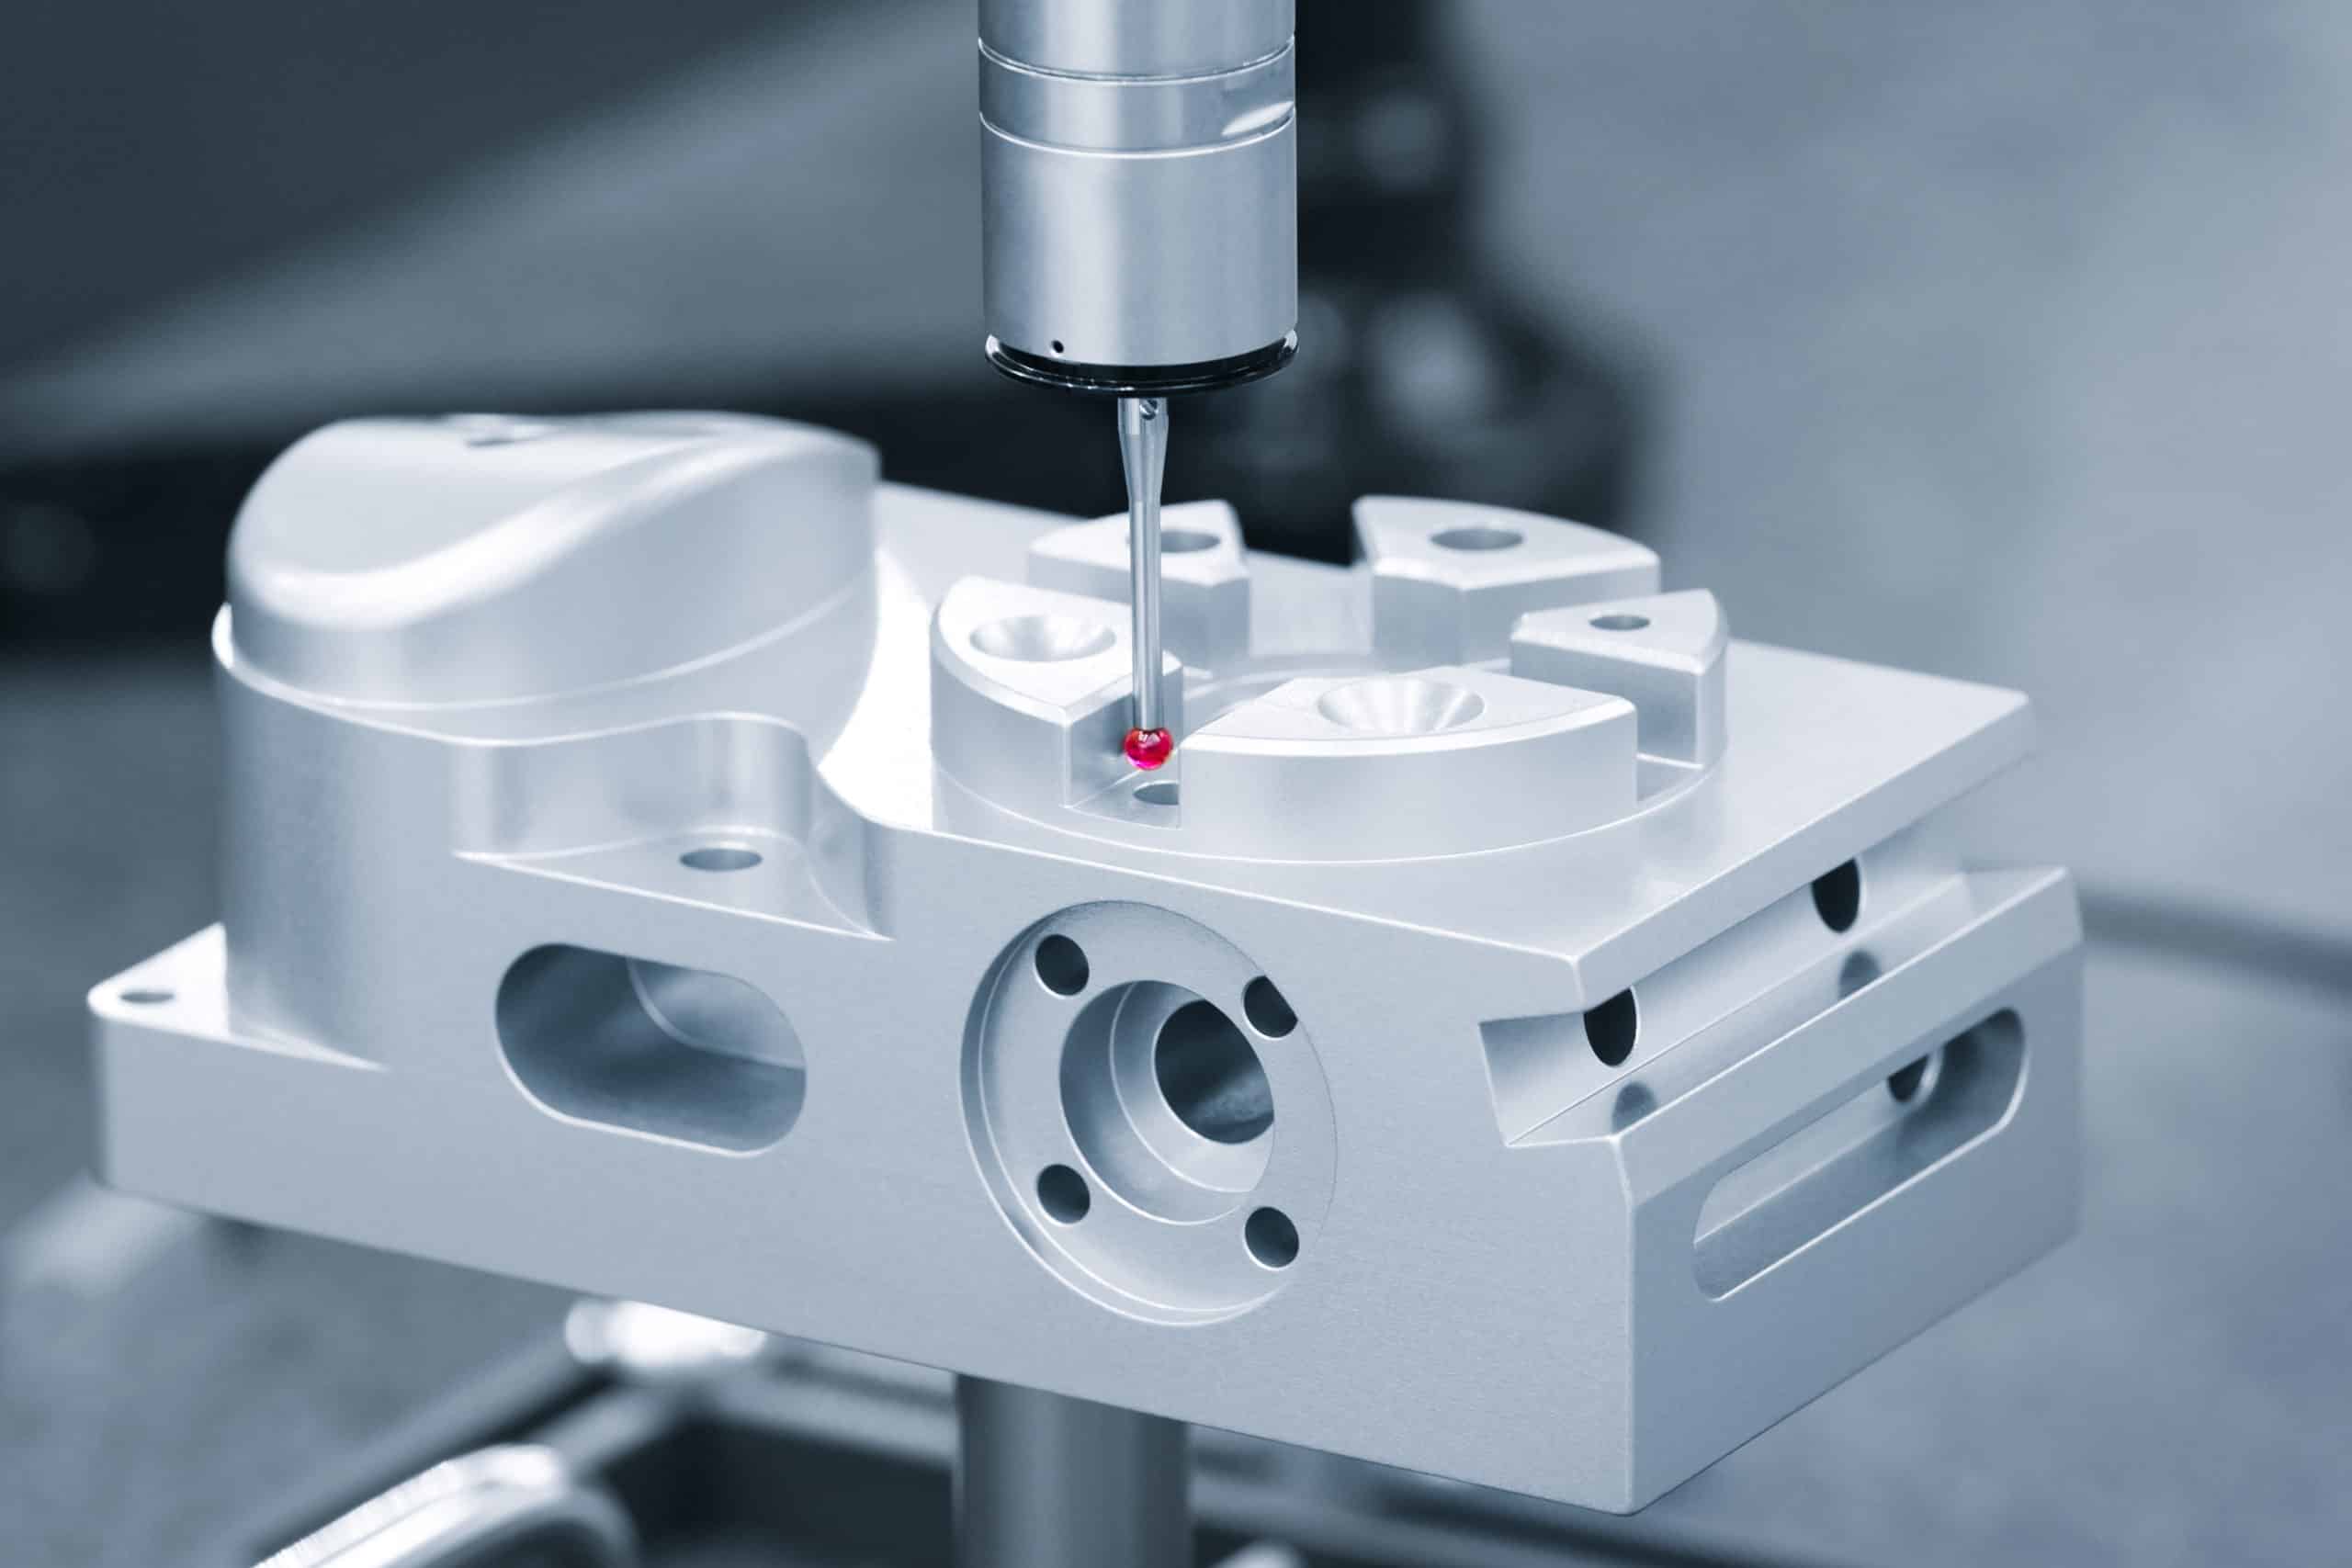
Reducing CNC machining costs without sacrificing precision requires strategic design decisions, not quality compromises. With experience manufacturing precision components for aerospace, medical, and audio applications, targeted design modifications typically reduce CNC costs by 25-40%.
Nine proven strategies help product developers cut expenses through smarter tolerance allocation, geometry optimization, and feature simplification. These approaches focus on design decisions you control during CAD work.
Learn which design changes save the most cost and when tight specs are worth it—based on real-world CNC production insights.
Table of Contents
Which Features in My Design Actually Require Precision Assembly?
Features controlling part-to-part fit, sealing, or mechanical alignment require ±0.01mm precision, while clearance features and cosmetic surfaces function properly with ±0.05mm standard tolerances. Precision assembly features include bearing seats, seal grooves, threaded engagement surfaces, and mating interfaces where parts must align correctly.
During design reviews with engineering teams, we evaluate CAD files using a simple decision framework: “Does this dimension directly control how parts fit together?” Bearing bores housing rotating shafts typically need ±0.005mm control. Seal grooves preventing fluid leakage require ±0.01mm precision. Standard mounting holes for M6 fasteners function perfectly at ±0.1mm.
Feature-specific tolerance guide:
Feature Type Typical Tolerance Reason
Bearing seats ±0.005 mm Rotating fit control
Seal grooves ±0.01 mm Fluid containment
Threaded holes (tapped) ±0.05 mm Thread engagement
Clearance holes (bolts) ±0.1 mm Fastener clearance
Mounting holes ±0.2 mm Assembly clearance
Mating surfaces ±0.02 mm Part alignment
External edges ±0.1 mm General machining
Cable/wire openings ±0.5 mm Routing clearance
The cost difference justifies this evaluation. Specifying ±0.01mm instead of ±0.05mm typically doubles machining cost per feature. We’ve helped product teams reduce prototype expenses 35% by applying precision tolerances only to assembly-critical features while using ISO 2768-m standard tolerances elsewhere.
Design Takeaway: Review each feature in your CAD file against this table. Reserve tight tolerances for assembly-critical features and apply standard tolerances to clearance and cosmetic features.
Is my surface finish specification stricter than necessary?
Most product developers specify surface finishes 2-3 times smoother than functionally required. Ra 0.8 µm finishes cost 40-60% more than Ra 3.2 µm but rarely improve performance for non-contact surfaces. Matching finish requirements to actual surface function – sealing, appearance, or structural – prevents unnecessary cost escalation.
During design consultations, we help teams evaluate each surface’s actual role in the product. Quick evaluation: Does this surface touch another part? Is it visible to users? Does it need to seal? Most internal mounting surfaces, hidden structural areas, and non-contact features accept standard machined finishes without affecting performance.
Surface finish decision guide:
Surface Type Finish Needed (Ra) Cost Impact
Seal grooves (O-rings) 0.8 µm 2x base cost
Visible cosmetic surfaces 1.6 µm 1.5x base cost
Mating surfaces (static contact) 3.2 µm Base cost
Internal mounting surfaces 6.3 µm 0.8x base cost
Hidden structural surfaces 6.3 µm 0.8x base cost
Common scenarios from our design reviews: Audio equipment faceplates need Ra 1.6 µm for appearance quality. Internal mounting brackets accept Ra 6.3 µm standard machining. Medical device seal interfaces require Ra 0.8 µm for O-ring performance. Non-contact internal features work perfectly with standard finishes.
We’ve helped product teams reduce costs 25% by applying this evaluation. The key insight: smooth finishes only add value where they affect function or appearance. Everywhere else, they’re expensive decoration.
Design Takeaway: Go through each surface in your CAD file and ask: “Will users see this? Does it touch/seal against something?” Reserve fine finishes for yes answers, use standard machining everywhere else.
Would reducing part thickness still meet load and strength requirements?
Many product developers default to conservative thickness without considering actual load requirements, often adding 30-50% unnecessary material and machining cost. Simple load evaluation reveals where thickness serves a purpose versus where it’s just “playing it safe.” Most housings, brackets, and panels can be optimized without complex analysis.
During design reviews, we help teams think through their part’s actual job. What forces will this part see? Its own weight? User handling? Mounting loads? Most electronics housings experience minimal stress beyond supporting their own components. Many mounting brackets carry predictable static loads that don’t require massive thickness.
Thickness guidelines for common applications:
Application Type Aluminum Thickness (mm) Steel Thickness (mm) Load Basis
Handheld device housing 1.5 – 2.5 1.5 – 2.0 Self-weight + handling
Desktop equipment chassis 2.5 – 4.0 2.0 – 3.0 Component support
Light-duty brackets 3.0 – 5.0 2.5 – 4.0 Static mounting loads
Structural mounting 5.0 – 8.0 4.0 – 6.0 Dynamic / impact loads
Real examples from our consultations: Medical device housings reduced from 5mm to 3mm aluminum saved 35% machining cost with adequate strength for portable use. Audio amplifier chassis optimized from 6mm to 4mm maintained rigidity while reducing weight and expense.
We’ve seen teams achieve 25-40% cost reductions by matching thickness to application rather than defaulting to “thick enough.” The approach: consider what could reasonably break your part, then size accordingly.
Design Takeaway: Ask yourself: “What’s the worst load case this part will see?” Size thickness for that scenario plus reasonable safety margin, not for imaginary extreme conditions.
Would adding radii instead of sharp corners cut machining time?
Sharp internal corners require specialized machining methods, often increasing cycle time 50-100% compared to radiused corners that standard end mills can create in single passes. Most internal corners in housings, brackets, and structural parts function identically with small radii but machine much more efficiently with standard tooling.
During design consultations, we help teams evaluate which corners actually need to be sharp for function versus which are just CAD defaults. Simple evaluation: Is this an internal corner in a pocket or slot? Does the sharp corner affect how parts fit together? Most internal features like mounting pockets, lightening holes, and wire routing slots work perfectly with 1-2mm radii.
Quick corner evaluation guide:
Corner Location Can Usually Add Radius? Typical Radius (mm)
Internal pockets/slots Yes 1 – 3
Wire routing channels Yes 2 – 5
Mounting bracket corners Yes 1 – 2
Part-to-part mating edges Check fit requirements 0.5 – 1
Sealing surface corners Usually no Keep sharp
External cosmetic corners Depends on design intent 0.5 – 2
Real examples from our design reviews: Electronics housing internal pockets changed from sharp to 2mm radius reduced machining complexity with no functional impact. Medical device wire routing slots optimized to 3mm radius eliminated specialized tooling. Audio equipment mounting brackets redesigned with 1.5mm internal radii maintained fit while improving machinability.
Common corner types to evaluate: Look for internal corners in mounting pockets, component clearance areas, cable routing features, and structural cutouts. These typically accept radii without affecting assembly or function.
Design Takeaway: Go through your CAD file and identify internal corners in pockets, slots, and cutouts. Ask: “Does this corner affect part fit or assembly?” If not, add 1-3mm radius to improve machinability.
Can I make features symmetric to reduce alignment and inspection work?
Symmetric part designs reduce setup complexity and inspection time by 30-40% compared to asymmetric layouts that require precise angular positioning and multiple measurement points. When features mirror across centerlines, machinists can use simpler fixturing and reduce the number of inspection points needed to verify part accuracy. Symmetric designs also eliminate orientation errors during setup.
During design consultations, we help teams identify asymmetric features that don’t serve a functional purpose. Start by finding your part’s natural centerlines – usually through the center of the main body or along mounting axes. Then compare what’s on each side and ask whether the differences are necessary for assembly, connectors, or component placement.
Step-by-step symmetry audit:
- Draw centerlines on your part – horizontal and vertical through the main body
- List features on each side – holes, slots, cutouts, mounting points
- Check functional necessity – Does asymmetry serve assembly/connector requirements?
- Identify conversion opportunities – Which features could mirror without issues?
Common asymmetry sources and solutions:
Asymmetric Feature Why It Exists Symmetry Opportunity
Random ventilation holes Design preference High – airflow rarely affected
Scattered mounting points Component-driven layout Medium – group where possible
Mixed connector positions Interface requirements Low – usually position-critical
Uneven structural ribs Stress assumptions High – symmetric often stronger
Offset cable routing Wiring convenience Medium – plan routing symmetrically
Electronics housing with random ventilation changed to symmetric grid pattern, reducing setup complexity. Medical device housing moved non-critical mounting holes to symmetric positions while keeping connector locations fixed. Audio chassis redesigned internal ribs symmetrically, maintaining strength while simplifying machining.
Even when connectors force some asymmetry, mounting features, ventilation, and structural elements often have flexibility for symmetric arrangement. Focus on features that don’t directly interface with other components.
Design Takeaway: Draw centerlines on your CAD model and compare each side. Ask: “Could these mounting holes/ribs/cutouts be mirrored without affecting assembly?” Start with structural and ventilation features – they usually offer the most symmetry flexibility.
Can I standardize hole sizes and other features to reduce setup changes?
Using consistent hole sizes and feature dimensions across your part eliminates tool changes and reduces setup complexity, typically cutting machining time 15-25%. When your design uses multiple similar hole sizes (like 6.2mm, 6.5mm, and 6.8mm), standardizing to one size often has minimal functional impact but significantly improves manufacturing efficiency.
During design reviews, we help teams systematically audit their features for standardization opportunities. Start by listing all hole sizes, thread types, and pocket dimensions in your design. Look for clusters of similar sizes that could be unified. Small dimensional differences often don’t affect function but create unnecessary tooling complexity.
Step-by-step standardization audit:
- List all holes by function: Clearance holes, tapped holes, counterbores, pins
- Group similar sizes: 6.2mm, 6.5mm, 6.8mm → all become 6.5mm
- Check functional impact: Does larger clearance hole affect fit?
- Standardize within groups: Use same thread pitch throughout
- Review pocket/feature depths: Can 2.8mm and 3.2mm both become 3mm?
Common standardization wins from our consultations: Medical device housing changed five different clearance holes (6.1mm, 6.3mm, 6.5mm, 6.7mm, 7.0mm) to single 6.5mm size with no assembly issues. Audio amplifier used M5 threading throughout instead of mixing M4 and M5. Aerospace bracket unified all mounting holes to 8.5mm standard size.
Feature types to standardize: Focus on clearance holes for fasteners, tapped hole threads, counterbore diameters, and pocket depths. These often have flexibility for slight size adjustments without affecting function.
Design Takeaway: Create a feature list from your CAD file showing all hole sizes and dimensions. Circle clusters of similar sizes and ask: “Can these all become the same size?” Start with clearance holes and non-critical features first.
Can I remove or combine unique features without affecting function?
Eliminating unnecessary features or combining similar ones reduces machining operations and setup requirements, typically cutting production time 20-35%. Each unique feature requires specific tooling, programming, and inspection procedures. Many features exist from design habits, previous project copying, or “might be useful” thinking rather than actual functional requirements.
During design reviews, we help teams challenge every feature’s existence. The most revealing question: “If I delete this feature completely, what actually breaks?” Often the answer is “nothing critical.” Follow-up question: “Can I combine this with a nearby similar feature?” Many small holes can become slots, separate pockets can connect, and individual features can merge into continuous ones.
Feature elimination by product type:
Product Type Common Unnecessary Features Combination Opportunities
Electronics housings Decorative holes, excess mounting points Combine multiple ventilation holes into larger slots
Mounting brackets Lightening pockets, custom shapes Merge separate cutouts into one continuous slot
Equipment panels Individual access holes, aesthetic cutouts Replace small openings with a larger access panel
Structural supports Over-designed ribs, redundant holes Combine multiple thin ribs into fewer thicker ribs
Systematic feature review process: Start with decorative elements and convenience features – these rarely affect core function. Then examine features copied from previous projects or added “just in case.” Finally, look for clusters of similar features that could combine into single larger features.
Electronics housing eliminated 8 decorative ventilation holes and 4 unnecessary mounting points, reducing operations by 45%. Medical device combined 3 separate wire routing pockets into single channel, cutting setup time. Audio equipment replaced 6 individual lightening holes with 2 continuous slots, maintaining weight reduction while simplifying manufacturing.
Focus on features that seem to serve convenience rather than necessity. Ask yourself: “Did I add this because I needed it, or because it seemed like good practice?” Often the honest answer reveals elimination opportunities.
Design Takeaway: Go through your CAD file feature by feature and ask: “Delete this – what breaks?” If nothing critical breaks, eliminate it. For remaining features, ask: “Can this merge with nearby similar features?” Prioritize decorative and convenience features for removal first.
Would simplifying assembly features still keep required precision?
Many assembly features are over-engineered with unnecessary precision that adds 25-40% to machining costs without improving fit or function. Most assembly connections only need to hold parts together reliably, not achieve precision fits. Evaluating whether your assembly features actually require tight tolerances reveals significant cost reduction opportunities.
During design consultations, we help teams audit assembly features by asking: “Does this feature need precision positioning, or does it just need to hold parts together?” Most snap fits, tabs, and alignment features work equally well with looser tolerances and simpler geometry when the goal is retention rather than precision assembly.
Assembly feature audit method: Go through each connection and identify its actual job. Does this tab position parts precisely, or just prevent separation? Most assembly features fall into “retention only” category that accepts significant simplification.
Simplification tests for common features:
- Snap fits: Can simple over-sized snap work instead of complex geometry?
- Alignment tabs: Does loose fit + screw work better than tight fitting?
- Mating surfaces: Can gasket compensate for surface variation?
- Registration pins: Will loose fit + retention work instead of press fit?
Electronics housing replaced complex curved snap tabs with simple rectangular ones, reducing machining complexity 40%. Medical device changed tight-fitting alignment pins to loose pins with retaining screws, cutting costs 30%. Assembly workers prefer features with tolerance for variation rather than parts requiring perfect alignment.
Design Takeaway: Review each assembly connection and ask: “Does this need precision positioning or just retention?” Test whether simpler geometry with looser fits can achieve the same assembly result.
Is there a lower-cost material that still meets performance needs?
Material choices often exceed actual performance requirements, with premium grades adding 30-60% to costs without meaningful benefit for typical applications. Many designers choose high-performance grades “to be safe” rather than matching material properties to specific application demands.
During design consultations, we help teams evaluate actual performance requirements against material capabilities. Start by listing what your part experiences: How much force? What temperature? Indoor or outdoor use? Then match these requirements to material properties rather than defaulting to premium grades.
Material requirements assessment: Look at your application honestly. Electronics housings rarely need aerospace-grade materials. Indoor equipment doesn’t require marine-grade corrosion resistance. Most applications have more modest requirements than initial material selections suggest.
Current Material Lower-Cost Alternative Key Considerations When to Use Lower-Cost Alternative
7075-T6 Aluminum 6061-T6 Aluminum Strength tradeoff; better corrosion and machinability with 6061 If max strength not strictly needed or corrosion is a concern
316 Stainless Steel 304 Stainless Steel Lower corrosion resistance with 304; cost savings Environments with moderate corrosion; budget limited
Tool Steels 1018 or 4140 Steel Lower wear resistance but cheaper Less critical wear applications or structural components
Titanium 7075 Aluminum 3x cost of 7075; excellent strength-to-weight ratio If weight savings are crucial and budget allows
Medical device housing switched from 7075 to 6061 aluminum, saving 35% while meeting structural loads. Audio chassis changed from 316 to 304 stainless, reducing costs 25% with adequate indoor corrosion resistance.
Design Takeaway: List your part’s actual operating conditions and compare against standard material grades first. Ask: “What’s the least expensive material that meets these specific requirements?”
Conclusion
Smart cost reduction in CNC machining comes from strategic design decisions during CAD work, not quality compromises. Evaluating tolerances, materials, geometry, and features systematically can reduce manufacturing costs 25-40% while maintaining required precision and functionality.
Contact us to explore manufacturing solutions tailored to your product requirements.
Frequently Asked Questions
Quick test: If your tolerance is tighter than ±0.05mm, ask “Does this dimension affect part fit, sealing, or moving contact?” If the answer is no, you can likely relax to ±0.05mm or looser. Features like clearance holes, external edges, and non-contact surfaces rarely need precision beyond standard machining tolerances.
Tolerance relaxation and material changes are easily reversible in CAD and documentation. Geometry changes (removing features, changing shapes) are harder to reverse. Start with tolerance and material optimization first – these provide significant savings with minimal risk.
Tolerance relaxation takes 2-4 hours of CAD review and typically saves 20-30%. Material changes require 1-2 hours of specification updates and save 15-25%. Geometry optimization needs 8-15 hours of redesign work but can save 30-40%. Start with tolerances for fastest impact.
Each tolerance step looser (±0.01mm to ±0.02mm) typically reduces costs 15-25%. Material downgrades save 20-40% in material costs. Geometry simplification saves 20-35% in machining time. Use these ranges to estimate total savings potential before detailed redesign work.
Material changes within the same family (6061 to 7075 aluminum, 304 to 316 stainless) typically don’t require requalification. Different material families may need testing validation. Check with your quality team before finalizing material swaps, especially for regulated industries like medical or aerospace.
Engage your customer’s engineering team with specific proposals: “Can we relax non-critical dimensions to ±0.05mm while maintaining ±0.01mm on functional features?” Most customers approve relaxation on non-critical features when presented with cost savings and maintained functionality.
