What Should Product Developers Know About CNC Accuracy?
When designing CNC parts, accuracy is one of the biggest unknowns. Product developers often wonder: Will my tolerance hold? Do materials or thin walls cause problems? How do I avoid costly over-specification? This post tackles those questions head-on, so you can design with confidence and avoid common pitfalls.
Most CNC machining processes can maintain ±0.05 mm on standard features, while tight setups and stable materials allow ±0.01 mm or better. Accuracy is influenced by geometry, material stability, and inspection standards such as ISO 2768-m or GD&T for critical features.
Explore how tolerances interact with materials and finishes, spot design errors that hurt accuracy, and learn to balance precision with cost efficiency.
Table of Contents
Can CNC machining hold my required tolerances?
Yes, CNC machining can reliably hold ±0.05 mm on most features, with ±0.01 mm or tighter achievable on critical dimensions. The challenge isn’t feasibility — it’s deciding where tight tolerances are worth the added cost and inspection time.
Here’s how tolerance levels typically affect feasibility and cost:
Tolerance band Typical feasibility Cost impact When justified
±0.05 mm Standard on metals Low Cosmetic edges, general geometry
±0.02 mm Achievable with stable setup Medium Mating features, alignment zones
±0.01 mm High precision setup, climate control High Bearing bores, sealing faces
< ±0.01 mm Special processes only Very high Only if failure cost outweighs machining
In our experience, over-tolerancing is one of the most common design mistakes. Calling ±0.01 mm on every hole of a bracket, for example, can double inspection time with no real assembly benefit. Similarly, demanding ±0.01 mm flatness on a 200 mm plate often fails due to thermal drift, even under stable conditions.
Design Takeaway: Use ±0.05 mm as your default unless the feature directly affects fit or sealing. Tighten tolerances only where functional failure would cost more than machining. This selective approach ensures accuracy where it matters without inflating cost or lead time.
Does material choice affect machining accuracy?
Yes — material stability is one of the biggest factors in whether your tolerance can be held. Metals like aluminum and stainless generally support ±0.01–0.05 mm accuracy. Plastics, however, are more sensitive to heat and stress release: Delrin or POM often drift ±0.05–0.10 mm after machining, even if cut perfectly. The machine can hold the number — the material just won’t stay there.
This difference shows up clearly when developers apply “metal tolerances” to polymer designs. For example, an aluminum bore specified at ±0.01 mm will assemble fine. Translate that same spec to Delrin, and the part may shrink or swell enough to jam once installed. We’ve seen housings that passed inspection at the machine but went out of spec after 24 hours due to internal stress relaxation.
The cost impact comes from unnecessary rework and failed assemblies. Tight specs on unstable materials lead to scrap, while loose specs can leave too much play.
Design Takeaway: Match tolerances to the material’s natural behavior. Metals can support precision fits; plastics often require clearance allowances or design tweaks. This prevents chasing tolerances the material itself cannot reliably maintain.
Do thin walls or deep pockets reduce accuracy?
Yes — both are accuracy killers if tolerances are applied without thought. Thin walls deflect under tool pressure, meaning they often “spring back” after machining. Deep pockets limit tool rigidity, which creates chatter and uneven floors. Even the best equipment cannot overcome these physical realities without design support.
We once machined a medical housing with 1 mm walls and a ±0.02 mm flatness callout. In fixturing, the part measured fine, but when unclamped, the walls flexed and exceeded tolerance. Similarly, a 40 mm deep pocket with a 6 mm end mill produced visible tool marks — not because the operator erred, but because the tool-to-depth ratio pushed stability limits.
Developers often try to tighten specs to “force accuracy,” but that only drives up cost. Adding 0.5 mm wall thickness or breaking a pocket into stepped features usually solves the problem faster and cheaper.
Design Takeaway: Treat thin walls and deep pockets as red-flag features. Increase thickness, shorten depth, or relax tolerances to reduce scrap. If tight specs are unavoidable, expect cost to rise from special tooling and multiple inspection cycles.
Ready to get your parts?
Will part size or geometry limit accuracy?
Yes — the bigger or more complex the part, the harder it is to hold tight tolerances everywhere. Thermal expansion, machine travel, and fixturing distortion compound with size. A ±0.01 mm spec may be feasible on a 20 mm bore, but not across a 400 mm plate.
We’ve seen this in aerospace panels where developers tried to apply ±0.01 mm flatness across 300 mm spans. Even with climate control and careful fixturing, the part would “move” a few hundredths simply due to its own weight and stress release. The result wasn’t poor machining — it was unrealistic tolerancing.
Complex geometry introduces similar risks. Long, thin arms may twist slightly under cutting forces, while asymmetric shapes distort during stress relief. Chasing tight tolerances across every feature of such parts quickly multiplies cost and inspection time.
For context, practical tolerances often scale like this:
- Small features (<20 mm): ±0.01 mm achievable
- Mid-sized parts (≤100 mm): ±0.02–0.05 mm practical
- Large parts (>300 mm): ±0.1–0.2 mm realistic without special setups
Design Takeaway: Scale tolerance expectations with part size and geometry. Reserve ultra-tight callouts for critical features, and avoid global specs that ignore distortion risks.
Do tight surface finish specs affect accuracy?
Yes — tight surface finish specs directly affect both accuracy and cost. A Ra 3.2 µm finish is common for general CNC machining, but demanding Ra ≤0.8 µm often requires slower feeds, smaller stepovers, or secondary polishing. These added steps can slightly alter dimensions, meaning the tighter the finish, the more it may impact tolerance consistency.
We’ve seen this trade-off in practice. On medical housings, sealing faces required Ra 0.8 µm, which we achieved with fine finishing passes and profilometer verification. But the entire enclosure wasn’t held to that level — only the sealing areas. In contrast, an audio faceplate specified at Ra ≤0.8 µm across every surface doubled machining time and cost, with no functional gain.
Here’s a quick guide to finishes and their implications:
Ra Value (µm) Typical Use Cost Impact Notes
3.2–6.3 Standard machining Low Industrial, cosmetic edges
1.6–3.2 Functional fits Medium Bearings, moving parts
0.8–1.6 Sealing or medical High Requires fine finishing
≤0.4 Optical/aesthetic Very high Polishing, grinding
Design Takeaway: Apply fine finishes only where they directly affect sealing, motion, or aesthetics. For other surfaces, standard Ra 3.2 µm is sufficient. This selective approach keeps tolerances consistent while avoiding unnecessary cost.
Do I need GD&T for critical features?
Yes — GD&T is the most reliable way to show which features truly control function. A blanket ±0.05 mm tolerance across a drawing doesn’t communicate priorities. GD&T lets you focus accuracy on datums, bores, or sealing faces, while leaving non-critical edges to standard ISO 2768-m.
In one project, a shaft bore was initially called out at ±0.01 mm, with the same spec applied everywhere else. Inspection took hours, chasing numbers that didn’t matter. After revising with GD&T — true position for the bore, flatness for the sealing face — the drawing was clearer, machining easier, and inspection time cut by 30%.
Before vs After:
- Before: Blanket ±0.01 mm → cost ↑, inspection ↑, function unchanged.
- After: GD&T on bore position/flatness → cost ↓ 20–30%, faster approvals.
Developers sometimes avoid GD&T because it feels complex. But used selectively, it reduces ambiguity and prevents suppliers from either over-inspecting or over-charging for unnecessary tightness.
Design Takeaway: Use GD&T on features that define fit, alignment, or sealing. Keep the rest under general tolerance. This ensures your design intent is honored without inflating machining or QA costs.
Should I allow tolerance ranges instead of tight specs?
Yes — using tolerance ranges is one of the simplest ways to cut cost while keeping function intact. A drawing with ±0.02 mm everywhere forces a shop to treat every feature as critical. By assigning tolerance bands, you guide accuracy where it matters most and relax it where it doesn’t.
In aerospace, we supported a panel originally toleranced at ±0.02 mm across 200+ features. Machining and inspection costs were high. After revising with tiered ranges, machining time dropped by 25% and inspection reports were streamlined to just the critical datums.
Here’s a model for tiering tolerances:
Feature Type Suggested Range Purpose
Critical fits/bores ±0.01 mm Assembly, sealing
Functional geometry ±0.05 mm Structural alignment
Cosmetic features ±0.2 mm Appearance only
Another consumer product enclosure was designed with “±0.01 mm everywhere.” After revision, only the mating bores stayed at ±0.01 mm, cosmetic faces loosened to ±0.2 mm, and total lead time was halved.
Design Takeaway: Tier your tolerances. Apply the tightest only where failure impacts function, and loosen the rest. This not only saves cost but also communicates design intent clearly to machinists and inspectors.
Need your parts within 2 days? We've got 2 days lead time
What inspection methods confirm machining accuracy?
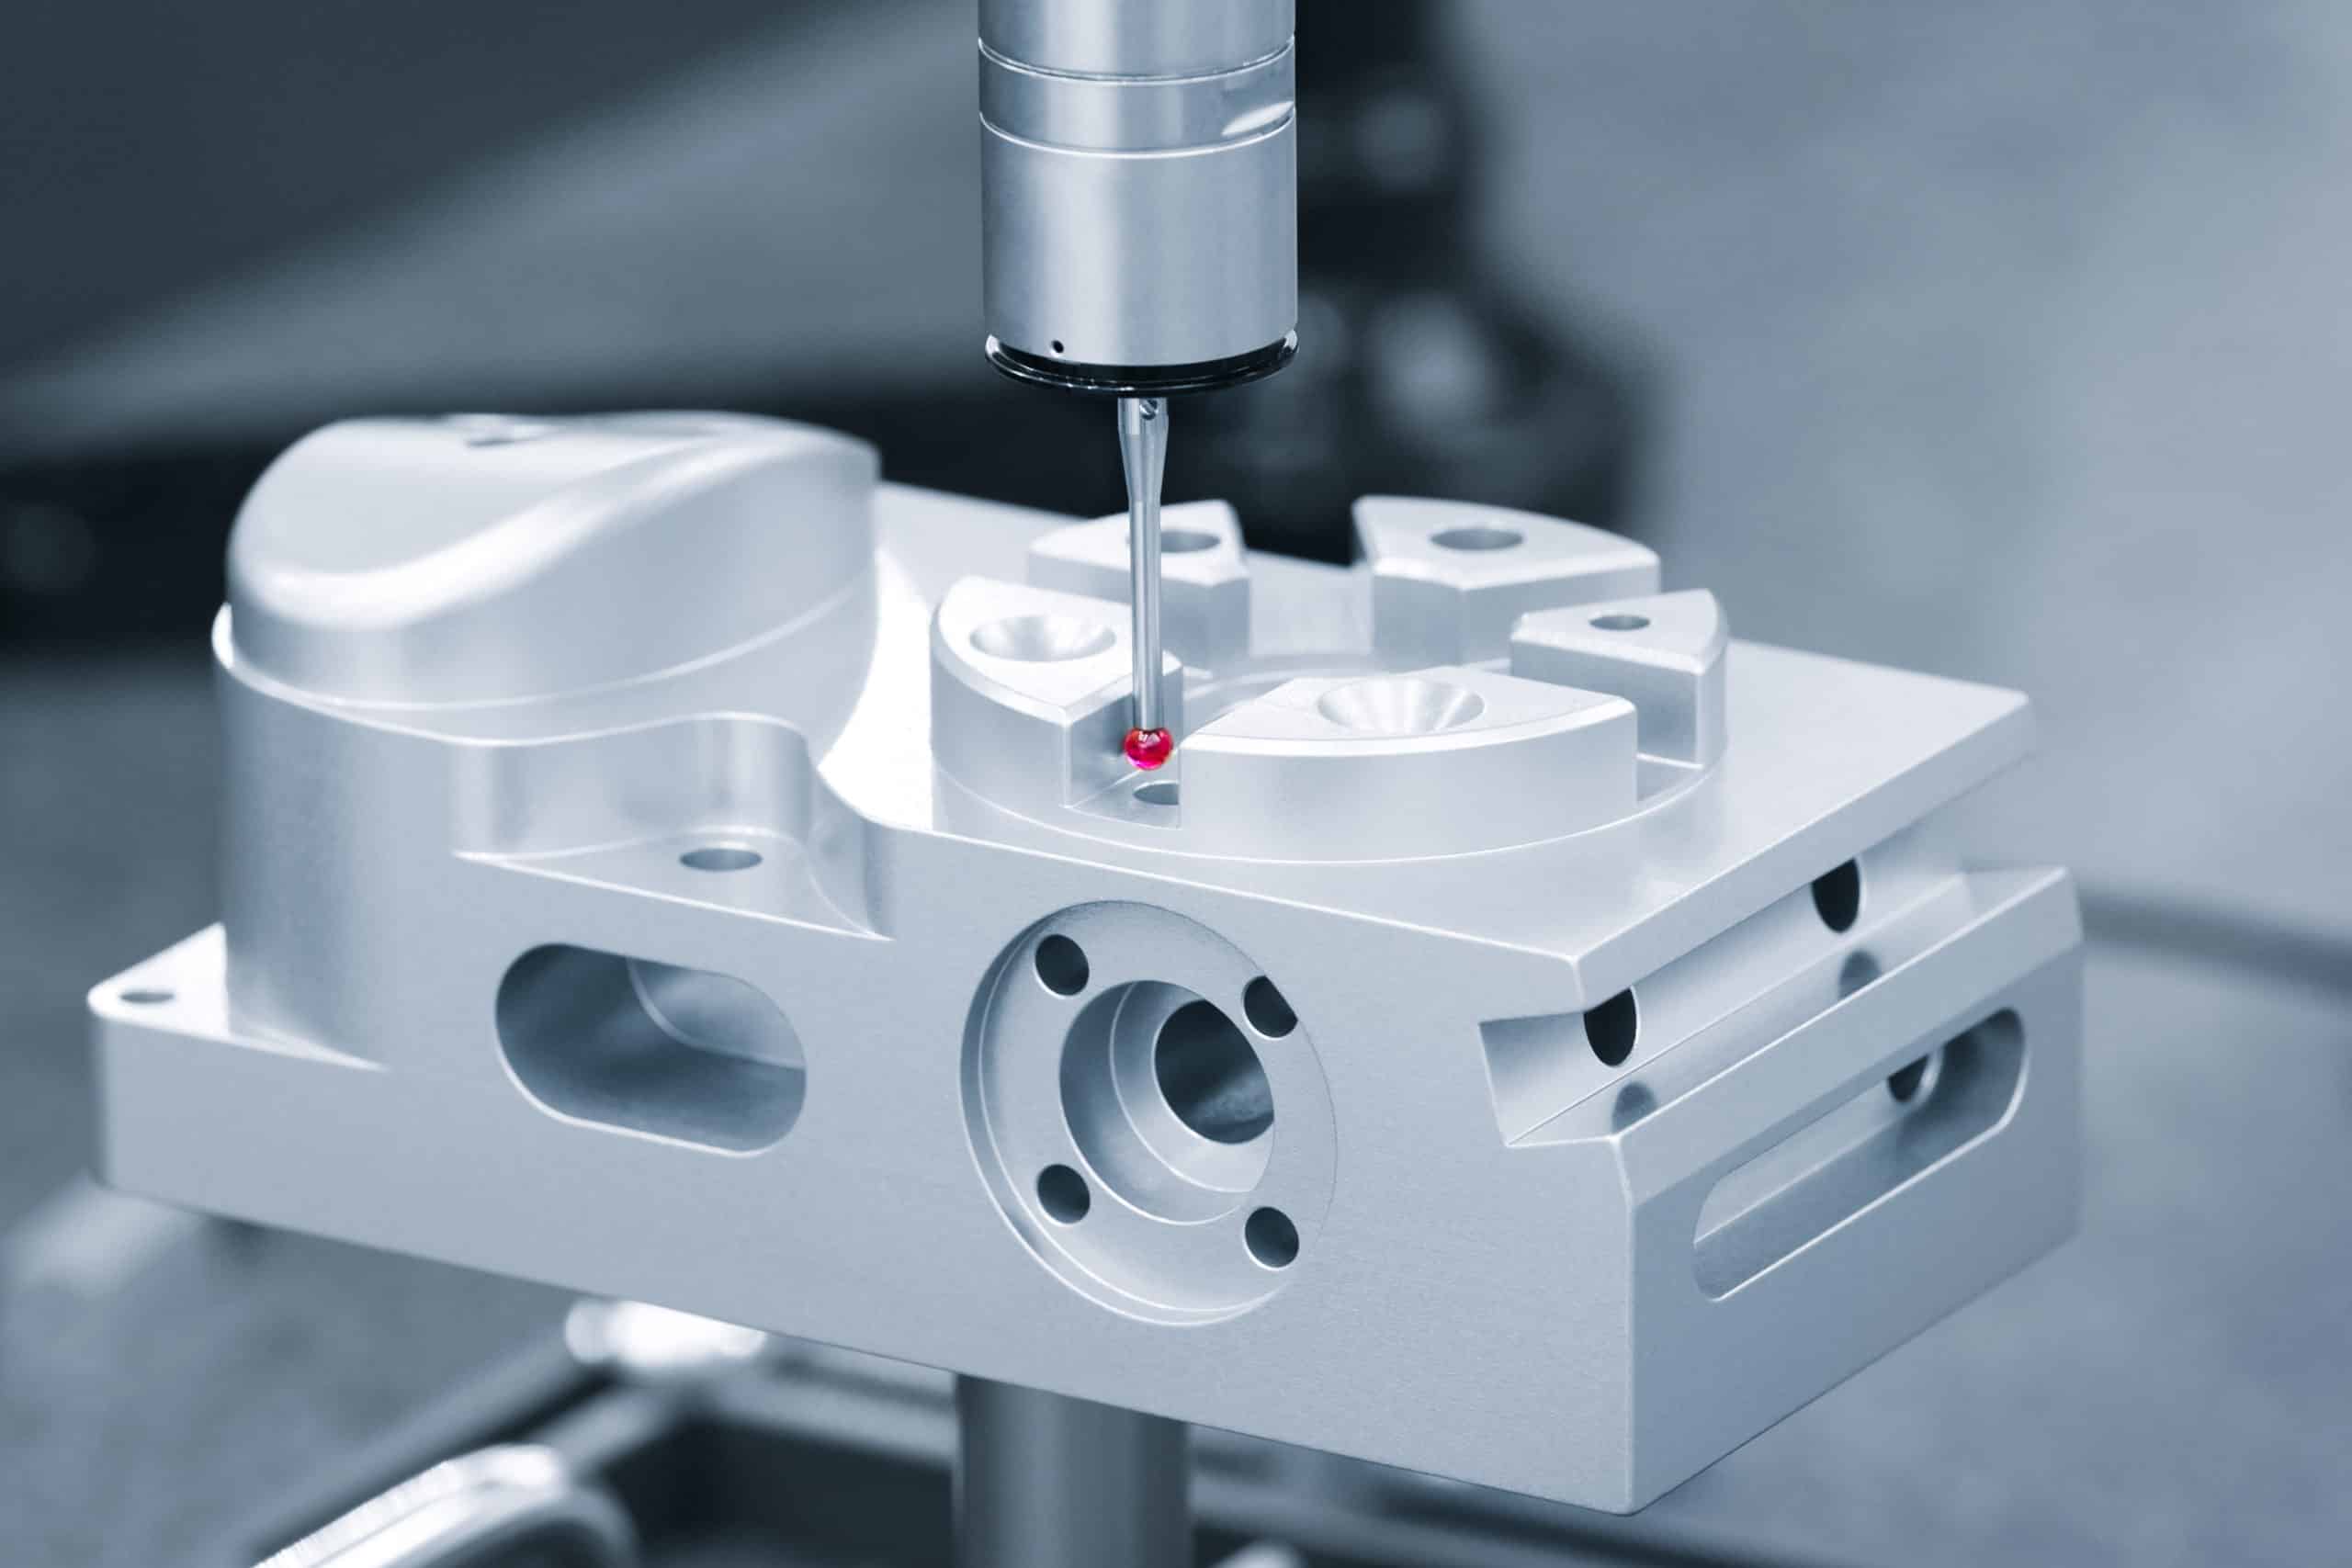
Inspection methods are what prove whether your part meets tolerance — and different methods give different levels of certainty. A Mitutoyo CMM (coordinate measuring machine) can measure critical features to ±0.005 mm, while simpler tools like calipers are only reliable to ±0.02 mm. Choosing the right method depends on both the tolerance band and the function of the feature.
For example, when validating ±0.01 mm bores on aerospace housings, we rely on CMM inspection with documented reports, since handheld gauges wouldn’t give repeatable results. In contrast, checking ±0.05 mm edge dimensions on brackets may only require micrometers, which are faster and less costly. Optical comparators and profilometers are used where surface profile or Ra finish must be verified, such as on medical sealing faces.
Method Typical Resolution Best For
Calipers ±0.02 mm General dimensions
Micrometers ±0.01 mm Shafts, small features
CMM ±0.005 mm Bores, datums, GD&T features
Profilometer ±0.001 mm (Ra) Surface finish validation
Design Takeaway: Match inspection method to tolerance level. If your spec is tighter than the tool’s capability, it won’t be verified consistently. Always call out inspection requirements on drawings for features that are function-critical — this avoids both supplier confusion and unnecessary QA cost.
What design mistakes cause accuracy problems?
The biggest accuracy issues often come from design oversights, not machine limitations. Common mistakes include over-tolerancing, leaving thin unsupported walls, adding deep pockets without relief, and calling out blanket specs that don’t match the function of the part.
One recurring issue we see is “drawing drift” — where engineers copy tolerances across parts without considering geometry. A ±0.01 mm spec on a 200 mm plate is unrealistic and drives cost. Similarly, cosmetic faces often get unnecessarily tight callouts, which doubles inspection time. Another mistake is ignoring how features interact: tight tolerance on one bore but no positional control on its mating hole leads to misalignment during assembly.
From experience, fixing these mistakes usually saves more than it costs. Increasing wall thickness from 1 mm to 1.5 mm eliminated vibration scrap on a medical housing. Adding reliefs to a deep pocket cut chatter and reduced cycle time by 30%. Removing tight specs from cosmetic edges halved inspection load on an audio enclosure.
Design Takeaway: Audit your drawings for “hidden traps” — thin features, blanket tolerances, cosmetic tightness, and missing positional controls. Correcting these before machining prevents accuracy problems and keeps cost under control.
How do I balance accuracy with cost?
The key to balancing accuracy and cost is applying precision only where it matters. Every extra decimal place adds machining time, inspection steps, and scrap risk. For most CNC parts, ±0.05 mm is sufficient; ±0.01 mm should be reserved for features that control assembly, sealing, or motion.
In practice, cost rises sharply when tolerances dip below ±0.02 mm. Holding ±0.01 mm may require climate-controlled machining, custom fixturing, and 100% CMM inspection. These safeguards are justified for aerospace datums or medical seals, but not for cosmetic faces or general housings. On one aerospace project, moving from ±0.02 mm to ±0.01 mm across the whole part increased machining time by 40% and doubled inspection cost — with no performance gain.
Tolerance Band Relative Cost Impact When Justified
±0.05 mm Low General features
±0.02 mm Medium Mating geometry
±0.01 mm High Critical assemblies
< ±0.01 mm Very high Only for function-critical parts
Design Takeaway: Balance specs by asking: Will failure at this feature cost more than machining it tighter? Apply high accuracy only to those features. Everything else should be set at standard levels to avoid wasted cost.
Conclusion
Balancing accuracy with cost comes down to applying precision only where it matters. We help product developers avoid costly over-specification while ensuring functional reliability. Contact us to explore manufacturing solutions tailored to your CNC accuracy requirements.
Frequently Asked Questions
Temperature changes can shift measurements by microns. A 200 mm aluminum part can expand or contract ~0.005 mm with just a 10 °C difference. For tolerances tighter than ±0.01 mm, machining and inspection should be done in climate-controlled conditions.
Yes. Surface treatments like anodizing or plating add thickness that alters dimensions. For example, clear anodizing may add 0.005–0.015 mm per surface. Always clarify if your tolerances apply before or after finishing to avoid mismatched specs.
Inspection reports document whether critical dimensions were achieved. Basic reports may include caliper checks, while aerospace or medical parts often require CMM data with FAIRs. Ask what level of reporting is included — it affects both supplier cost and your compliance readiness.
Use GD&T or clear callouts to highlight features that control fit or sealing. Without this, machinists may treat every feature as equally important, raising cost and inspection time. Clear priority ensures resources are focused where accuracy truly matters.
Yes. Early prototypes usually run looser (±0.05 mm) to validate form, fit, and assembly. Once critical features are confirmed, production tolerances can be tightened selectively. Matching tolerance levels to the project stage reduces cost and speeds iteration.
Accuracy is how close a feature comes to the target spec; repeatability is how consistently multiple parts hit that spec. A process may achieve ±0.01 mm once, but if repeatability is poor, assemblies fail. Always confirm both accuracy and process stability with your supplier.
