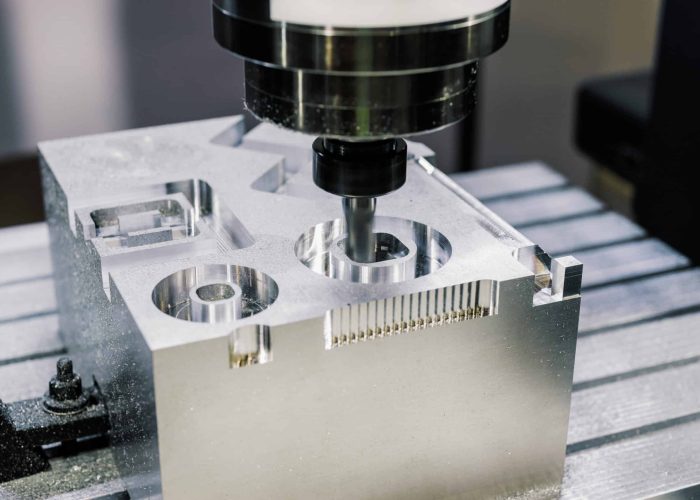
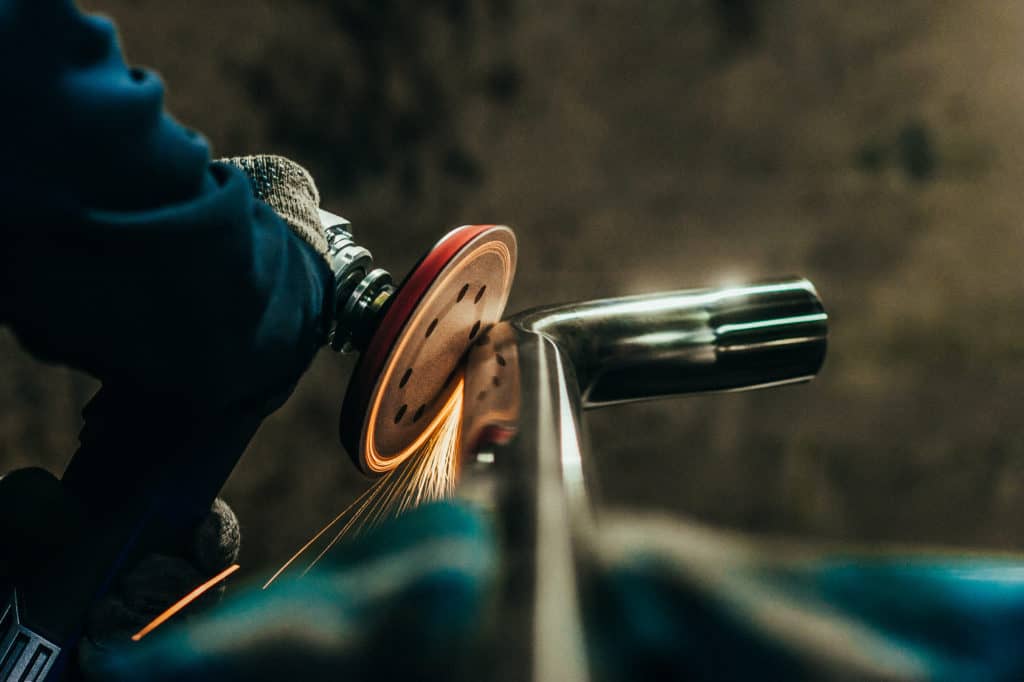
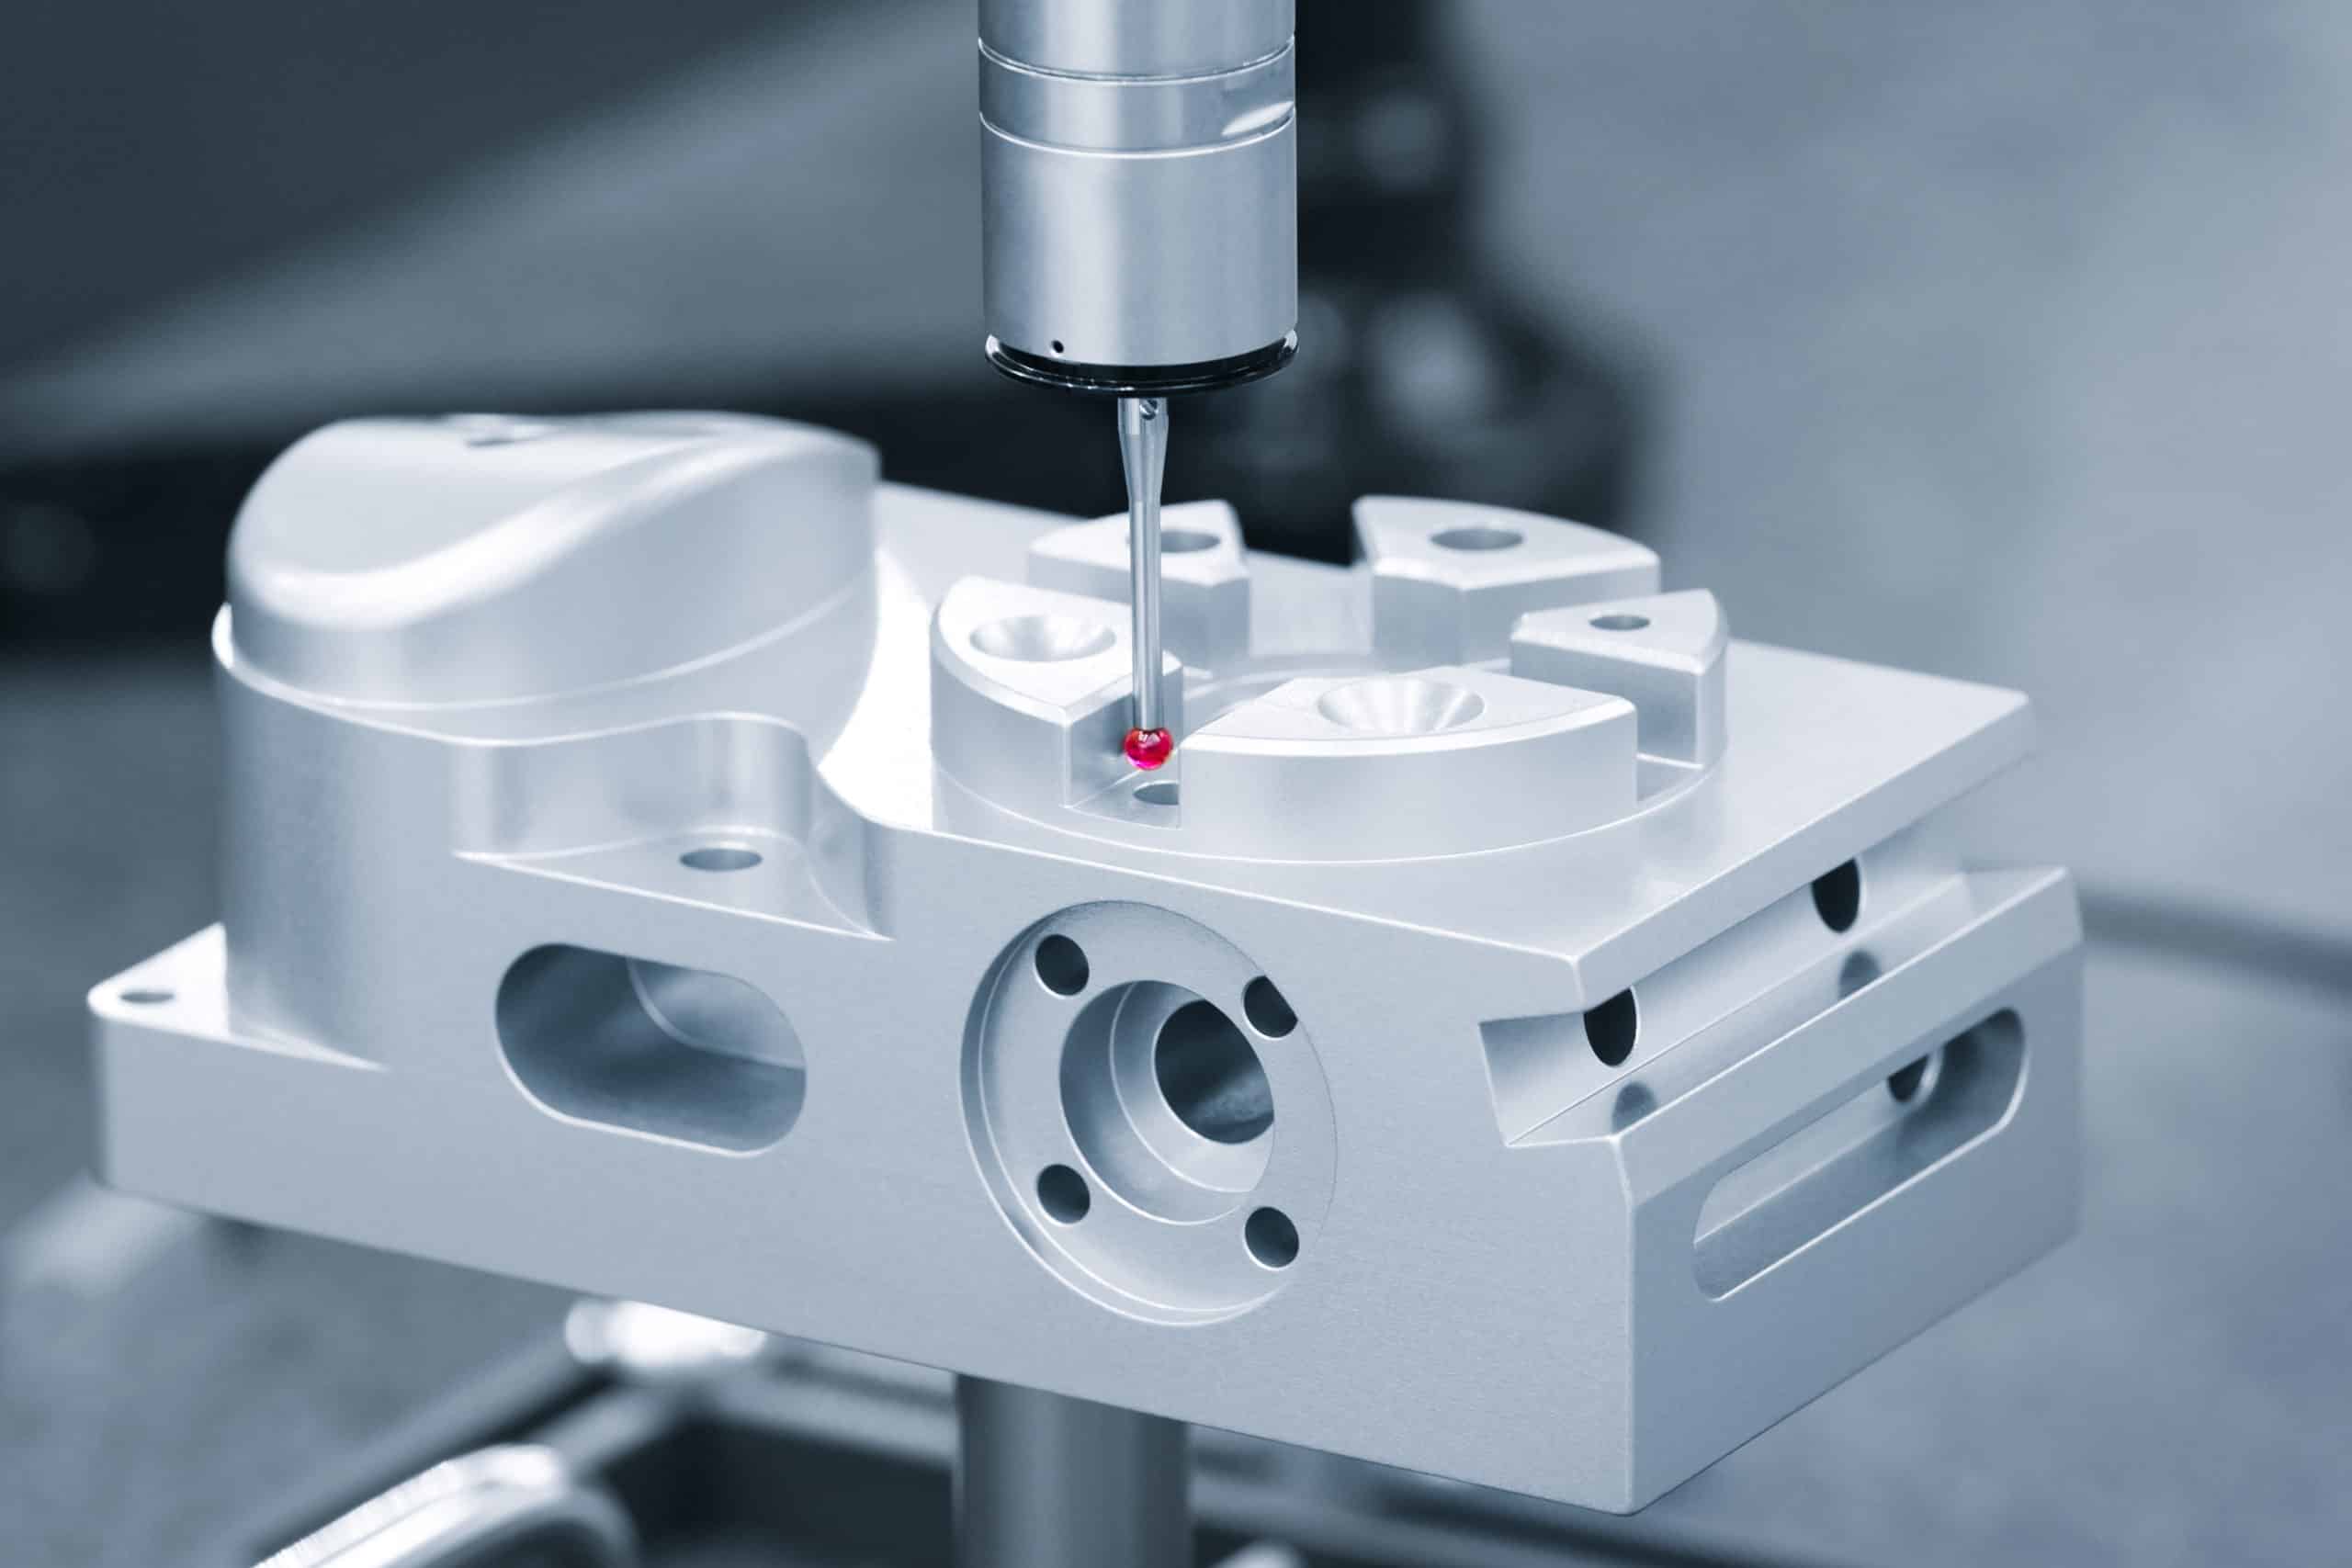
Deformation during CNC machining can turn precision parts into expensive scrap. At Okdor, we’ve machined over 10,000 aluminum and titanium components for aerospace and medical applications, where ±0.01 mm tolerances are critical. This post shares proven deformation prevention strategies from our production floor.
Preventing CNC machining deformation requires controlling material stress, workholding forces, cutting parameters, and thermal expansion. Most deformation occurs from excessive cutting forces, heat buildup above 100°C, or poor clamping that introduces stress concentrations.
Discover proven techniques for holding tight tolerances, avoiding warping with smart fixturing, and machining thin-walled parts accurately.
Table of Contents
Why Do Parts Warp During CNC Machining?
Parts warp during CNC machining primarily due to residual stress release, excessive cutting forces, and thermal expansion from heat buildup. Aluminum and thin-walled components are particularly susceptible because of their lower stiffness and high thermal expansion coefficients.
Main deformation causes:
- Residual stress release – Internal stresses redistribute when material is removed
- Excessive cutting forces – High machining loads bend thin or flexible parts
- Thermal expansion – Cutting temperatures above 100°C cause distortion
Residual stress release creates unpredictable warping in our aerospace machining experience. When material is removed, previously balanced internal stresses become uneven, causing parts to bend or twist. We’ve measured dimensional changes up to 0.5 mm in 6061-T6 aluminum extrusions after machining. Pre-stressed materials like extruded profiles are especially prone to this mechanism.
Cutting forces cause deflection when parts lack sufficient rigidity to resist machining loads. At Okdor, we see deflection issues when aluminum wall thickness drops below 2 mm or when height-to-thickness ratios exceed 10:1. Aggressive parameters or dull tools increase these problematic forces.
Thermal expansion becomes critical with aluminum’s 23 μm/m°C expansion coefficient. We monitor cutting temperatures and use flood coolant to maintain workpiece temperatures below 80°C for tight-tolerance features, preventing thermal distortion.
Design Takeaway: Design wall thickness above 1.5 mm when possible and reserve ±0.01 mm tolerances for functional features only. For thin sections, specify stress-relief heat treatment before machining.
How to Design Parts That Don't Deform?
Design deformation-resistant parts by keeping walls thicker than 1.5 mm, adding ribs for support, and choosing stable materials like 7075 aluminum over softer alloys. Good design decisions during the CAD phase prevent most warping issues before parts ever reach the machine, saving time and avoiding costly redesigns.
Key design strategies:
- Maintain wall thickness – Minimum 1.5 mm for aluminum, 2.5 mm for plastics
- Add structural ribs – 3-5 mm ribs every 25-50 mm increase rigidity
- Choose stable materials – 7075 aluminum over 6061 for better dimensional stability
- Plan symmetrical cuts – Balance material removal to prevent stress concentration
Most warping problems start with thin walls that can’t handle machining forces. At Okdor, we recommend a minimum 1.5 mm wall thickness for aluminum parts and 2.5 mm for plastics. When height exceeds 10 times the wall thickness, parts become increasingly likely to bend during cutting. If thin walls are unavoidable for weight or function, add temporary support material that can be removed after machining.
Adding ribs and supports dramatically improves part stability without much extra material. Small 3-5 mm ribs spaced every 25-50 mm can triple a part’s resistance to bending. Think of ribs like structural beams in a building – they carry loads that thin walls cannot handle alone. Design ribs with rounded corners and slight draft angles to make them easier to machine.
Material choice affects how much parts move during machining. 7075 aluminum stays more stable than 6061 because it has higher strength and less internal stress. For parts with large pockets or heavy material removal, we specify stress-relief heat treatment between rough and finish operations to prevent surprise movement.
Design Takeaway: Prioritize thick walls over tight tolerances – a 2 mm wall holding ±0.05 mm is much easier to machine than a 1 mm wall needing ±0.01 mm. Add ribs early in design and plan material removal to stay balanced.
What Clamping Methods Prevent Part Warping?
Prevent clamping warping by using vacuum fixtures for thin parts, soft jaws for odd shapes, and positioning clamps close to cutting areas. The right workholding spreads forces evenly while providing solid support exactly where cutting happens.
Effective clamping methods:
- Vacuum fixtures – Spread pressure evenly across thin part surfaces
- Soft jaws – Conform to complex shapes without pressure points
- Strategic positioning – Place clamps within 25-50 mm of cutting zones
- Multiple contact points – Use several small clamps vs. one large clamp
Vacuum fixtures work best for thin, flat parts because they spread holding pressure across the entire surface instead of squeezing at a few points. At Okdor, we use vacuum tables for aluminum sheets under 3 mm thick, maintaining flatness within ±0.02 mm throughout machining. Standard vacuum pressure of 0.8-0.9 bar provides plenty of holding force without bending the part.
Soft jaws conform to part shapes without creating pressure points that cause local bending. We machine custom aluminum soft jaws for production runs, ensuring parts sit the same way every time with even pressure distribution. Soft materials provide gentle pressure while securing thin materials, preventing damage through vibrations .
Clamp positioning makes a huge difference in part stability. Place clamps within 25-50 mm of where you’re cutting to provide maximum rigidity where forces are highest. The clamping point should be positioned as close to the cutting surface as possible to avoid deformation. Avoid clamping thin sections that will flex under pressure.
Design Takeaway: Include thick tabs or flanges specifically for clamping when designing parts – areas that can take holding forces without affecting critical dimensions. This makes fixturing easier and more reliable during production.
Thermal expansion becomes critical with aluminum’s 23 μm/m°C expansion coefficient. We monitor cutting temperatures and use flood coolant to maintain workpiece temperatures below 80°C for tight-tolerance features, preventing thermal distortion.
Design Takeaway: Design wall thickness above 1.5 mm when possible and reserve ±0.01 mm tolerances for functional features only. For thin sections, specify stress-relief heat treatment before machining.
Which Machining Settings Avoid Deformation?
Avoid deformation by using conservative cutting parameters: reduce depth of cut to 0.5-1.0 mm, maintain sharp tools, and keep cutting speeds high with lower feed rates for aluminum. Proper parameter selection minimizes cutting forces and heat generation, the two main causes of machining-induced warping.
Key parameter strategies:
- Shallow cuts – Limit depth of cut to 0.5-1.0 mm for aluminum parts
- High speed, low feed – Faster spindle speeds with conservative feed rates
- Sharp tools – Replace tools before 0.2 mm wear per ISO tool life standards
- Flood coolant – Keep workpiece temperatures below 80°C
Cutting depth has the biggest impact on deformation forces. Among all cutting parameters, the biggest influence on cutting force is the amount of back cutting depth. At Okdor, we limit depth of cut to 0.5 mm for aluminum components, achieving ±0.02 mm tolerances on aerospace brackets. High-speed machining with 8,000-12,000 RPM maintains productivity while preventing deflection, verified through CMM inspection.
Tool sharpness directly affects cutting forces and heat generation. After the tool is worn, the surface roughness increases, cutting temperature increases, and workpiece deformation increases. We replace carbide end mills when flank wear exceeds 0.2 mm per ISO 8688 standards, preventing built-up edge formation. Sharp tools with 30-35° helix angles cut aluminum cleanly with 40% less force than worn tools.
Spindle speed and feed rate optimization follows established machining principles for aluminum alloys. We typically run 8,000-12,000 RPM for 6061-T6 aluminum with feed rates around 800-1,200 mm/min, adjusted based on part geometry. The temperature of the processed workpiece should not exceed 100°C to prevent deformation. Flood coolant maintains consistent 60-80°C workpiece temperatures during production.
Design Takeaway: Specify ISO 2768-m tolerances for non-critical features and reserve ±0.01 mm for functional surfaces only. Plan multi-stage operations with 0.2-0.5 mm finish allowances to maintain conservative parameters throughout.
How to Machine Thin Walls Without Warping?
Machine thin walls successfully by using support filling, adaptive toolpaths, and specialized workholding techniques designed for parts under 2 mm thickness. Thin-walled parts (aluminum, titanium, copper alloys) are prone to deformation during CNC machining, requiring advanced techniques beyond standard approaches.
Thin wall strategies:
- Support filling – Fill cavities with wax or urea for temporary rigidity
- Adaptive toolpaths – Use trochoidal milling to reduce cutting forces by 60%
- Sequential machining – Machine similar features simultaneously per DFM principles
- Custom fixtures – Support within 25 mm of cutting zones
Support filling adds temporary rigidity for production aerospace components. Pour urea melt containing 3-6% potassium nitrate into the workpiece to reduce deformation during clamping and cutting. After machining, dissolve in water and pour out. At Okdor, this technique maintains ±0.05 mm tolerances on 1.5 mm aluminum walls for medical device housings, verified through coordinate measuring machine inspection.
Adaptive toolpaths minimize cutting forces using trochoidal cutting strategies with 0.1-0.2 mm stepover. This reduces peak cutting forces by 60% compared to conventional slotting, critical for walls under 2 mm thickness. We use climb milling for finishing passes to pull workpieces into fixtures rather than pushing away, following established machining best practices.
Sequential machining prevents stress concentration in multi-cavity parts. Machine all similar features simultaneously rather than cavity-by-cavity to prevent uneven stress and deformation. This approach maintains structural balance throughout material removal, essential for aerospace components requiring ±0.02 mm flatness per AS9100 documentation standards.
Design Takeaway: Include 3-5 mm temporary connection tabs in thin-wall designs that can be removed post-machining. This maintains rigidity during aggressive material removal while meeting final dimensional requirements per ISO 2768 standards.
Conclusion
Controlling deformation requires systematic attention to material preparation, workholding, cutting parameters, and thermal management. Thin-walled parts demand specialized techniques like support filling and adaptive toolpaths. Smart design choices prevent most warping issues before machining begins. Contact us to explore manufacturing solutions tailored to your deformation-sensitive part requirements.
FAQS
Deformation occurs when cutting forces exceed part rigidity, when heat causes thermal expansion, or when material releases internal stress during cutting. Poor clamping can also introduce warping.
Design walls thicker than 1.5 mm, add structural ribs for support, plan symmetrical material removal, and include clamping features in thick sections that won’t affect critical dimensions.
Generally 1.5 mm minimum for reliable results. Thinner walls require special techniques like support filling, adaptive toolpaths, or custom fixtures to prevent deflection during cutting.
7075 aluminum offers better dimensional stability than 6061 due to higher strength. For critical applications, specify stress-relieved materials or plan heat treatment between operations.
Use vacuum fixtures for thin parts, keep cutting forces low with sharp tools, maintain coolant flow to prevent overheating, and design walls thicker than 1.5 mm when possible.
Use ISO 2768-m (±0.1 mm for dimensions ≤30 mm) for non-critical features and reserve ±0.01 mm tolerances only for functional surfaces that require precise fits.
