Managing tolerances isn’t just about precision — it’s about balancing function with cost-effectiveness. After years of working with product developers across aerospace, medical, and industrial sectors, we’ve seen countless projects where over-specified tolerances doubled machining costs without improving performance.
Getting tight tolerances requires three key steps: specify ±0.01 mm only on critical features, choose stable materials like 6061-T6 aluminum, and use proper fixturing with climate-controlled machining. Most failures result from thermal expansion or attempting tight specs on thin walls below 2 mm thickness.
Learn how to choose the right tolerance, factor in material behavior, and avoid spec mistakes that cause cost overruns or manufacturing delays.
Table of Contents
When should I use tight tolerances vs. standard tolerances?
Use tight tolerances (±0.01 mm or better) only on functional features like bearing bores, threaded depths, and mating surfaces. Apply standard tolerances (±0.05 mm per ISO 2768-m) to non-critical dimensions like overall length, cosmetic features, and clearance holes. This approach significantly reduces machining costs while maintaining part functionality.
From our experience machining precision parts across aerospace, medical, and industrial applications, the most common cost driver is specifying ±0.01 mm on features that function perfectly at ±0.05 mm. Here’s our decision framework:
Tight tolerance checklist:
- Bearing seats: ±0.01 mm (for H7 press fits)
- Threaded hole depths: ±0.02 mm (prevents tap breakage)
- Mating surfaces: ±0.01 mm (ensures proper sealing)
- Critical datum features: ±0.01 mm (for GD&T reference)
Standard tolerance checklist:
- Overall part dimensions: ±0.05 mm (ISO 2768-m)
- Cosmetic surfaces: ±0.1 mm (visual quality sufficient)
- Clearance holes: ±0.05 mm (standard drill tolerances)
- Non-functional chamfers: ±0.1 mm (appearance only)
Most housing parts need tight tolerances on mating surfaces where two halves join together, but standard tolerances work fine for mounting bosses that don’t affect fit. Aerospace brackets need tight tolerances on bolt hole positions but standard tolerances on overall envelope dimensions.
Design Takeaway: Before specifying any tolerance tighter than ±0.05 mm, ask: “Does this dimension affect fit, function, or safety?” If not, use ISO 2768-m standards to optimize cost and lead time.
What's the tightest tolerance I can realistically specify?
For CNC machining, ±0.01 mm is the practical limit for most shops on critical features, while ±0.005 mm requires specialized equipment and significantly increases cost. Standard capabilities are ±0.02 to ±0.05 mm per ISO 2768-m. Tolerances tighter than ±0.005 mm often require secondary operations like grinding or lapping.
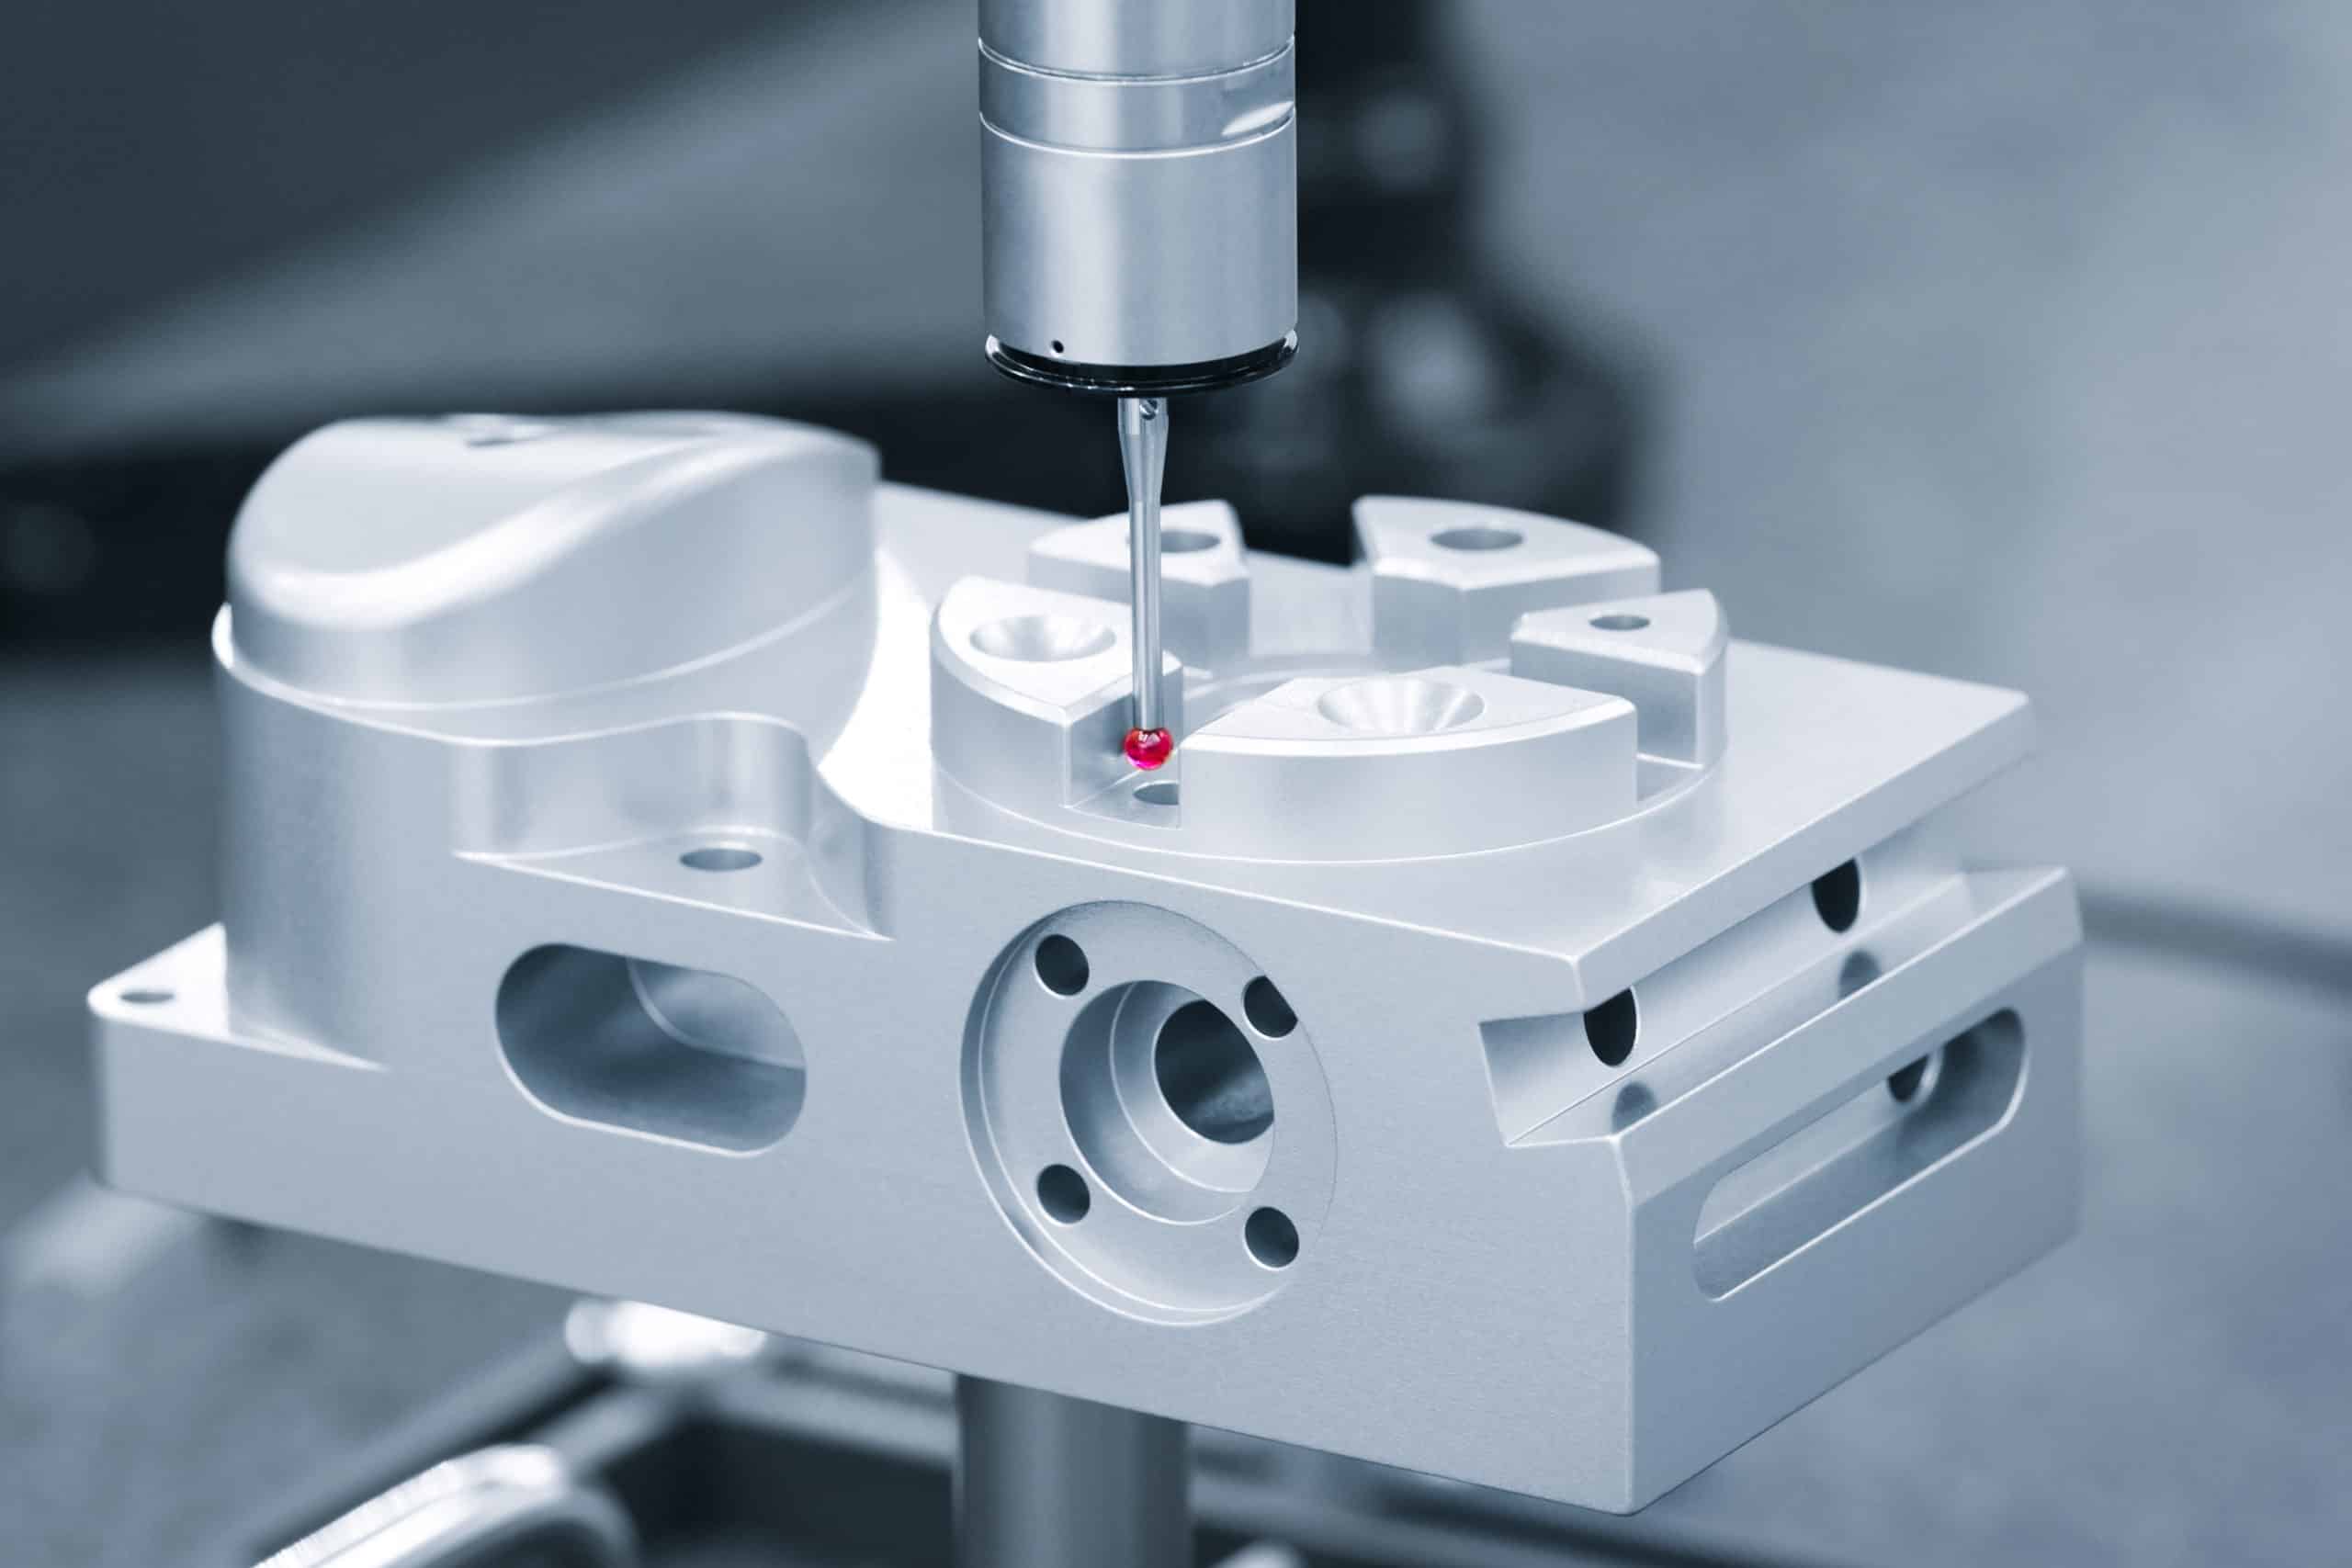
We regularly hold ±0.01 mm on aluminum bearing housings and steel shafts using standard machining centers with proper fixturing. For ±0.005 mm tolerance work on medical device components, we use granite surface plates, temperature-controlled environments, and Mitutoyo CMM verification at every setup.
Decision framework by part type:
- If your part has bearing bores or press fits: ±0.01 mm achievable
- If your part has thin walls under 2 mm: ±0.02 mm maximum (deflection issues)
- If your part has deep pockets over 4:1 ratio: ±0.02 mm maximum (tool access limits)
- If your part needs assembly fit: ±0.01 mm on mating features only
Cost and lead time impact:
- ±0.05 mm: Standard pricing (ISO 2768-m)
- ±0.01 mm: Increased cost, additional lead time
- ±0.005 mm: Significant cost premium, extended lead time
Most precision shops will quote ±0.02 mm as standard capability. We verify tight tolerances using CMM inspection and bore gauges on critical dimensions. According to ASME Y14.5, geometric tolerances often provide better functional control than tight dimensional tolerances.
Design Takeaway: Use ±0.01 mm as your practical limit for critical features. If you need tighter, question whether a design change could eliminate the extreme precision requirement and save significant cost.
Do metal and plastic parts require different tolerance approaches?
Yes, metals and plastics need completely different tolerance strategies. Aluminum reliably holds ±0.01 mm, while engineering plastics typically require ±0.05 mm or looser due to material flexibility and thermal behavior. Plastics continue changing dimensions after machining from internal stress relief.
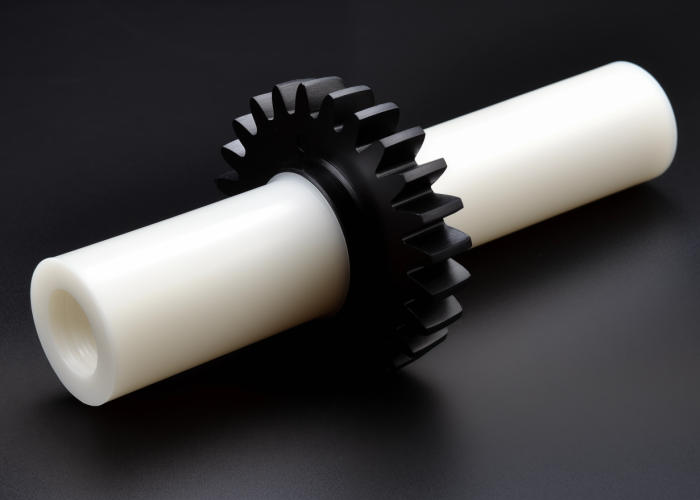
We’ve learned this lesson machining both aluminum housings and nylon gears – the approaches are fundamentally different. Aluminum 6061 stays dimensionally stable during cutting, while POM (Delrin) expands from cutting heat and shifts under clamping forces, affecting final dimensions.
Material-specific decision guide:
- If designing with aluminum/steel: Start with ±0.02 mm, tighten to ±0.01 mm only on critical features
- If designing with engineering plastics: Start with ±0.05 mm, avoid anything tighter unless critical
- If designing with nylon: Use ±0.10 mm minimum due to moisture absorption
- If switching from metal to plastic: Loosen all tolerances significantly
We measure plastic parts with digital calipers immediately after machining, then re-verify with CMM equipment after stabilization. Nylon parts can change dimensions from moisture absorption – something ISO 2768 doesn’t account for in plastic applications.
Design Takeaway: Never apply metal tolerance expectations to plastic parts. Default to ±0.05 mm for engineering plastics and build in accommodation for post-machining dimensional changes in your assembly design.
What tolerance should I specify for bores, faces, and threads?
Bores require ±0.01 mm for press fits and bearing seats, ±0.02 mm for sliding fits, and ±0.05 mm for clearance holes. Faces need ±0.02 mm for mating surfaces and ±0.05 mm for non-critical surfaces. Threaded holes should specify ±0.02 mm on depth with 6H class pitch diameter per ISO 262 standards.
We machine these features daily across medical, aerospace, and industrial parts. The tolerance choice depends entirely on function – a bearing bore needs precision for proper fit, while a mounting hole just needs fastener clearance.
Quick decision framework:
- If parts must press together: ±0.005 to ±0.01 mm (H6/H7 bore fits)
- If parts slide or rotate: ±0.02 mm (H8 clearance fits)
- If it’s just a mounting hole: ±0.05 mm (standard drill tolerance)
- If surfaces must seal: ±0.02 mm flatness (gasket/O-ring grooves)
- If it’s cosmetic only: ±0.05 mm per ISO 2768-m
For threaded features, we specify ±0.02 mm on blind hole depth to prevent tap breakage and ensure full thread engagement. Through holes can use ±0.05 mm since depth isn’t critical. According to ISO 262, 6H class provides standard internal thread tolerances for most applications.
We verify bore dimensions using CMM coordinate measurement and plug gauges, face flatness with precision dial indicators, and thread specifications with go/no-go thread gauges. Critical bearing bores get additional verification with bore micrometers.
Design Takeaway: Match tolerance to function – tight for precision fits, standard for clearance. Always specify thread depth tolerance to prevent tap breakage during manufacturing.
Can thin walls or complex geometry hold tight tolerances?
Thin walls and complex geometry typically cannot hold tight tolerances due to machining deflection and vibration. Very thin sections generally require ±0.05 mm minimum, while well-supported walls over 4 mm thick can achieve ±0.02 mm. Deep pockets and tall features require similar tolerance relaxation regardless of material.
We’ve machined thousands of thin-walled parts and learned this lesson repeatedly – thin walls deflect under cutting forces no matter how carefully we machine them. The physics of machining creates forces that flexible geometry simply cannot resist.
Material behavior with thin walls: Aluminum walls become increasingly difficult to hold tight tolerances as thickness decreases. Steel performs better due to higher stiffness but still faces deflection challenges on very thin sections. Engineering plastics present additional complications from heat buildup and material flexibility during cutting.
Redesign decision framework:
- If walls are very thin and need ±0.01 mm: Add ribs, gussets, or increase thickness locally
- If you can’t add material: Move critical dimensions to thicker, supported areas
- If redesign isn’t possible: Accept ±0.05 mm and design assembly to accommodate
- If part must be thin: Consider split designs or post-machining assembly
We use custom fixturing and support tooling for challenging geometry, but this adds significant cost and lead time. According to ASME Y14.5, geometric dimensioning often provides better functional control than tight dimensional tolerances on flexible features.
Deep pockets with high aspect ratios and unsupported tall features create similar deflection problems. We verify critical dimensions using CMM measurement with parts in free state after machining.
Design Takeaway: Don’t fight physics – if you need tight tolerances, design for rigidity. Add material where critical dimensions are located rather than forcing challenging manufacturing requirements.
How much more does tight tolerance machining cost?
Tight tolerance machining significantly increases costs and lead times. Moving from ±0.05 mm to ±0.01 mm typically doubles project costs, while tolerances tighter than ±0.005 mm can increase costs substantially. The expense comes from slower machining, additional setups, specialized equipment, and extensive inspection requirements.
We’ve quoted precision parts across medical, aerospace, and industrial sectors and consistently see significant cost impacts. The question becomes: is the functional benefit worth the cost premium?
Quick cost-benefit assessment:
- If tolerance affects safety or critical function: Cost increase usually justified
- If tolerance is for assembly fit: Calculate if loose tolerance + adjustment costs less
- If tolerance is arbitrary: Standard ±0.05 mm per ISO 2768-m likely sufficient
- If multiple tight tolerances: Consider geometric dimensioning per ASME Y14.5 instead
When tight tolerance costs are justified: Critical assemblies where dimensional accuracy affects safety, high-precision fits where tolerance affects performance, regulatory requirements with documented dimensional standards, or elimination of costly secondary fitting operations.
Cost-effective alternatives: Geometric dimensioning and tolerancing often provides better functional control than dimensional tolerances. Redesign with self-aligning features, adjustable assemblies, or split parts can eliminate tight tolerance requirements while maintaining performance.
We use Mitutoyo CMM equipment for verification and maintain ISO 17025 calibration standards for measurement traceability. Standard tolerance work uses normal production rates with coordinate measurement, while tight tolerance work requires climate-controlled environments and documented inspection protocols.
Design Takeaway: Before specifying tight tolerances, evaluate functional necessity vs. cost impact. A design change often eliminates expensive precision requirements while maintaining part performance.
What happens if my specified tolerance can't be achieved?
If your specified tolerance can’t be achieved, you have three options: redesign for manufacturability, accept looser tolerances that maintain function, or find suppliers with specialized capabilities. Most tolerance failures result from thin wall deflection, tool access limitations, or material instability during machining.
We work with customers regularly to resolve tolerance issues. Success depends on understanding why the tolerance can’t be met and whether it’s functionally necessary. Small design changes often solve problems more cost-effectively than specialty processes.
Pre-quote tolerance checklist:
- Wall thickness over 3 mm? Thinner walls deflect during machining
- Reasonable aspect ratios? Deep pockets create tool deflection issues
- Stable material selected? Some plastics shift dimensions after machining
- Temperature considerations? Large parts expand during cutting
- Tool access adequate? Complex geometry limits machining precision
Solution decision framework: If tolerance is critical for function, seek precision shops with surface grinding or EDM capabilities. If tolerance appears arbitrary, standard ±0.05 mm per ISO 2768-m often works perfectly. If geometry causes problems, add support ribs or relocate critical dimensions to stable areas.
When redesign isn’t feasible, specialized processes like grinding, lapping, or electrical discharge machining can achieve extreme precision. These add significant cost and lead time but handle tolerances beyond conventional CNC capabilities.
We verify critical dimensions using calibrated CMM equipment per ISO 10360 standards and provide full dimensional reports for tight tolerance work. Documentation includes measurement uncertainty per ISO 14253 guidelines.
Design Takeaway: Validate tolerance feasibility during design review using the checklist above. Early collaboration prevents costly surprises and project delays while identifying practical solutions.
Conclusion
Tolerances tighter than ±0.01 mm are often unnecessary and significantly increase cost. Focus tight specs only on functional features and use standard tolerances elsewhere. Smart tolerance selection reduces manufacturing costs while maintaining part performance. Contact us to explore manufacturing solutions tailored to your precision machining requirements.
Frequently Asked Questions
Add 3-5 days for ±0.01 mm tolerances, 1-2 weeks for ±0.005 mm tolerances. Extremely tight work may require specialty shops with longer queues. Plan accordingly for critical project timelines.
Over-specifying tight tolerances on non-functional features like overall part dimensions or cosmetic surfaces. This doubles machining costs without improving performance. Reserve ±0.01 mm for features that actually affect fit, function, or safety – everything else works fine at ±0.05 mm per ISO 2768-m.
Check three things: wall thickness over 4 mm, aspect ratios under 3:1, and adequate tool access. Parts failing these criteria cannot reliably hold ±0.005 mm due to deflection and vibration. Consider redesign or accept ±0.01 mm instead.
No – plastics need significantly looser tolerances. Start with ±0.05 mm for engineering plastics like POM or nylon, compared to ±0.02 mm for aluminum. Plastics continue changing dimensions after machining due to stress relief and moisture absorption.
Use geometric tolerancing when controlling form, orientation, or position matters more than exact dimensions. GD&T often provides better functional control than ±0.005 mm dimensional tolerances and costs less to manufacture.
Specify ±0.02 mm on blind hole depth to prevent tap breakage during threading. Through holes can use ±0.05 mm since depth isn’t critical. Always include thread depth tolerance to avoid production delays.
