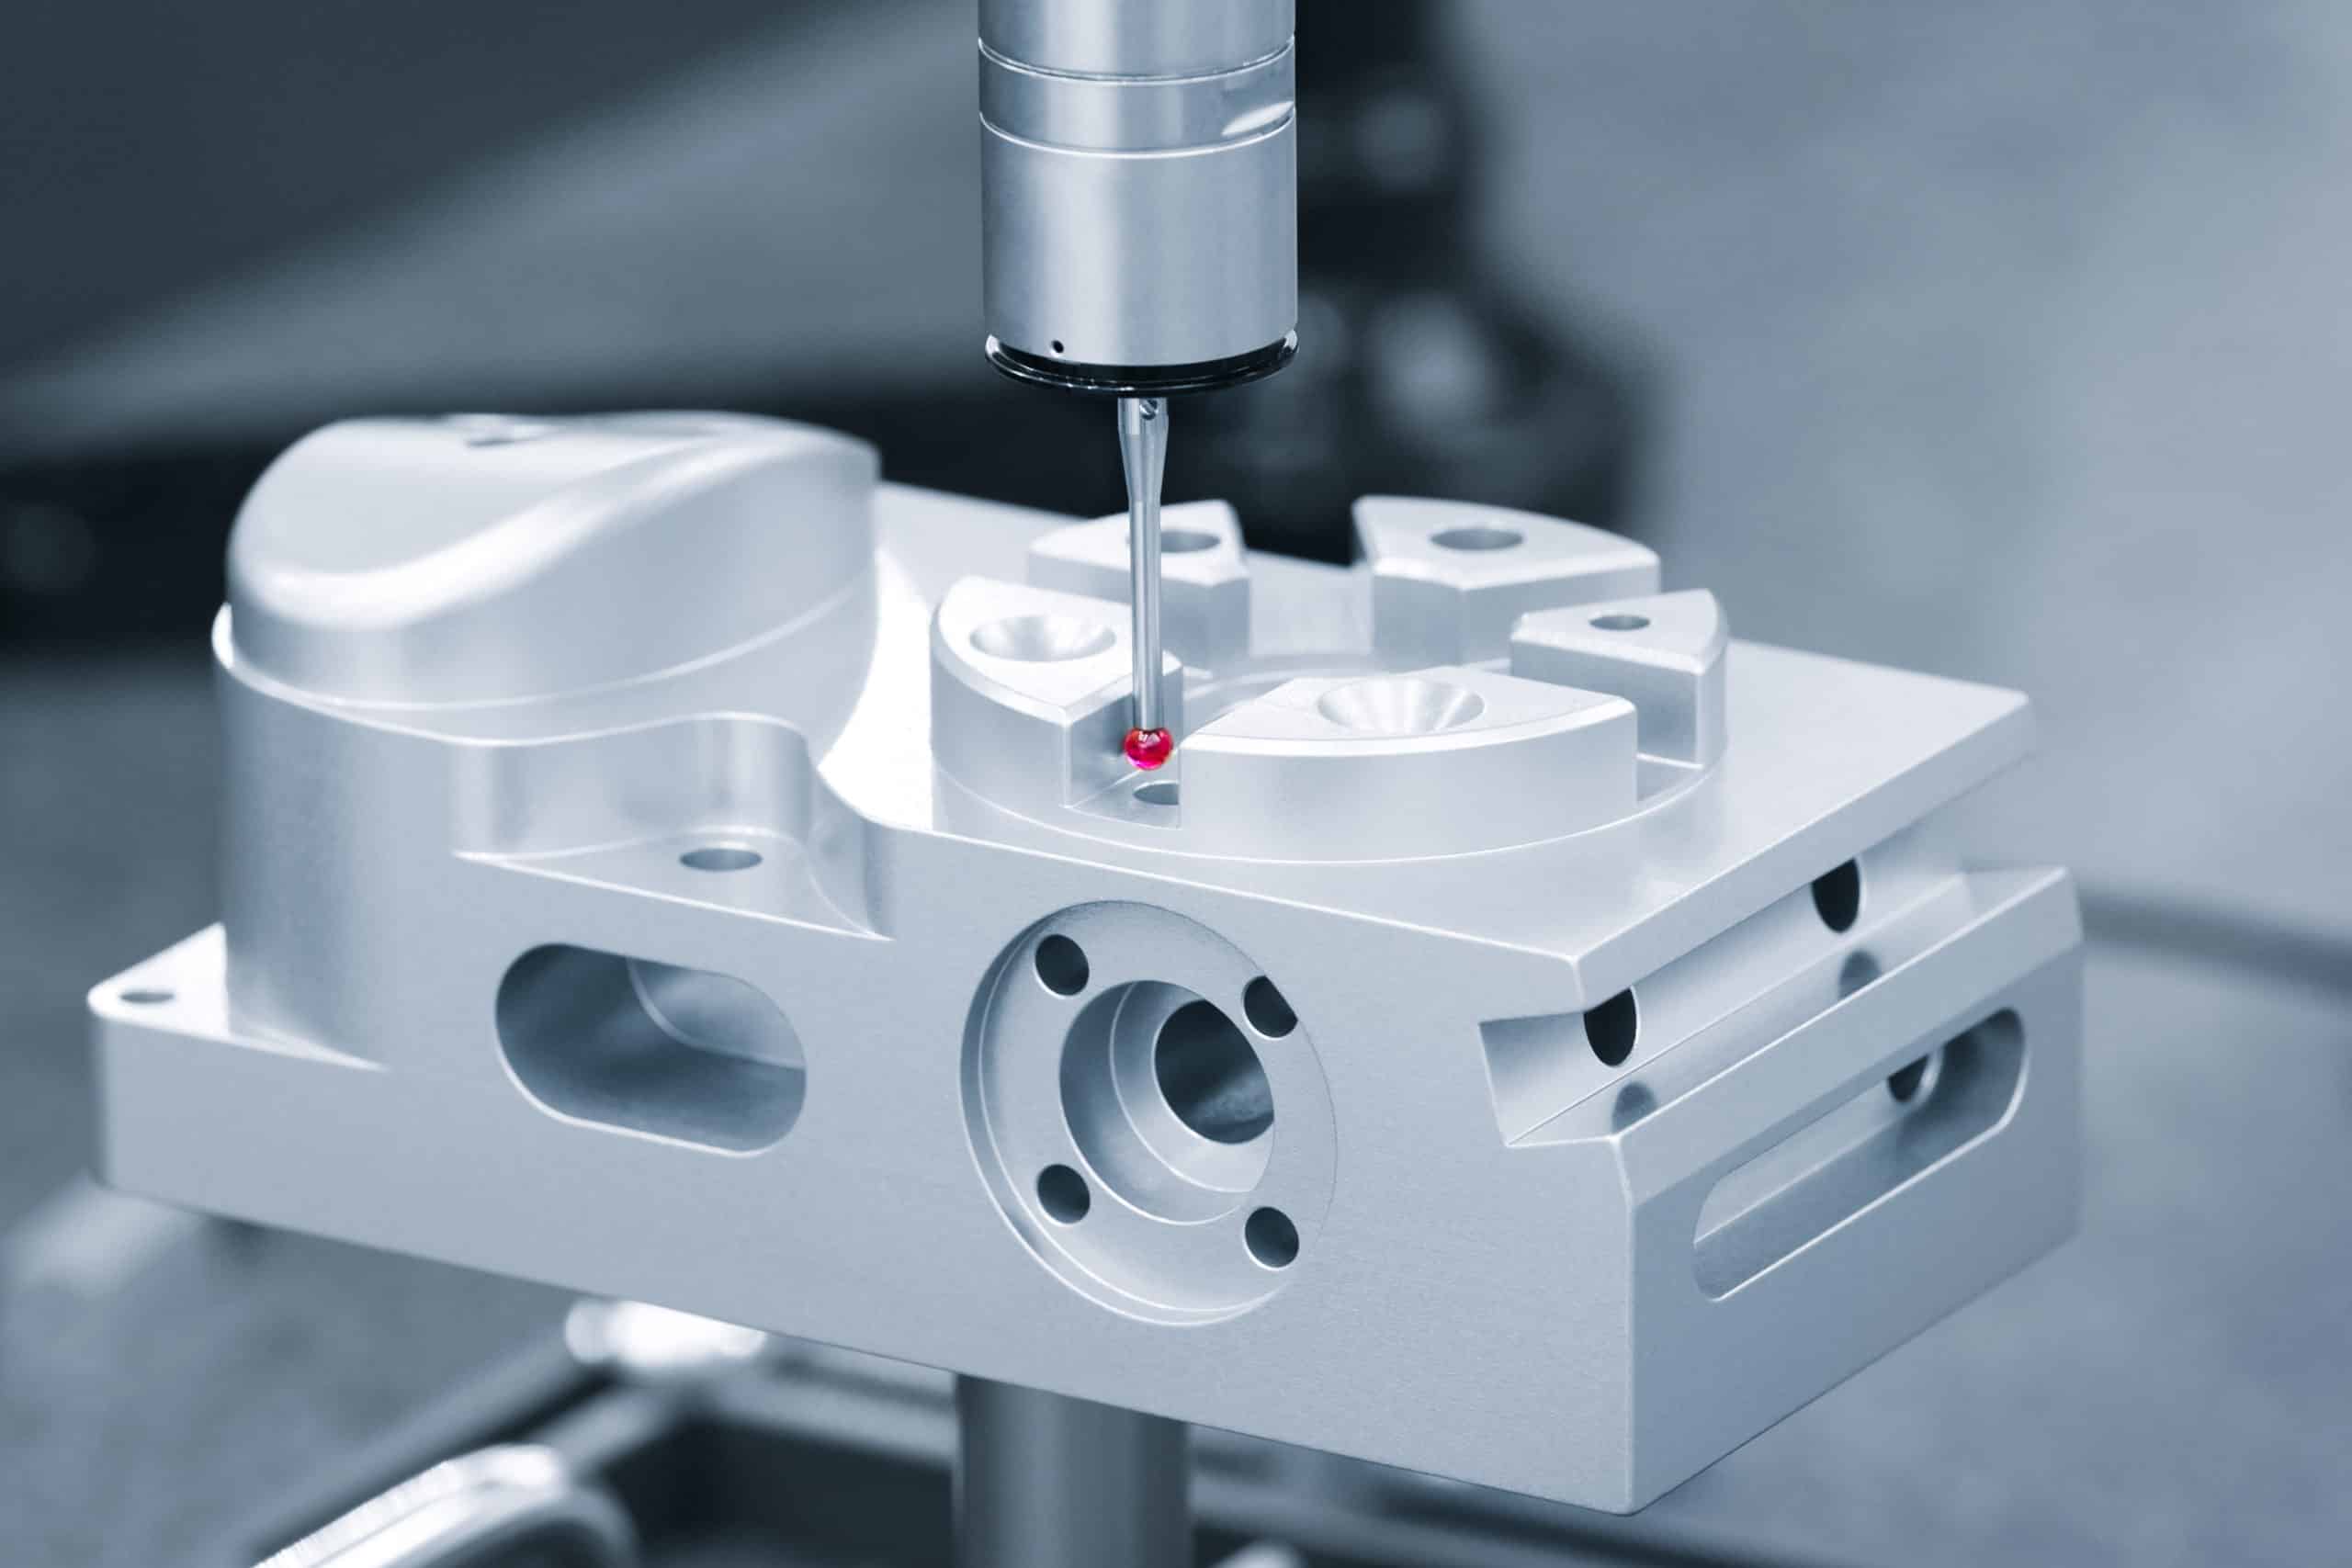
Choosing the right material for CNC machined components isn’t just about strength specs—it’s about understanding how that material behaves during manufacturing and in real-world use. We’ve worked with hundreds of product developers who’ve asked whether Nylon 66 can handle their specific application requirements, from precision housings to load-bearing brackets.
Nylon 66 offers excellent strength-to-weight ratio and chemical resistance, but its durability depends heavily on your design approach and operating environment. Factors like wall thickness, stress concentrations, and dimensional stability under load all impact whether Nylon 66 will perform reliably in your application.
Learn if Nylon 66 fits your needs, with tips on durability, design for dimensional stability, and manufacturing factors that impact long-term performance.
Table of Contents
Is Nylon 66 Durable Enough for My Application?
Nylon 66 works reliably for applications under 50 MPa stress, temperatures below 80°C continuous, and moderate-load cycling (under 10,000 cycles). It excels in precision housings, electronic enclosures, and structural brackets where chemical resistance and dimensional stability are priorities.
Quick Decision Framework:
- ✅ Use Nylon 66 if: Static loads <500N, temps 20-80°C, indoor environments, 5-15 year service life
- ❌ Avoid if: Impact loads >20J, continuous outdoor use, temps >90°C, safety-critical functions
From machining hundreds of Nylon 66 components, we’ve seen consistent performance in medical device housings, audio equipment faceplates, and instrumentation brackets. Parts typically maintain dimensions within ±0.1mm over multi-year service when designed with proper wall thickness and stress relief.
Red flag applications: Automotive under-hood components (heat), outdoor enclosures (UV degradation), high-frequency vibration mounts (fatigue), and load-bearing structural members in critical systems.
Material suppliers like DuPont provide detailed property data sheets with tensile strength (83 MPa), flexural modulus (3.0 GPa), and temperature ratings that you can compare against your specific requirements.
Design Takeaway: Compare your operating conditions to these validated ranges. If you’re within the performance envelope, focus on optimizing part geometry. If borderline, request application-specific testing data from your material supplier.
How Do I Know If My Nylon 66 Design Will Machine Successfully?
Your Nylon 66 design will machine successfully if you follow these key ratios: wall thickness ≥1.5mm, pocket depth ÷ width <3:1, internal corner radii ≥0.5mm, and all features accessible from standard orientations.
Quick Self-Check Rules:
- Wall thickness test: Thinnest section ÷ longest span <1:10 (prevents deflection during cutting)
- Pocket rule: If depth exceeds 3x width, redesign as multiple shallow features
- Tool access: Can standard end mills reach every internal corner without interference?
- Feature accessibility: All critical dimensions machinable from same setup orientation
Geometry problems that typically cause machining failures: excessively deep narrow slots, very thin walls on long spans, sharp internal corners requiring special finishing, and features requiring long-reach tooling that’s prone to vibration.
Material behavior during cutting: Nylon 66 softens with heat buildup, causing dimensional drift if cutting parameters aren’t properly managed. Parts require adequate support to prevent movement under cutting forces, especially thin-walled sections.
According to ISO 2768 machining guidelines, features requiring specialized tooling or non-standard orientations should be avoided unless functionally critical.
Design Takeaway: Apply the 3:1 depth rule to all pockets, maintain wall thickness above 1.5mm, and design for standard machining accessibility. Geometry violating these principles typically requires redesign for successful manufacturing.
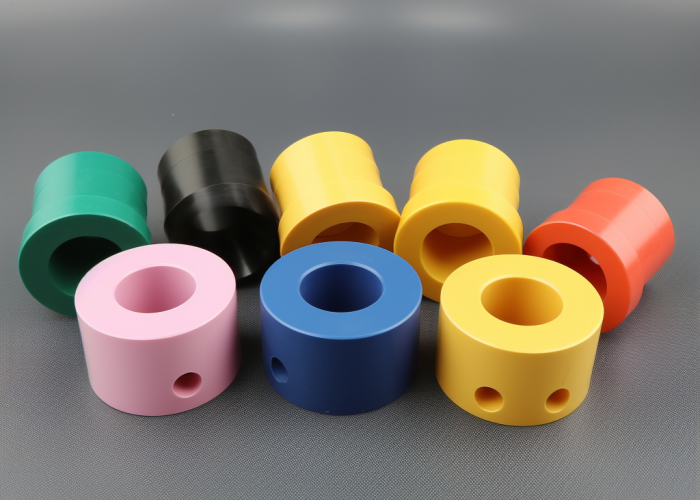
What Tolerances Are Realistic for Nylon 66 CNC Parts?
Realistic Nylon 66 tolerances by feature size: Under 25mm ±0.05mm, 25-100mm ±0.1mm, over 100mm ±0.15mm. Material thermal expansion and moisture absorption limit tighter specifications on larger features.
Size-Based Tolerance Capability:
- Small features (under 25mm): ±0.05mm achievable with standard machining
- Medium features (25-100mm): ±0.1mm standard capability
- Large features (100mm+): ±0.15mm due to thermal expansion effects
- Hole diameters: Reamed holes typically achieve +0.05/-0.00mm
Material Tolerance Limitations: Nylon 66 exhibits significant thermal expansion and moisture absorption that affects dimensional stability over time. Large dimensions are particularly susceptible to environmental changes, making extremely tight tolerances difficult to maintain.
ISO 2768-m standard (±0.1mm for most size ranges) aligns well with Nylon 66’s natural machining capabilities. Specifying tighter tolerances without environmental controls creates unrealistic expectations.
Measurement Requirements:
- ±0.1mm: Verifiable with standard measuring tools
- ±0.05mm: Requires controlled measurement environment
- ±0.02mm: Demands coordinate measuring equipment
Design Takeaway: Use ±0.1mm as baseline and specify ±0.05mm only for critical assembly features under 50mm. For larger dimensions, accept ±0.15mm unless functional requirements justify tighter control and associated verification complexity.
How Do I Design Nylon 66 Parts to Minimize Dimensional Drift?
Minimize Nylon 66 dimensional drift by designing symmetrical geometry, avoiding large solid sections, using uniform wall thickness, and including gradual thickness transitions. Well-designed parts typically show minimal drift in controlled environments when designed with balanced stress distribution.
Key Design Strategies:
- Symmetrical layouts: Balance material distribution to prevent warping from uneven stress relief
- Uniform wall thickness: Maintain consistent thickness throughout the part design
- Gradual transitions: Taper thickness changes over 3-5x the wall thickness distance
- Stress relief cuts: Include strategic slots near critical dimensional features
Environmental Impact on Drift: Temperature cycling and humidity changes accelerate dimensional movement. Parts in stable indoor environments (20-25°C, <60% humidity) show minimal drift, while those exposed to temperature swings may continue moving for extended periods.
Design Examples:
- ✅ Stable design: 100mm housing with uniform 2mm walls, symmetrical geometry, gradual corner transitions
- ❌ Drift-prone design: Same housing with thick mounting areas on one side, sharp thickness changes, large unsupported surfaces
Post-Machining Considerations: Allow adequate stress relief time before final machining critical features. Parts machined immediately after rough operations may require dimensional correction as internal stresses equalize.
According to ASME Y14.5 geometric tolerancing principles, symmetrical part design reduces the potential for systematic warpage and dimensional drift.
Design Takeaway: Design your part like a balanced structure – maintain symmetry where possible, use consistent wall thickness, and plan for appropriate stress relief time if tight tolerances are critical to assembly success.
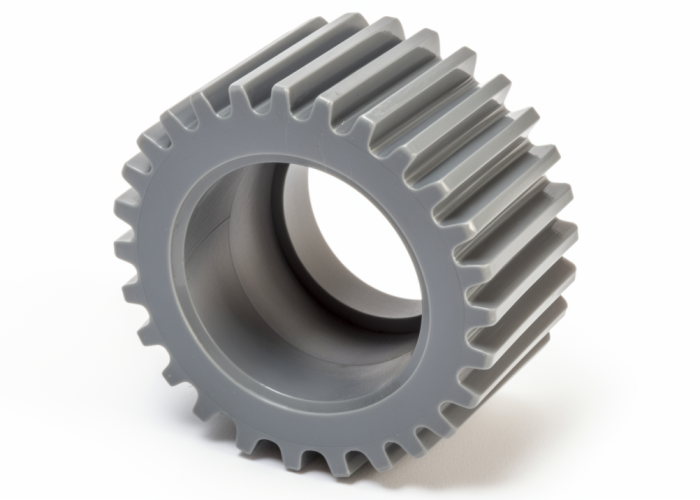
How Thin Can I Make Ribs and Bosses in Nylon 66 Designs?
Nylon 66 ribs can be machined as thin as 1.2mm width with proper support, while bosses work successfully at 2:1 height-to-diameter ratios. Thin features typically add 20-30% to machining time but enable significant weight savings in performance applications.
Minimum Dimension Guidelines:
Feature Type Minimum Size Support Required Length Limit Cost Impact
Structural Ribs 1.2 mm width Backing wall connection 15× width max +25% time
Cosmetic Ribs 1.0 mm width Adjacent structure 10× width max +20% time
Bosses 2:1 height/diameter ratio Integrated with base 4× diameter max +15% time
Mounting Posts 1.5:1 height/diameter ratio Surrounding structure 3× diameter max +10% time
Design Optimization Strategies:
- Support connections: Link thin ribs to stable backing structures or adjacent walls
- Curved geometry: Slight arcs improve stiffness compared to straight thin sections
- Stepped transitions: Graduate from thin features to thicker mounting areas
- Glass-filled option: PA66-GF30 allows 20% thinner features with equivalent strength
Real Failure Examples: We’ve seen 1mm ribs crack during machining when unsupported length exceeded 12mm. Tall bosses (4:1 ratio) often show poor surface finish and dimensional drift due to tool deflection during cutting.
Inspection Considerations: Thin features require careful measurement – standard calipers may deform 1mm ribs during inspection. Use non-contact measurement or very light touch probes for quality control.
Alternative Approaches: For ribs under 1mm or complex thin geometries, consider injection molding or additive manufacturing. Machining becomes cost-prohibitive below these thresholds.
Design Takeaway: Thin features succeed with proper support design and realistic expectations. Budget extra machining time but enjoy significant weight savings – 1.2mm ribs can reduce part weight by 30-40% compared to 2mm alternatives.
What Fillet Radii Should I Use for Nylon 66 Internal Corners?
Use minimum 0.5mm radii for internal corners in Nylon 66 parts, with 1.0mm preferred for structural areas and stress-critical features. Larger radii reduce stress concentrations and enable standard machining practices without requiring specialized tooling.
Radius Guidelines by Application:
- Minimum functional: 0.5mm for non-critical internal corners
- Standard structural: 1.0mm for load-bearing intersections
- High-stress areas: 1.5-2.0mm near mounting points or dynamic loads
- Deep pockets: Match radius to available end mill sizes
Stress Concentration Analysis: According to stress concentration principles documented in Peterson’s Stress Concentration Factors, sharp corners can create stress multipliers of 3-5x in plastic materials. Proper fillet radii distribute loads more evenly, reducing crack initiation risk under dynamic loading.
Manufacturing Compatibility: Standard end mills naturally create radii during cutting operations. Designing with these tool capabilities eliminates the need for secondary operations like EDM or specialized corner-cutting tools.
Assembly Impact Considerations: In our experience, 1.0mm radii rarely interfere with mating components while providing substantial stress reduction benefits. Larger radii may require clearance analysis in tight-fitting assemblies.
Material Behavior: Glass-filled Nylon 66 grades are particularly sensitive to stress concentrations due to increased brittleness. These materials benefit from larger radii (1.5mm minimum) in critical areas.
Design Takeaway: Default to 1.0mm internal radii for optimal balance of stress reduction and manufacturing efficiency. Only specify smaller radii when assembly constraints absolutely require it, understanding the increased stress concentration risk.
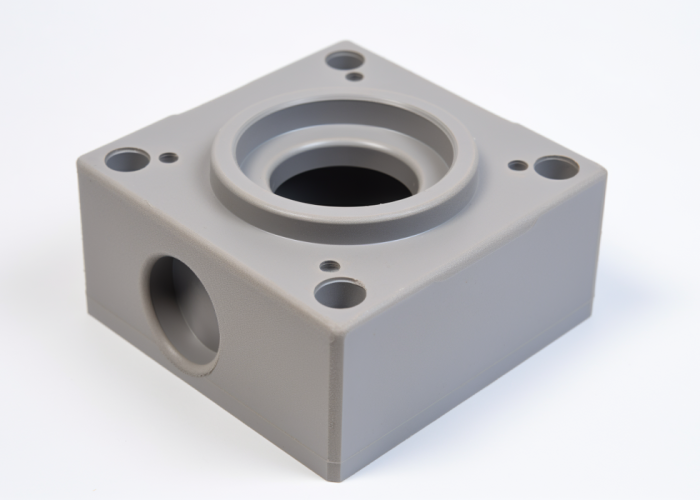
What Thread Engagement Length Works for Nylon 66?
Nylon 66 threads require 1.5-2.0x bolt diameter engagement length for reliable holding power. This exceeds standard metal threading practices due to plastic’s lower shear strength characteristics.
Thread Engagement Decision Matrix:
Load Range Min Engagement Boss Diameter Recommended Approach
0–50 N 1.5× diameter 1.5× diameter Tapped holes suitable
50–200 N 2.0× diameter 2.0× diameter Tapped holes with care
>200 N N/A 2.5× diameter Threaded inserts required
Thread Standards Compliance: ISO 965 screw thread standards provide baseline engagement calculations for metals, but plastic applications require increased engagement due to material property differences. ASME Y14.6 threading guidelines recommend similar adjustments for non-metallic materials.
Boss Design Requirements: Boss diameter should provide adequate material thickness around threaded holes. Insufficient boss diameter leads to thread failure through material breakout rather than thread stripping.
Thread Form Selection: Coarse pitch threads outperform fine pitch in plastic applications due to larger thread cross-sectional area and reduced stress concentration per thread. This aligns with standard threading practices for softer materials.
Design Alternatives for High Loads: From our experience, applications exceeding 200N benefit significantly from threaded metal inserts. Design boss geometry to accommodate insert installation rather than attempting to achieve high holding power through plastic threads alone.
Design Takeaway: Use the decision matrix to select appropriate engagement length and boss sizing. For critical fastening applications, specify threaded inserts early in design rather than discovering plastic thread limitations during testing.
What Design Changes Cut Nylon 66 Machining Costs?
Reduce Nylon 66 machining costs by designing for 3-axis operations, minimizing setups, using standard tool sizes, and avoiding unnecessarily tight tolerances. Strategic design optimization typically reduces machining costs by 30-50% compared to complex geometry requiring specialized approaches.
Cost Impact Decision Matrix:
Design Change Cost Impact Manufacturing Reason
4 setups → 2 setups High reduction Eliminates repositioning and re-fixturing time
Custom tools → standard tools Moderate reduction Uses existing tool inventory, faster setup
5-axis → 3-axis features High reduction Simpler machine programming and setup
Blind holes → through holes Low-moderate reduction Better chip evacuation, standard drill cycles
Complex pockets → simple geometry Moderate reduction Reduces programming time and tool changes
Quick Cost Assessment Framework:
- Setup count: Each additional setup adds labor time for repositioning and verification
- Non-standard tooling: Custom sizes require special ordering and inventory management
- Machine complexity: 5-axis operations require skilled programming and longer setup times
- Inspection requirements: As covered in our tolerance discussion (Q3), tighter specs increase measurement time
Practical Cost Optimization Examples:
- ✅ Optimized: Housing with all features accessible from 2 orientations, standard hole sizes, simple pocket geometry
- ❌ Cost-intensive: Same housing requiring 4 setups, non-standard holes, complex 3D pockets
Design Efficiency Principles: According to lean manufacturing principles, setup time elimination provides the highest cost reduction impact. Time and motion studies consistently show that part repositioning consumes 15-25% of total machining time on complex parts.
Volume-Based Decision Thresholds: From our experience, setup-intensive designs impact costs most severely at volumes under 25 pieces. Above 100 pieces, setup costs amortize and cycle time optimization becomes more critical than setup reduction.
Manufacturing Cost Drivers: Labor time for setup and repositioning, tool inventory costs for non-standard sizes, and programming complexity for unusual geometry represent the primary cost factors in CNC operations.
Design Takeaway: Focus cost reduction efforts on setup elimination and standard tooling usage first – these provide the highest return on design optimization effort. Reference our geometry guidelines (Q2) for specific design rules that support cost-effective manufacturing.
Conclusion
Nylon 66 succeeds in precision CNC applications when designed with proper geometry, realistic tolerances, and manufacturing-friendly features. Focus on balanced stress distribution, standard tooling compatibility, and cost-effective setup strategies for optimal results. Contact us to explore manufacturing solutions tailored to your Nylon 66 product requirements.
Frequently Asked Questions
±0.02mm tolerances are achievable but require climate-controlled machining and specialized inspection equipment, significantly increasing costs. For most applications, ±0.05mm provides adequate precision while maintaining cost efficiency. Reserve ultra-tight tolerances for truly critical assembly features only.
Use 1.0mm internal radii as standard practice for optimal stress distribution and manufacturing compatibility. Smaller radii (0.5mm minimum) require specialized tooling and increase costs. Larger radii (1.5-2.0mm) benefit high-stress applications and glass-filled Nylon 66 grades.
Tapped holes work well for loads under 200N with 2x diameter thread engagement. Above 200N or for repeated assembly applications, threaded metal inserts provide superior holding power and durability. Design boss diameter at least 2x thread diameter for adequate material thickness.
Glass-filled grades allow approximately 20% thinner features due to increased strength but require larger fillet radii (1.5mm minimum) due to increased brittleness. Tool wear increases with glass content, so minimize complex geometry that requires frequent tool changes.
Complex features requiring multiple setups or custom tooling typically increase costs by 30-50%. Each additional setup adds significant labor time, while non-standard tools require special ordering. Focus on 3-axis accessible features and standard tool sizes for cost efficiency.
Design with 1.5mm minimum wall thickness for structural integrity during machining. Thinner walls deflect under cutting forces, causing dimensional issues. For non-structural features, 1.2mm is achievable with proper support, but 2.0mm provides better stability and reduces machining stress.
