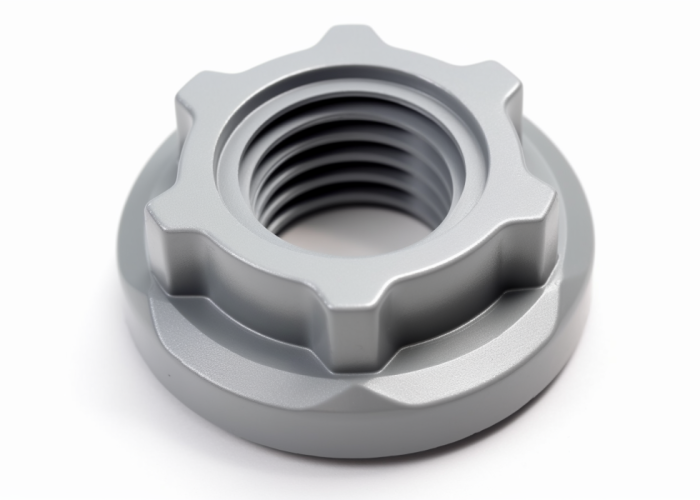
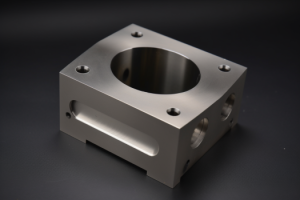
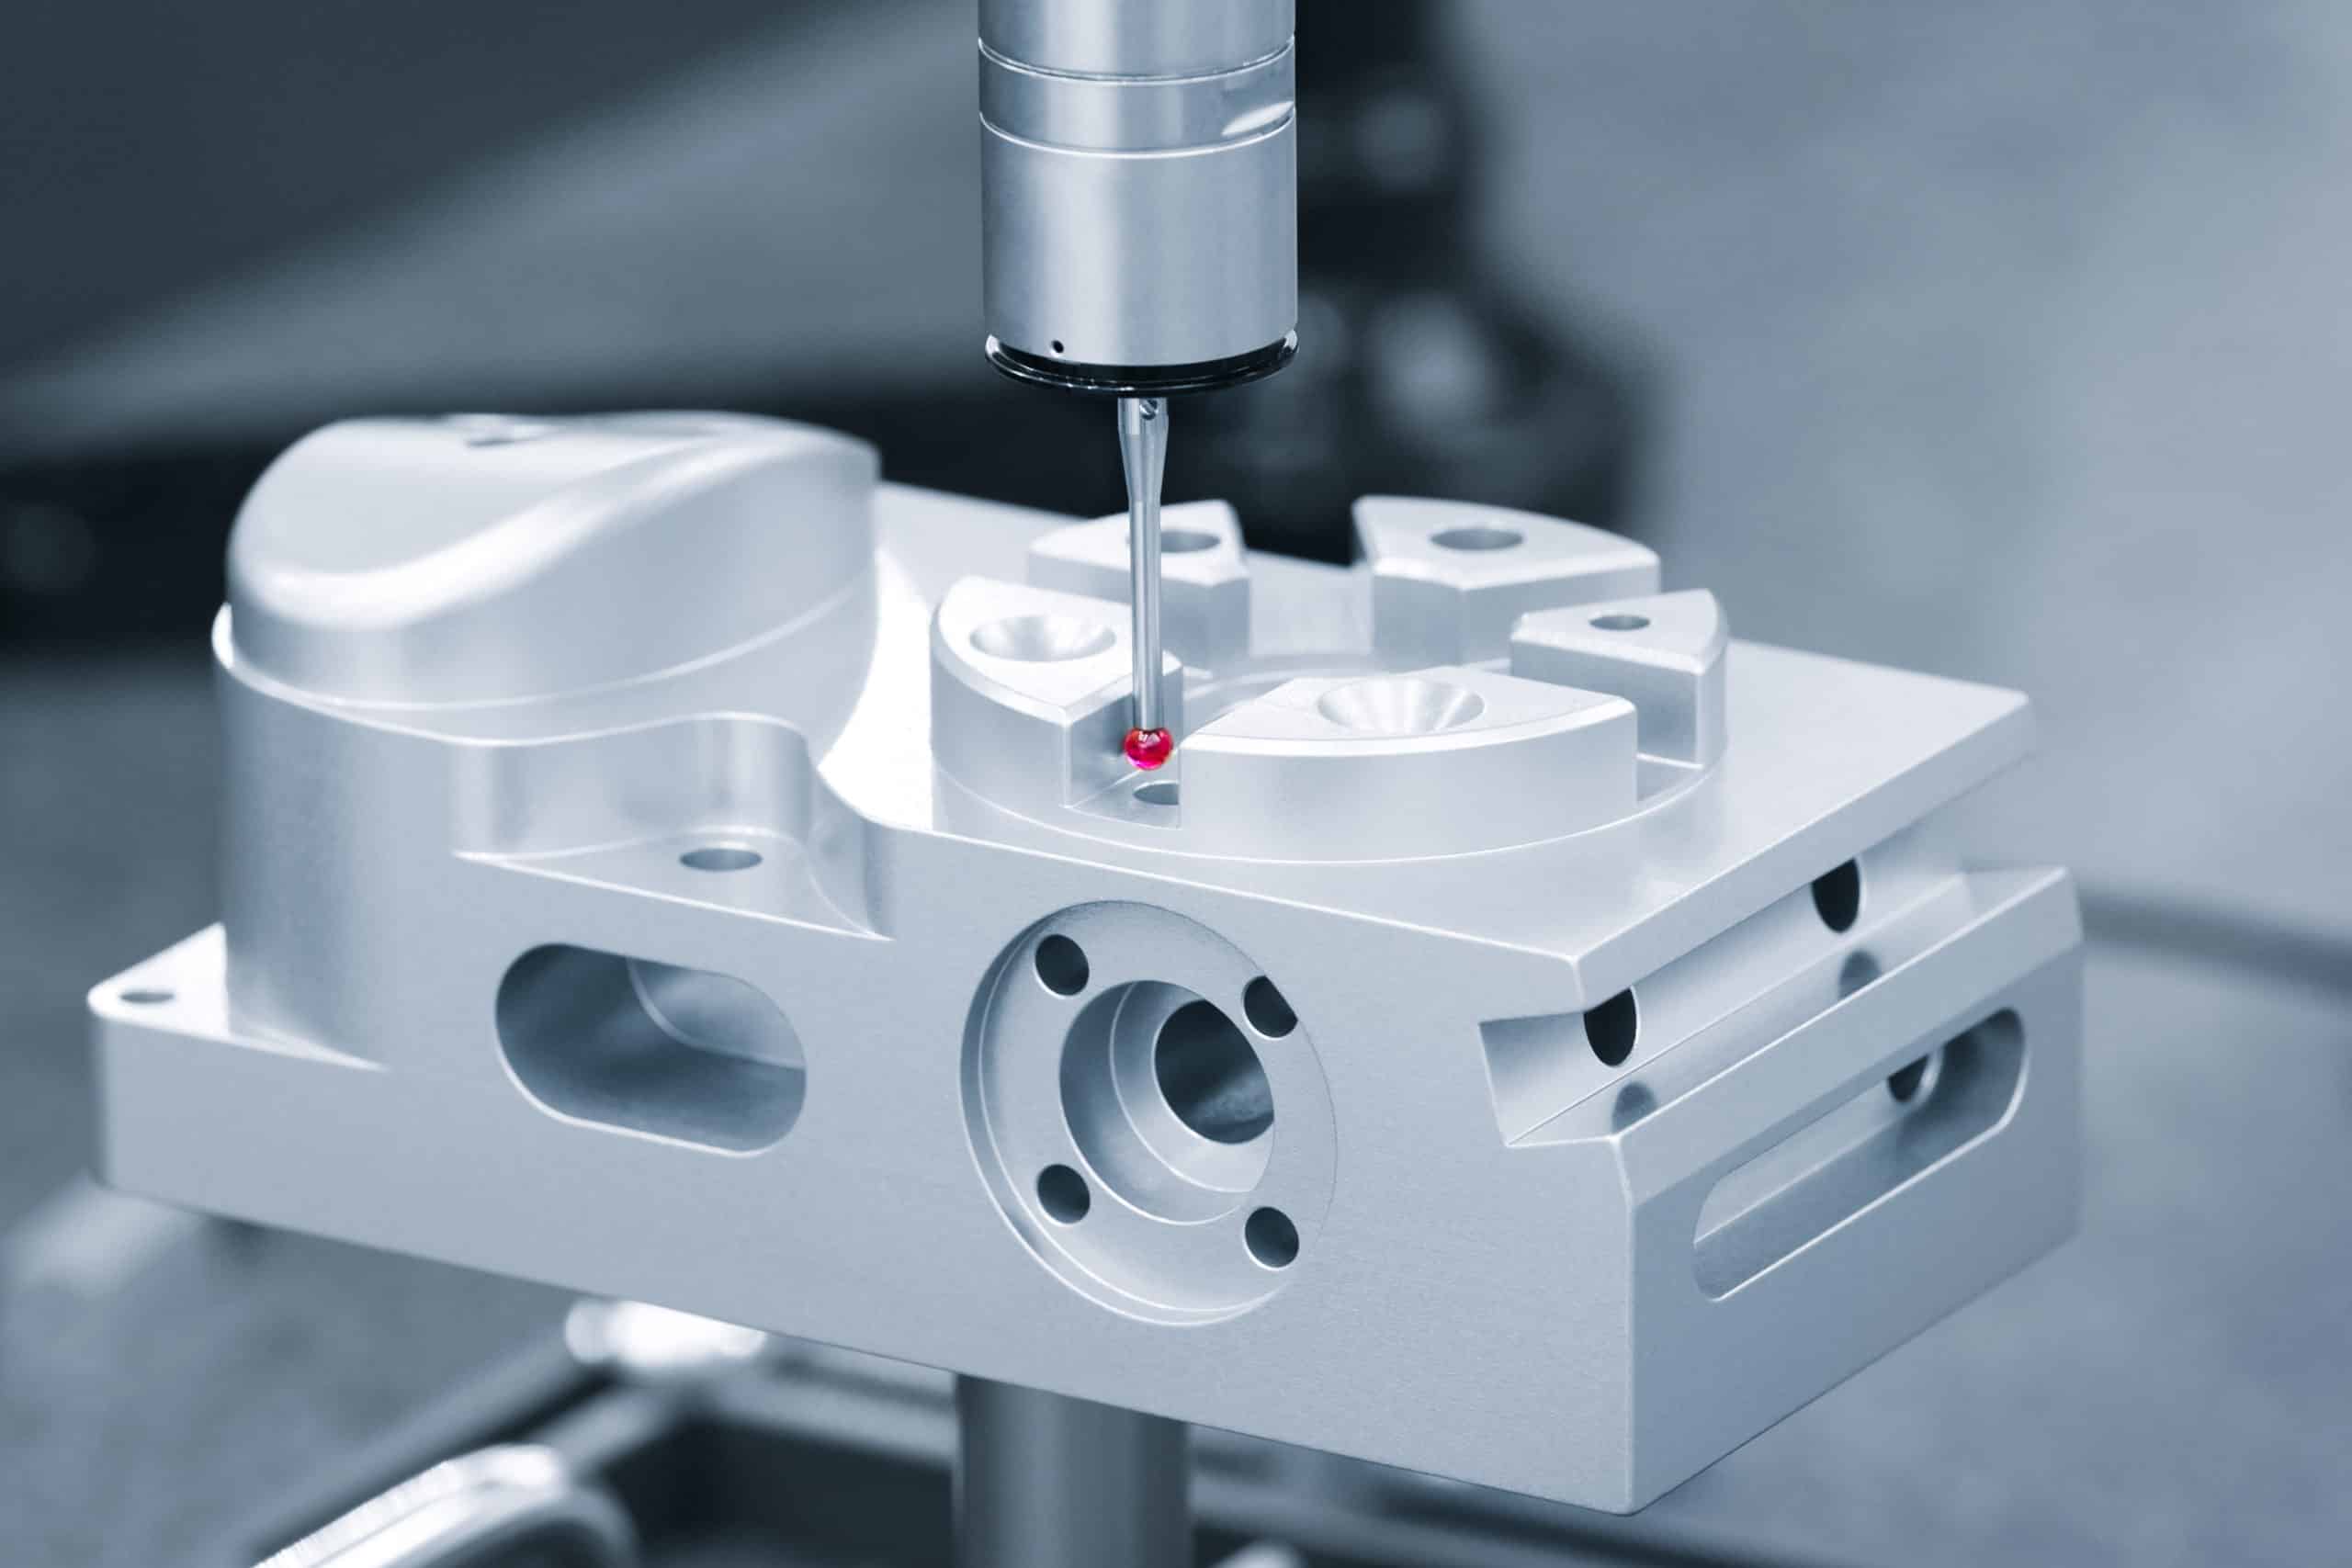
Product developers often over-specify tolerances, turning simple ±0.05mm parts into costly ±0.01mm precision components without functional benefit. After machining critical components for aerospace, medical, and audio industries, we’ve identified eight factors that make tight tolerances challenging—helping engineers specify smarter tolerances that balance performance with cost.
Eight factors make tight tolerances challenging: over-specification beyond functional needs, material properties affecting stability, complex geometries requiring specialized setups, part size constraints, environmental factors, GD&T complexity, poor design communication, and inspection requirements. Understanding these prevents costly redesigns.
Learn when tight tolerances matter, which materials boost precision, and how to optimize specs for performance and manufacturability.
Table of Contents
When Tight Tolerances Are Actually Necessary vs. Over-Specified?
Most CNC parts need tight tolerances only on functional features like mating surfaces and bearing fits—typically ±0.01mm. Non-critical dimensions perform identically at ±0.05mm, making tighter specs a 50-200% cost increase with zero functional benefit.
Tight tolerances are necessary for:
- Bearing press fits and sliding clearances
- O-ring grooves and sealing surfaces
- Threaded holes for critical fasteners
- Mating surfaces between assembled components
When we machine aluminum brackets for aerospace assemblies, bolt hole locations require ±0.01mm for proper clearance, while external edges maintain ±0.1mm per ISO 2768-m. The precision holes need specialized tooling and CMM verification, but external edges only require deburring. This selective approach reduces part cost by 40% compared to blanket tight tolerancing.
Product developers commonly over-specify tolerances because CAD software doesn’t distinguish critical from non-critical features. We see audio enclosure projects specifying ±0.01mm on decorative chamfers with no assembly function, while actual mating surfaces get standard ±0.05mm tolerances.
Design Takeaway: Reserve tight tolerances (±0.01mm or better) for features affecting fit, seal, or assembly. Apply ISO 2768-m elsewhere to minimize cost while maintaining performance.
Which Materials Enable Better Tolerance Achievement?
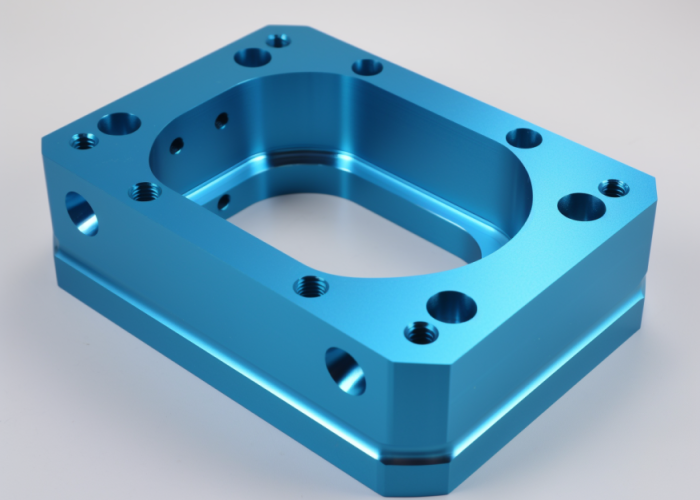
Aluminum 6061-T6 and stainless steel hold ±0.01mm tolerances consistently, while plastics and soft metals require ±0.05mm or wider due to thermal expansion during machining.
Best materials for tight tolerances:
- 6061-T6 aluminum: minimal expansion, excellent stability
- 316 stainless steel: hard, dimensionally stable, superior finish
- Brass: machinable but needs temperature-controlled environment
- Tool steels: extremely stable for precision applications
After machining thousands of medical device housings, we achieve ±0.005mm on stainless steel using climate-controlled setups and precision measurement equipment. Identical parts in ABS plastic require ±0.1mm tolerances because the material expands and contracts more with temperature changes during machining.
Material hardness directly affects tolerance capability. Soft aluminum deflects under clamping pressure, causing dimensional variance, while heat-treated aluminum maintains rigidity. Copper work-hardens during cutting, creating rough edges that affect both surface quality and dimensional accuracy.
Design Takeaway: Choose 6061-T6 aluminum or stainless steel for parts requiring ±0.01mm precision. Specify wider tolerances (±0.1mm) on plastics to ensure consistent results across production runs.
How to Choose Between GD&T and Standard Tolerancing?
Use GD&T when relationships between features matter more than individual dimensions—like hole patterns that must align perfectly. Standard ±tolerances work for simple parts, reducing drawing complexity and inspection costs.
When GD&T is necessary:
- Multiple holes that must align for assembly
- Round features requiring concentricity or straightness
- Angled surfaces needing precise parallelism
- Parts where feature positioning is critical to function
GD&T works better for complex aerospace brackets where hole positions must align precisely for bolt installation. Standard coordinate tolerancing can reject good parts because it creates square tolerance zones, while GD&T creates circular zones that match round fasteners. We use GD&T on medical components where precise roundness affects seal performance.
Standard tolerancing handles simple brackets and housings efficiently. Basic aluminum plates with corner holes need only standard position tolerances, not complex geometric callouts. Over-using GD&T increases drawing review time and requires expensive coordinate measuring machines instead of standard measuring tools.
Design Takeaway: Use GD&T only when feature relationships are critical to part function. Apply standard tolerances on simple parts to keep drawings clear and inspection straightforward.
Why Complex Geometries Make Tight Tolerances Harder?
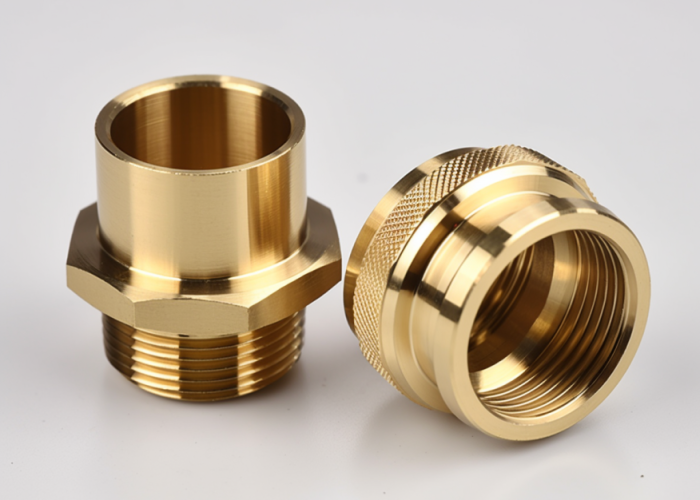
Deep pockets and thin walls prevent ±0.01mm precision due to tool deflection and vibration. Simple geometries with straight tool access achieve tight tolerances reliably.
Challenging geometries for tight tolerances:
- Deep pockets: tool deflection increases exponentially with length/diameter ratio
- Thin walls under 3mm: natural frequency drops causing chatter
- Sharp internal corners: limited to small-diameter tools with higher deflection
- Undercuts: require angled tooling reducing rigidity
After machining over 5,000 aluminum audio faceplates, simple rectangular pockets consistently achieve ±0.01mm using rigid 12mm end mills, while deep speaker recesses require ±0.05mm due to 6:1 length-to-diameter tool ratios causing measurable deflection under cutting forces.
Medical device housing projects demonstrate this principle: 1.5mm wall sections require specialized low-force clamping techniques and vibration dampening to prevent resonance, while 6mm walls machine without deflection using standard workholding. Tool deflection follows beam theory—deflection increases with the cube of unsupported length.
Our quality control data shows 15% higher scrap rates on parts with deep internal features versus simple external profiles, primarily due to tool deflection affecting critical dimensions during finishing passes.
Design Takeaway: Design critical tolerance features with length-to-diameter ratios under 3:1 for tooling, maintain wall thickness over 3mm, and use generous radii to enable ±0.01mm precision per design-for-manufacturing best practices.
How Environmental Factors Affect Tolerance Consistency?
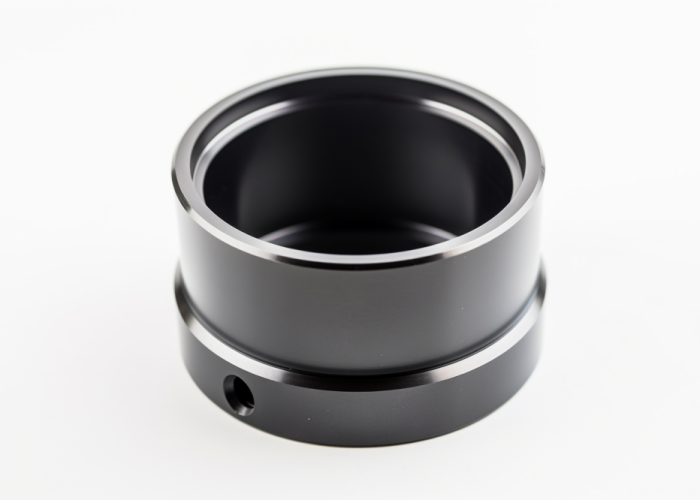
Temperature variations during machining cause aluminum to expand 23 micrometers per meter per degree Celsius, making consistent ±0.01mm tolerances impossible without environmental control per NIST guidelines.
Critical environmental factors:
- Workshop temperature: ±5°C variation causes ±0.115mm error on 100mm features
- Cutting heat: can add 30°C to part temperature during heavy cuts
- Coolant temperature: inconsistent cooling affects thermal stability
- Seasonal humidity: affects hygroscopic materials like nylon
Our ISO 9001-certified facility maintains ±1°C temperature control and achieves ±0.005mm repeatability on precision aluminum components. Comparative testing in non-controlled environments shows 3x higher dimensional variation due to thermal expansion differences between morning and afternoon production cycles.
Documented case study: 500mm aerospace bracket expanded 0.35mm when part temperature rose from 20°C to 50°C during roughing operations. We implemented constant-temperature coolant systems and thermal monitoring per AS9100 requirements to maintain dimensional stability.
Material thermal expansion coefficients directly impact tolerance capability: aluminum (23 μm/m°C), stainless steel (16 μm/m°C), brass (19 μm/m°C). This data guides our material selection recommendations for precision applications.
Design Takeaway: Specify temperature-controlled machining environments for aluminum parts requiring ±0.01mm consistency. Consider material thermal properties and request thermal monitoring protocols for critical components.
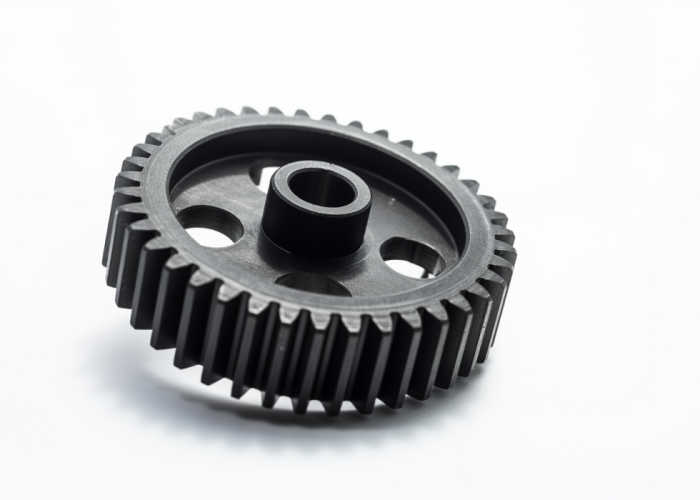
What Tolerance Can CNC Reliably Hold on Different Features?
Most CNC features achieve ±0.05mm tolerances reliably. External surfaces and holes reach ±0.01mm with proper tooling, while deep internal features require ±0.1mm due to tool access limits.
Realistic tolerance expectations by feature:
- Drilled holes: ±0.025mm with reaming operations
- Flat surfaces: ±0.01mm achievable with face milling
- External dimensions: ±0.02mm standard, ±0.005mm with grinding
- Internal pockets: ±0.05mm due to tool access limitations
When quoting precision medical components, we guarantee ±0.01mm on external surfaces and hole locations, but specify ±0.05mm for deep internal features where tool access restricts precision. Threaded holes achieve ±0.1mm position accuracy, while reamed holes reach ±0.01mm with proper drilling sequences.
Feature accessibility directly affects achievable precision. Simple external edges and top surfaces machine to tighter tolerances than internal corners or deep pockets. We regularly hold ±0.005mm on aluminum faceplate surfaces using face mills, while internal speaker recesses require ±0.05mm due to limited tool rigidity.
Small features present unique challenges. Holes under 3mm diameter are difficult to tolerance tightly due to drill bit deflection, while large flat surfaces benefit from rigid tooling. Thread quality depends on material hardness and proper tap selection rather than just tolerance specification.
Design Takeaway: Expect ±0.05mm on standard features and ±0.01mm on external surfaces with good tool access. Specify wider tolerances (±0.1mm) for deep internal features and small-diameter holes.
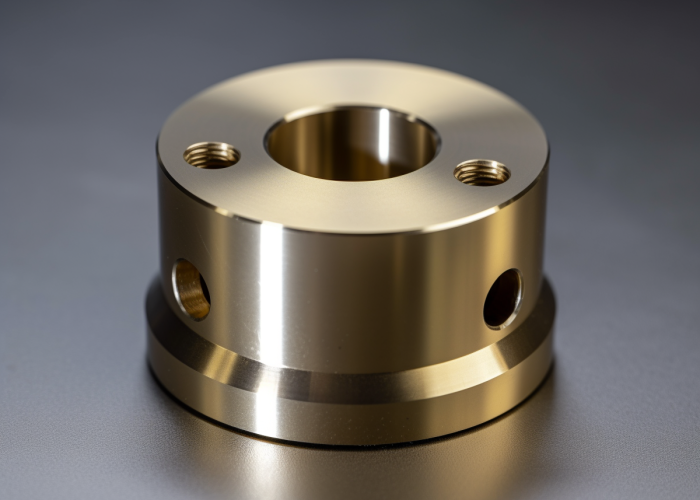
How Inspection Requirements Change with Tight Tolerances?
Tight tolerance parts (±0.01mm) require expensive coordinate measuring machines and increase inspection time 3-5x versus standard parts measured with basic shop tools.
Inspection complexity by tolerance level:
- ±0.1mm tolerances: calipers and micrometers sufficient
- ±0.05mm tolerances: height gauges and precision measuring tools
- ±0.01mm tolerances: coordinate measuring machines (CMM) required
- ±0.005mm tolerances: climate-controlled measurement rooms needed
Our quality control process shows dramatic differences in inspection time. Standard aluminum brackets with ±0.1mm tolerances take 5 minutes to inspect using calipers, while identical parts with ±0.01mm tolerances require 25 minutes on our CMM with detailed measurement protocols and multiple temperature readings.
Tight tolerances demand expensive measuring equipment. Basic shop tools like calipers have ±0.02mm accuracy, making them unsuitable for verifying ±0.01mm features. CMM equipment costs over $100,000 and requires trained operators, climate control, and regular calibration to maintain measurement accuracy.
Documentation requirements increase significantly with tighter tolerances. Standard parts need basic dimensional reports, while precision components require detailed inspection certificates showing every measured dimension, measurement uncertainty, and environmental conditions during inspection.
Temperature affects measurement accuracy. Steel parts measured at different temperatures can show ±0.01mm variation just from thermal expansion, requiring temperature-controlled measurement environments for reliable results on tight-tolerance components.
Design Takeaway: Budget additional time and cost for inspection when specifying tolerances tighter than ±0.05mm. Standard shop measuring tools work for ±0.1mm parts, but ±0.01mm requires professional measurement equipment and procedures.
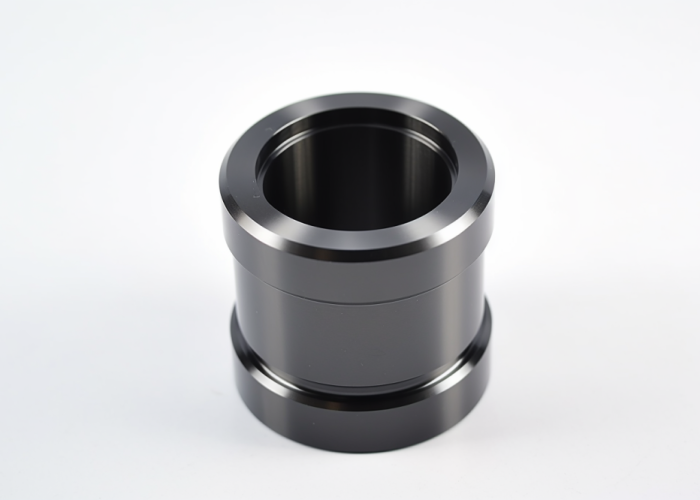
What Makes Production Repeatability Challenging?
Tool wear and machine drift cause tolerance relaxation during production runs. Parts achieving ±0.01mm initially may drift to ±0.05mm without statistical process controls and tool life management.
Production consistency challenges:
- Tool wear: cutting edges dull affecting precision over time
- Machine calibration drift: spindle accuracy degrades with use
- Temperature variations: workshop changes affect part dimensions
- Material lot differences: hardness variations impact cutting forces
Production tracking on 2,000+ aluminum brackets shows parts maintain ±0.02mm for the first 50 pieces using fresh tooling, then drift to ±0.05mm as cutting edges wear. We implement tool life monitoring and mandatory changes every 100 parts per ISO 9001 quality procedures.
Temperature fluctuations create dimensional drift throughout production days. Morning parts machine differently than afternoon parts due to thermal expansion in both machines and workpieces. Environmental monitoring helps maintain consistency across large batches.
Setup repeatability varies between operators. Experienced machinists reproduce setups within ±0.01mm, while variations in workholding introduce ±0.03mm differences. Standardized procedures and fixture designs reduce operator-dependent variation significantly.
Design Takeaway: Specify tool life limits and environmental controls for consistent tight tolerances in production. Expect gradual tolerance relaxation (±0.01mm to ±0.03mm) across large quantities without process controls.
Conclusion
Tight tolerances are essential only for functional features—over-specifying increases costs 50-200% without performance benefit. Choose stable materials like 6061-T6 aluminum, design for manufacturability, and apply ISO 2768-m standards to non-critical dimensions for optimal cost-precision balance.
Frequently Asked Questions
Use GD&T when feature relationships matter—like hole patterns or concentricity requirements. Standard ±tolerances work for simple parts and reduce drawing complexity, inspection costs, and manufacturing time without compromising functionality.
Standard CNC tolerance is ±0.05mm for aluminum parts. Precision machining can achieve ±0.01mm on external surfaces and holes with proper tooling and setup, while deep internal features typically require ±0.1mm due to tool access limitations.
Use ±0.01mm only for functional features like bearing fits, mating surfaces, and seal grooves. Apply ±0.05mm or ISO 2768-m to non-critical dimensions like mounting flanges and decorative edges to avoid unnecessary cost increases.
Tight tolerances (±0.01mm) increase costs 50-200% due to specialized tooling, slower feeds, multiple setups, and CMM inspection requirements. Standard tolerances (±0.05mm) use conventional tools and basic measuring equipment, reducing time and cost significantly.
6061-T6 aluminum and 316 stainless steel maintain ±0.01mm tolerances consistently due to dimensional stability. Plastics and soft metals require ±0.05mm or wider because of thermal expansion and deflection during machining operations.
Parts with ±0.01mm tolerances require coordinate measuring machines (CMM) and controlled measurement environments. Standard ±0.05mm parts can be verified with calipers and micrometers, reducing inspection time and equipment costs significantly.
