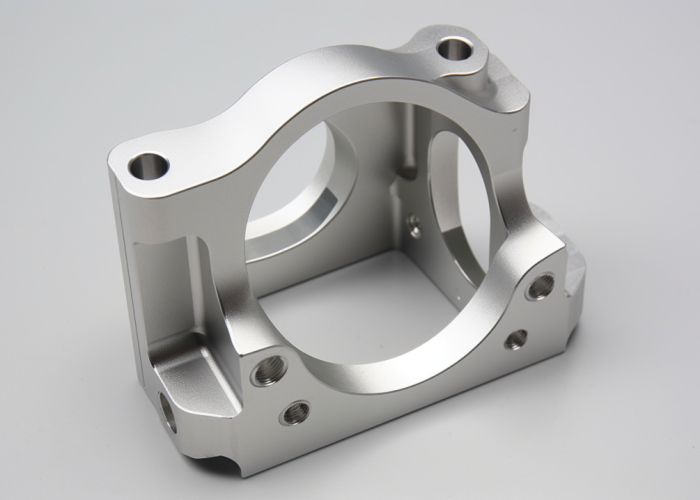
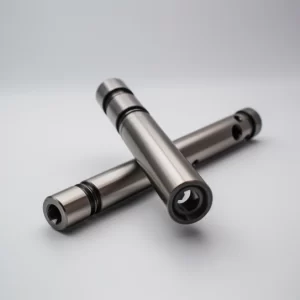
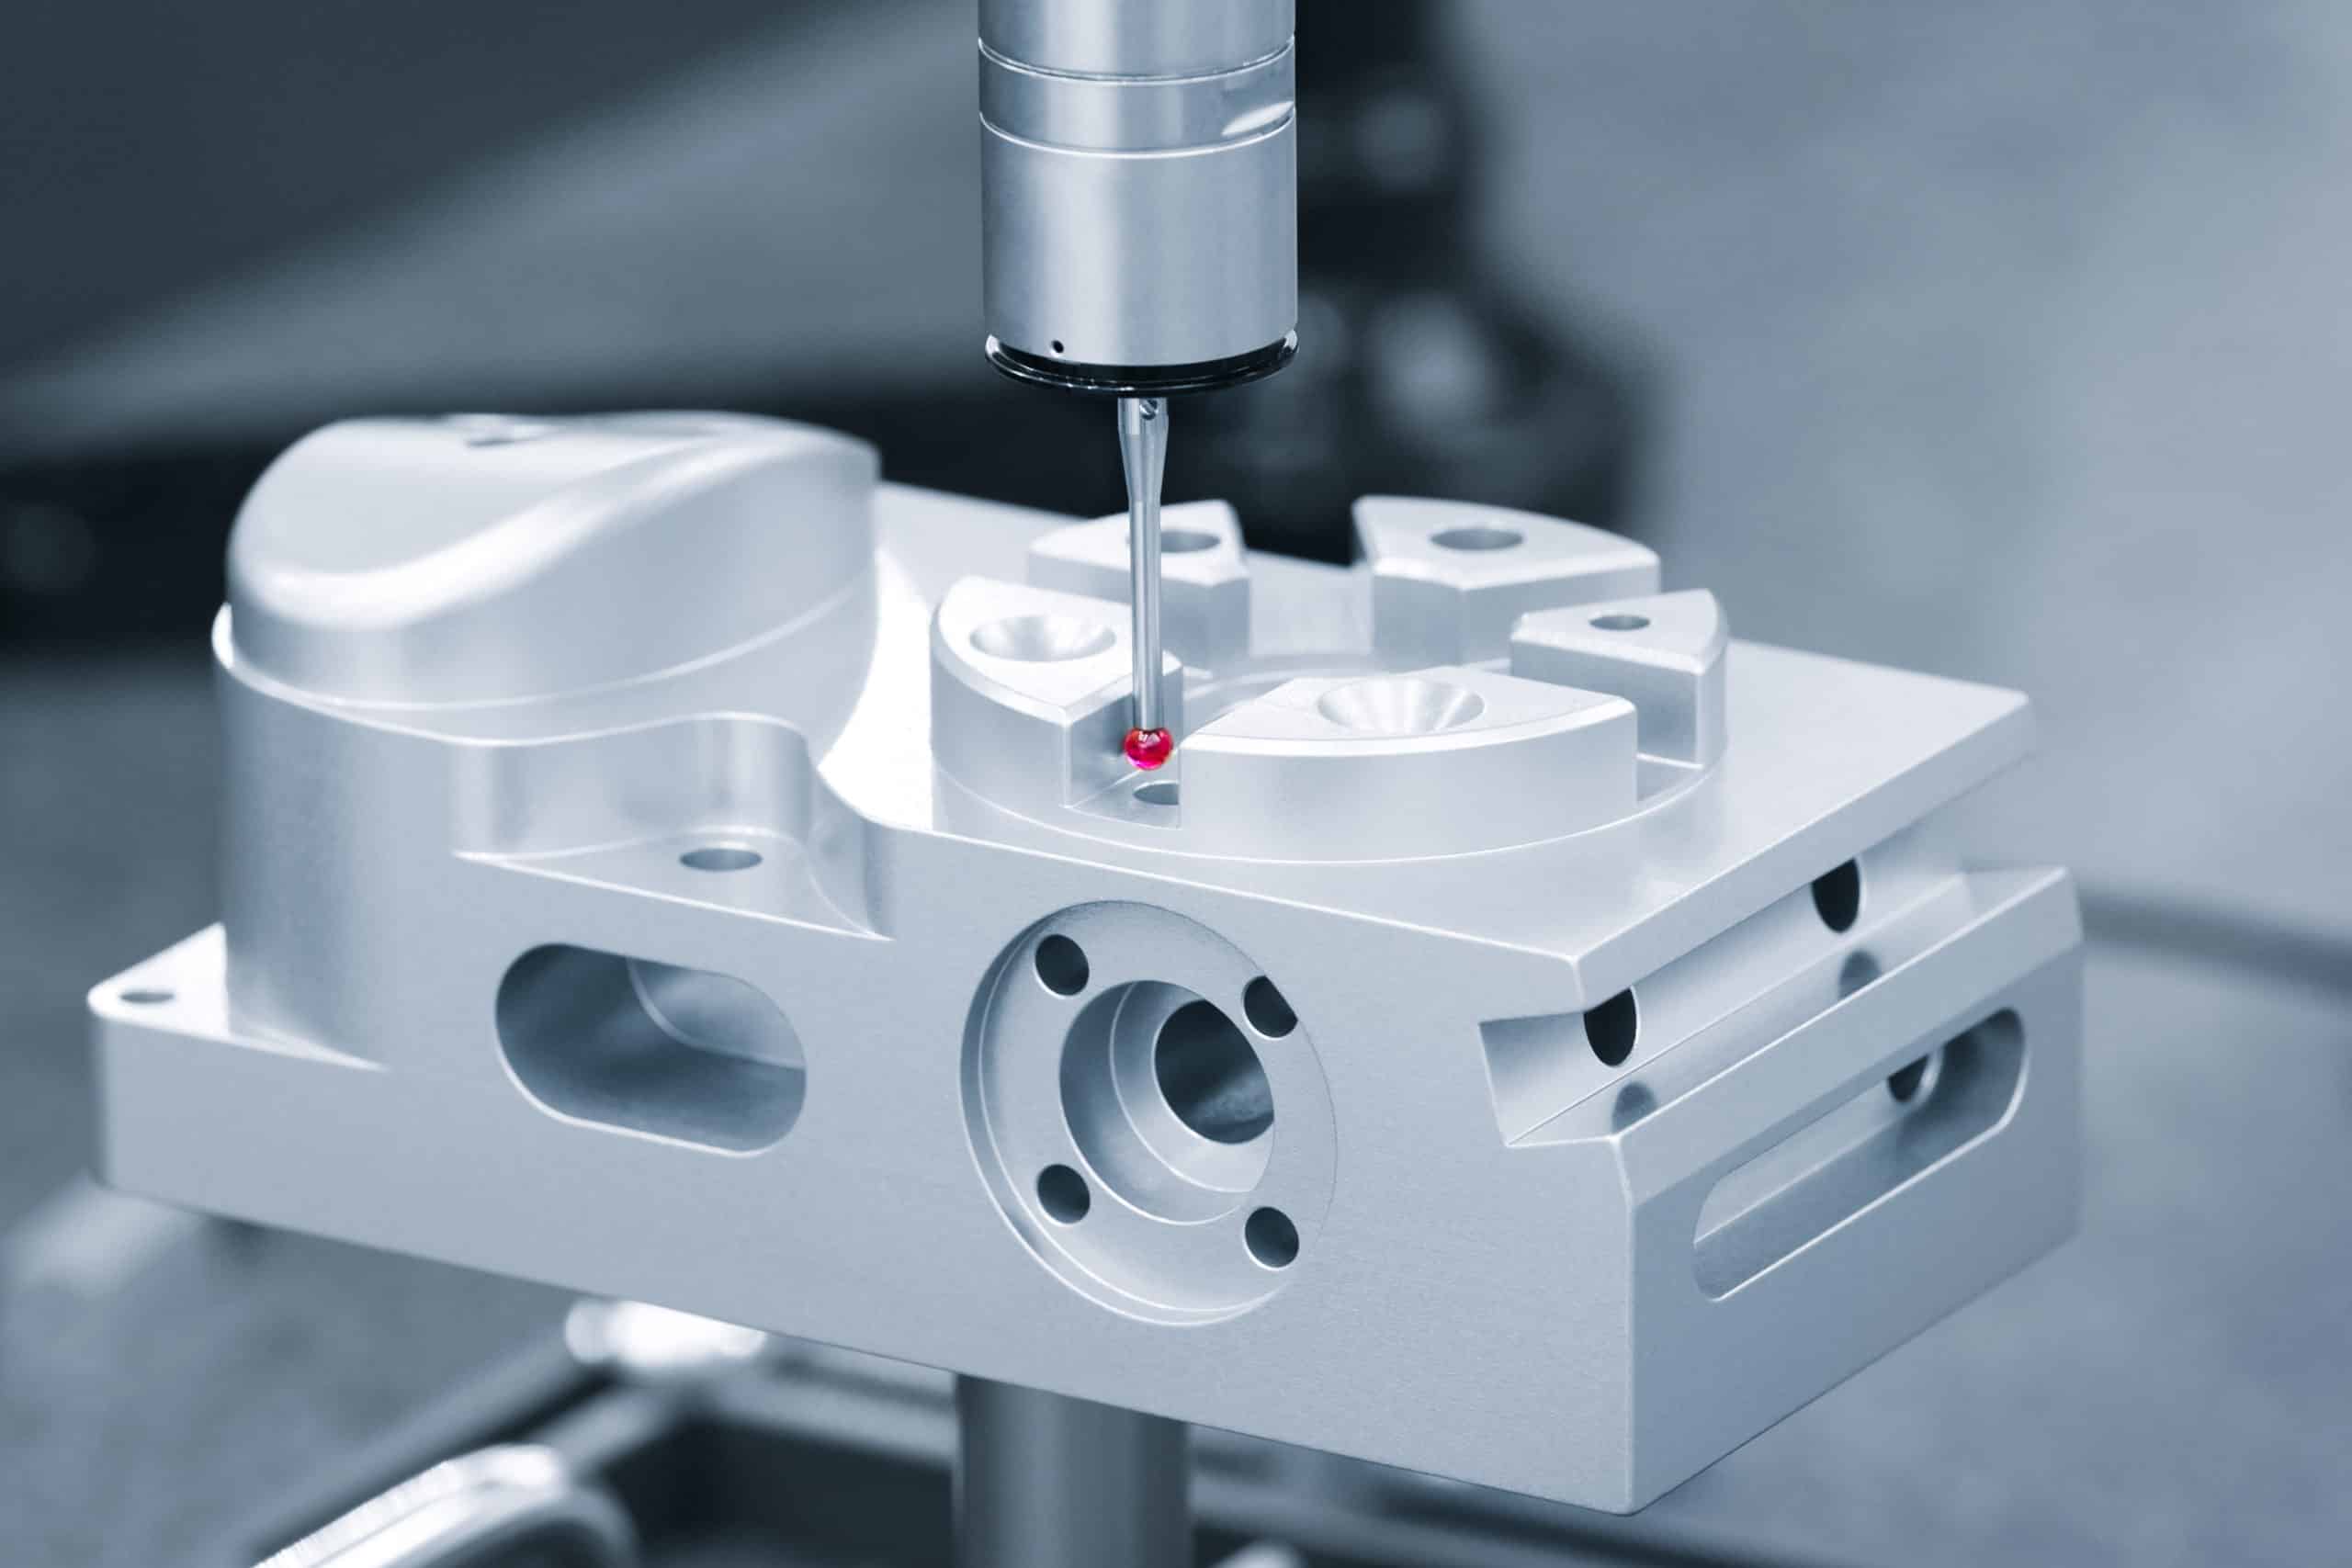
Your supplier just said “not manufacturable” — again. You’ve checked the drawing, and nothing looks impossible. The real issue isn’t your part — it’s their equipment or capability limits. Every rejection burns time, but most of these parts can be made if you send them to the right shop.
Most “can’t quote” replies come from setup cost fears, limited tooling, or inspection gaps, not design errors. When a shop lacks the right fixtures or 4-axis reach, rejection is a business decision — not a technical one.
Learn why capable CNC shops reject manufacturable parts, how to spot warning signs early, and how Okdor turns “impossible” drawings into finished parts fast.
Table of Contents
Why Do So Many Machine Shops Reject Parts They Could Actually Make?
Most rejections happen for business reasons, not technical ones. When a shop says “not manufacturable,” it often means “too costly for our setup.” Once estimators see long fixture changes, extended cycle time, or thin-wall features, they decide the job won’t meet profit targets—so they walk away after reviewing it, not because it’s impossible to cut.
Typical job shops stay within narrow 3-axis comfort zones and repeat work they can price in minutes. A part needing compound angles or micron-level runout instantly triggers concern about setup time and verification. That’s a business filter, not a machining limit.
We’ve refined our process so complex setups quote and run like standard jobs. Shared tooling databases, modular fixtures, and standardized inspection routines remove uncertainty from programming and first-article approval. This allows us to turn high-mix prototype work faster—jobs others quote at six weeks typically ship in two to three. Each part is validated to ISO 2768 mK or tighter, ensuring proof before production.
Supplier Type | Typical Lead Time | Setup Flexibility | Risk Handling |
Standard Job Shop | 6–8 weeks | Limited | Rejects high-risk parts |
Equipped Specialist | 2–3 weeks | High | Quotes with inspection plan |
Next Step:
If your drawings keep getting declined, the problem isn’t feasibility—it’s efficiency. Request a capability review; we can confirm manufacturability and delivery options within 24 hours.
What’s Really Behind “We Can’t Quote This” Emails?
A “can’t quote” message usually means the estimator never reached the CAM stage. The rejection happens before review—when tolerances, materials, or part volume signal hours of prep that won’t be recovered. The geometry may be fine; the quoting system simply isn’t built for it.
Production-focused shops depend on predictable repeat runs. A one-off or prototype part breaks that model—it demands fixture design, CMM validation, and documentation they can’t amortize. To stay profitable, they quietly filter those jobs out with a short refusal email.
We approach quoting differently. Our system evaluates geometry features directly, pulls proven cutter data, and applies existing fixture templates. That reduces quoting time by roughly 70 percent and removes inflated “risk buffers.” Projects others estimate for eight-week delivery often clear our floor in four or less.
We also share process notes—tooling strategy, inspection checkpoints, and achievable timeline—so engineers can judge competence, not guess. Transparent quoting converts a dead-end reply into a decision tool backed by capability evidence.
Quoting Behavior | Typical Shop | Our Approach |
Review Depth | Surface-level | Feature-based geometry analysis |
Quote Time | 3–5 days | ≤ 24 hours |
Risk Buffer | +20–30% | Minimal (data-driven) |
Next Step:
If you keep receiving “no quote” replies, request a capability-based assessment instead of another price check. We can outline how your part can be produced and return a verified quote within one business day.
How Can You Tell If Your Specs Are Truly Unrealistic?
When suppliers say your tolerances are “too tight,” it’s tempting to assume you over-designed the part. In most cases, though, “unrealistic” means “beyond our inspection setup.” A ±0.01 mm callout only feels impossible to shops without temperature-controlled rooms or sub-micron probes.
We often see drawings rejected because flatness or concentricity values outstrip what their CMM can verify, not what their machine can cut. Instead of loosening specs too early, the smarter move is to compare your tolerance to process capability. If a shop’s measurement accuracy is half your required tolerance, they’ll reject it automatically.
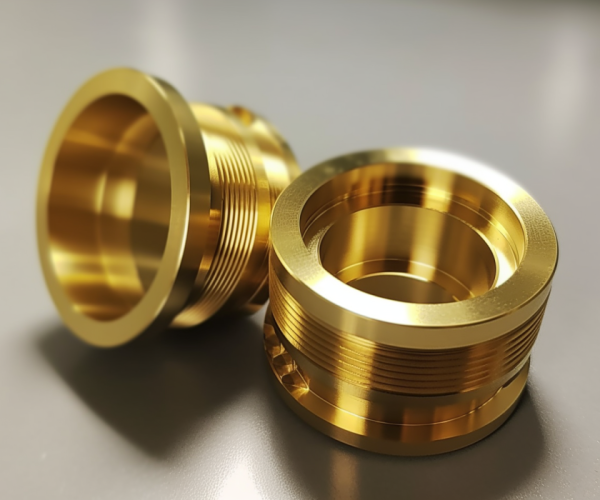
We match each feature to process stability before machining. For example, a brass housing once labeled “impossible” at ±0.01 mm held perfectly once inspected under thermal control. If measurement isn’t the issue, equipment access likely is—something discussed in the next section.
Capability snapshot:
Feature Type | Typical Shop Limit | Controlled Setup |
Linear Tolerance | ±0.05 mm | ±0.01 mm |
Flatness | 0.03 mm | 0.008 mm |
Bore Size | ±0.02 mm | ±0.005 mm |
If a spec truly exceeds what current tooling or verification allows, we’ll advise an alternative process rather than risk out-of-tolerance parts.
Next Step:
Before changing your drawing, confirm the supplier’s measurement range. We can cross-check your specs against process data and confirm within 24 hours whether they’re unrealistic or just beyond most shops’ verification window.
What Equipment Gaps Cause Most Complex Part Rejections?
Most “not manufacturable” replies trace back to hardware limits, not design flaws. A shop running only 3-axis mills or manual vises simply can’t maintain geometry that requires compound angles, deep bores, or true concentricity across multiple setups. What looks like a design issue is usually a tooling or fixture constraint.
The most common blockers are missing 4th/5th-axis reach, weak workholding, and manual inspection. Without rotary positioning or CMM validation, these shops decline complex parts immediately to avoid scrap. Once that pattern appears, you’re not getting feedback—you’re getting filtered out.
We’ve seen this repeatedly. A titanium impeller once rejected twice for “inaccessible angles” ran flawlessly after mounting on a 5-axis tombstone with optical probing. It completed in one setup, all dimensions verified within tolerance. The part was never impossible—just out of reach for the wrong machines.
Capability | Basic Shop | Advanced Setup |
Axis Range | 3-axis only | 4 + 5-axis simultaneous |
Workholding | Manual vise | Modular tombstone / vacuum |
Inspection | Hand tools | CMM + optical probe |
Lead Time | 6–8 weeks | 2–3 weeks |
We stay transparent: if geometry exceeds current fixture reach, we’ll recommend alternate machining or staged setups rather than risk missed dimensions. That honesty saves time and protects quality.
Knowing these hardware gaps lets you screen suppliers before losing another week. If measurement wasn’t the problem, missing axis range probably is.
Next Step:
When drawings get flagged for geometry or angle limits, ask about axis range, probing, and fixture type. We can confirm feasible setups and return a verified process plan within one business day.
What Red Flags Mean a Shop Will Waste Your Time?
Slow quotes, vague replies, and moving delivery dates are early warnings of capability or capacity mismatch. Many engineers lose weeks waiting for suppliers who realize mid-process that the part doesn’t fit their workflow but won’t admit it.
Watch for these red flags:
- Quotes missing surface-finish or inspection details
- Repeated requests to “simplify geometry” before pricing
- Lead times shown as “TBD” or “after confirmation”
- Silence once STEP files are sent
We’ve seen projects collapse under this pattern. One buyer waited a month for a price update while production capacity quietly vanished. In that same window, we re-quoted, machined, and delivered the first batch within ten days. Recognizing the signs early can literally save an entire launch schedule.
Behavior | Unreliable Shop | Capable Supplier |
Quote Response | 5–7 days | ≤ 24 hours |
Progress Updates | Sporadic | Every 2 days |
Drawing Feedback | Generic | Specific + actionable |
On-Time Rate | < 70 % | > 95 % |
The strongest signal is silence—when communication stops, production risk starts. A capable supplier keeps engineering, quoting, and inspection linked so you never wonder where your part stands.
Next Step:
If responses drag or arrive without technical detail, stop waiting. Request a capability-verified quote that includes inspection notes, milestone updates, and fixed delivery windows. Transparent suppliers protect your schedule before chips even start flying.
How Do Experienced Suppliers Handle “Impossible” Features?
Most so-called “impossible” features fail because the shop treats them as exceptions instead of engineering challenges. Experienced suppliers don’t reject — they simulate, fixture, and prove. What others flag as “too thin,” “too deep,” or “too small” becomes achievable once the setup is engineered correctly.
Problem areas often include deep pockets, undercuts, tight bore spacing, or compound angles. Many shops hesitate because these demand special tools or staged machining that cut into profit. The difference lies in preparation and control.
We validate every complex feature before cutting: simulate tool paths, test deflection, and add temporary supports. If a setup still pushes limits, we divide the operation or re-fixture instead of forcing a risky pass. That’s why parts others call “unmachinable” routinely pass first inspection here.
Example: a 1 mm-wall aluminum housing with a cross-hole at 45°. Two vendors refused it; our staged fixture sequence held ±0.015 mm with zero deformation and full surface finish.
Feature Type | Common Issue | Proven Approach |
Thin Walls | Deflection | Staged machining + rib supports |
Deep Pockets | Chatter | Short-tool sequencing |
Cross Holes | Misalignment | Multi-axis re-orientation |
Next Step:
When a supplier calls a feature impossible, ask what limits them — tooling, fixturing, or tolerance control. We can simulate operations and confirm a manufacturable plan within 24 hours. Once geometry is proven feasible, tolerance control becomes the next major cost lever.
What Information Gets You the Most Accurate Re-Quote?
When quotes come back overpriced or rejected, engineers often resend the same file. What most shops need isn’t a new price — it’s missing context. The right details let capable suppliers quote confidently instead of padding for risk.
Typical gaps include incomplete tolerances, unclear finishes, or missing inspection notes. Without knowing which dimensions are critical-to-function, estimators assume everything needs tight control — and cost spikes.
We encourage customers to flag tolerance priorities, note target quantities, and attach STEP models with drawings. That single change often halves quoting time and removes 20–30 % of built-in risk cost. In one case, a stainless enclosure price dropped 28 % once only mating faces were marked ±0.02 mm.
A complete data package narrows quote variation from about ±30 % with PDFs alone to ±5 % with full models. In practice, that means the average quoting cycle drops from three days to under one when full context is provided.
We also include manufacturability feedback so engineers can confirm assumptions before sending the next RFQ. Transparency replaces guesswork and speeds supplier decisions.
Next Step:
When requesting a second opinion, include 3D geometry, quantity range, and key-fit tolerances. We can analyze, confirm feasible tolerances, and return a verified cost breakdown within one business day.
Should You Relax Tolerances or Find a More Capable Shop?
When costs climb, loosening specs feels like the easiest fix. Sometimes it helps — more often it hides a capability gap. A ±0.01 mm tolerance isn’t expensive everywhere; it’s expensive where equipment or inspection stability can’t support it. Once geometry issues are solved, tolerance control becomes the next big cost driver.
Relaxing tolerances moves risk from quoting to performance. If the feature affects alignment, sealing, or motion, lower precision can cause downstream failures. The smarter approach is to identify whether cost stems from design intent or machine limitation.
We evaluate cost-to-capability before suggesting any change. For example, widening a hole tolerance from ±0.01 to ±0.03 mm cut one vendor’s cost by 20 % but made no difference on our setup — same process, same tools. That shows the issue was equipment, not over-specification.
Decision Factor | Loosen Tolerance When… | Keep Tight When… |
Functionality | Non-critical fit | Mating / motion surface |
Equipment | Limited gauging | CMM + thermal control |
Quantity | High-volume | Prototype / low run |
We always recommend tolerance changes only when they reduce true cost without risking fit or wear. If price inflation stems from equipment limits, switching suppliers is safer than altering design intent.
Next Step:
Before revising your drawing, ask what drives the quote — precision or equipment. We can identify the real cost source and confirm whether tolerance change or supplier change offers better value.
How Quickly Can You Get a Second Opinion on a Rejected Design?
When multiple shops reject your drawing, every lost day compounds project risk. The fastest recovery isn’t a new quote—it’s a capability-based re-quote. Experienced suppliers can evaluate feasibility within hours because they know which limits caused the rejections.
Most “no-quote” parts don’t need redesign; they need proper fixture access, tool reach, or tolerance confirmation. With accurate process data, re-quotation speed depends more on supplier readiness than on file complexity.
We run geometry checks, material verification, and fixture planning in parallel, returning manufacturability feedback and cost within 24 hours for prototypes and 48 hours for assemblies. For urgent recovery work, CAM simulation starts before formal approval—saving another day of idle time. This lets you restart sourcing immediately instead of waiting for internal sign-offs or another vendor cycle.
Typical second-opinion timing:
Part Type | Typical Shop | Experienced Supplier |
Simple 3-axis | 2–3 days | ≤ 12 hours |
5-axis / multi-setup | 4–7 days | 24–48 hours |
Rejected prototype | N/A | 24 hours with feedback |
The key isn’t speed alone—it’s actionable data. A true second opinion explains why it failed elsewhere and how it can now succeed.
Next Step:
If your project is stalled after rejection, upload the same files for a capability-verified quote. We’ll confirm feasibility, tooling approach, and delivery timeline within one business day.
How Do You Recover Timeline After Multiple Supplier Rejections?
After two or three rejections, projects rarely stall because of design flaws—they stall from lost momentum. Each new quote resets the clock, and internal teams begin doubting feasibility. Structured recovery solves this by combining fast evaluation, parallel quoting, and immediate production readiness.
We start by analyzing every prior rejection—material, tolerance, or setup—and remove duplicate checks. Once the root cause is clear, quoting and DFM review run simultaneously instead of sequentially. That single change often saves three to five days per sourcing cycle.
Capacity control is equally critical. By keeping high-mix machines open for restarts, we can begin manufacturing within 24–48 hours of approval. When schedules tighten, weekend shifts or partner cells absorb overflow to protect delivery without quality trade-offs.
Timeline contrast:
Stage | Typical Supplier | Structured Recovery |
Quote turnaround | 3–5 days | ≤ 24 hours |
First article | 2–3 weeks | 5–7 days |
Production start | After queue | Immediate slot |
We’ve rescued assemblies delayed over two weeks and shipped qualified prototypes inside one. If workload exceeds in-house capacity, we transparently recommend trusted partners rather than risk another delay—that’s how schedule reliability is maintained.
Next Step:
If repeated rejections have already pushed your timeline, request a recovery evaluation today. We can outline a re-quote plan and restart schedule within 24 hours.
Conclusion
Most “impossible” parts fail because the supplier isn’t equipped, not because the design is wrong. Okdor specializes in recovering those projects fast — with verified tooling plans, inspection data, and 24-hour quoting. Upload your rejected drawings now to confirm feasibility and get your project back on schedule.
Frequently Asked Questions
We handle short-run recovery builds routinely. Prototype batches of 1–10 parts can start machining within 48 hours of quote approval. This buys time for design validation while full-volume sourcing continues in parallel — no idle test phase.
For urgent sourcing recoveries, you’ll receive a confirmed quote with feasibility notes in under 24 hours. For multi-component assemblies, 48 hours max. Quoting and CAM prep happen in parallel, so production can start the same week.
We identify the original failure point — missing tooling, tolerance stack, or setup error — before quoting. Our simulation and inspection workflow confirms manufacturability before commitment, preventing the “reject-and-delay” loop most engineers face.
Yes. We re-inspect the in-progress piece or CAD data, confirm remaining tolerances, and rebuild the fixture setup. Transition typically adds less than two days to total lead time — not weeks. We’ll verify compatibility before machining continues.
We can step in immediately. Once you share the latest drawing or part file, our team performs a same-day capability check and provides a restart quote within 24 hours. We often resume production within 2–3 days to prevent further schedule loss.
Absolutely. Provide the previous inspection report or finish sample, and we replicate it using matched tooling and test coupons. We verify consistency to ±0.01 mm or Ra ≤ 0.8 µm, then send a quick approval photo before full run.
