You replaced the gears, installed them carefully — yet the same noise remains. The supplier says everything “meets the drawing,” but the problem never changed. That’s a clear sign you’re facing a diagnostic gap, not a machining error.
Replacement gears rarely fix noise because most shops only match dimensions, not the real contact behavior. Noise continues when surface finish, profile alignment, or center distance were never verified under load.
Learn why new gears repeat old noise, how to spot missed root causes, and which inspection processes actually fix noise problems for good.
Table of Contents
Why New Replacement Gears Still Make the Same Noise?
Replacement gears often keep the same noise because suppliers match dimensions, not the loaded contact pattern that creates vibration.
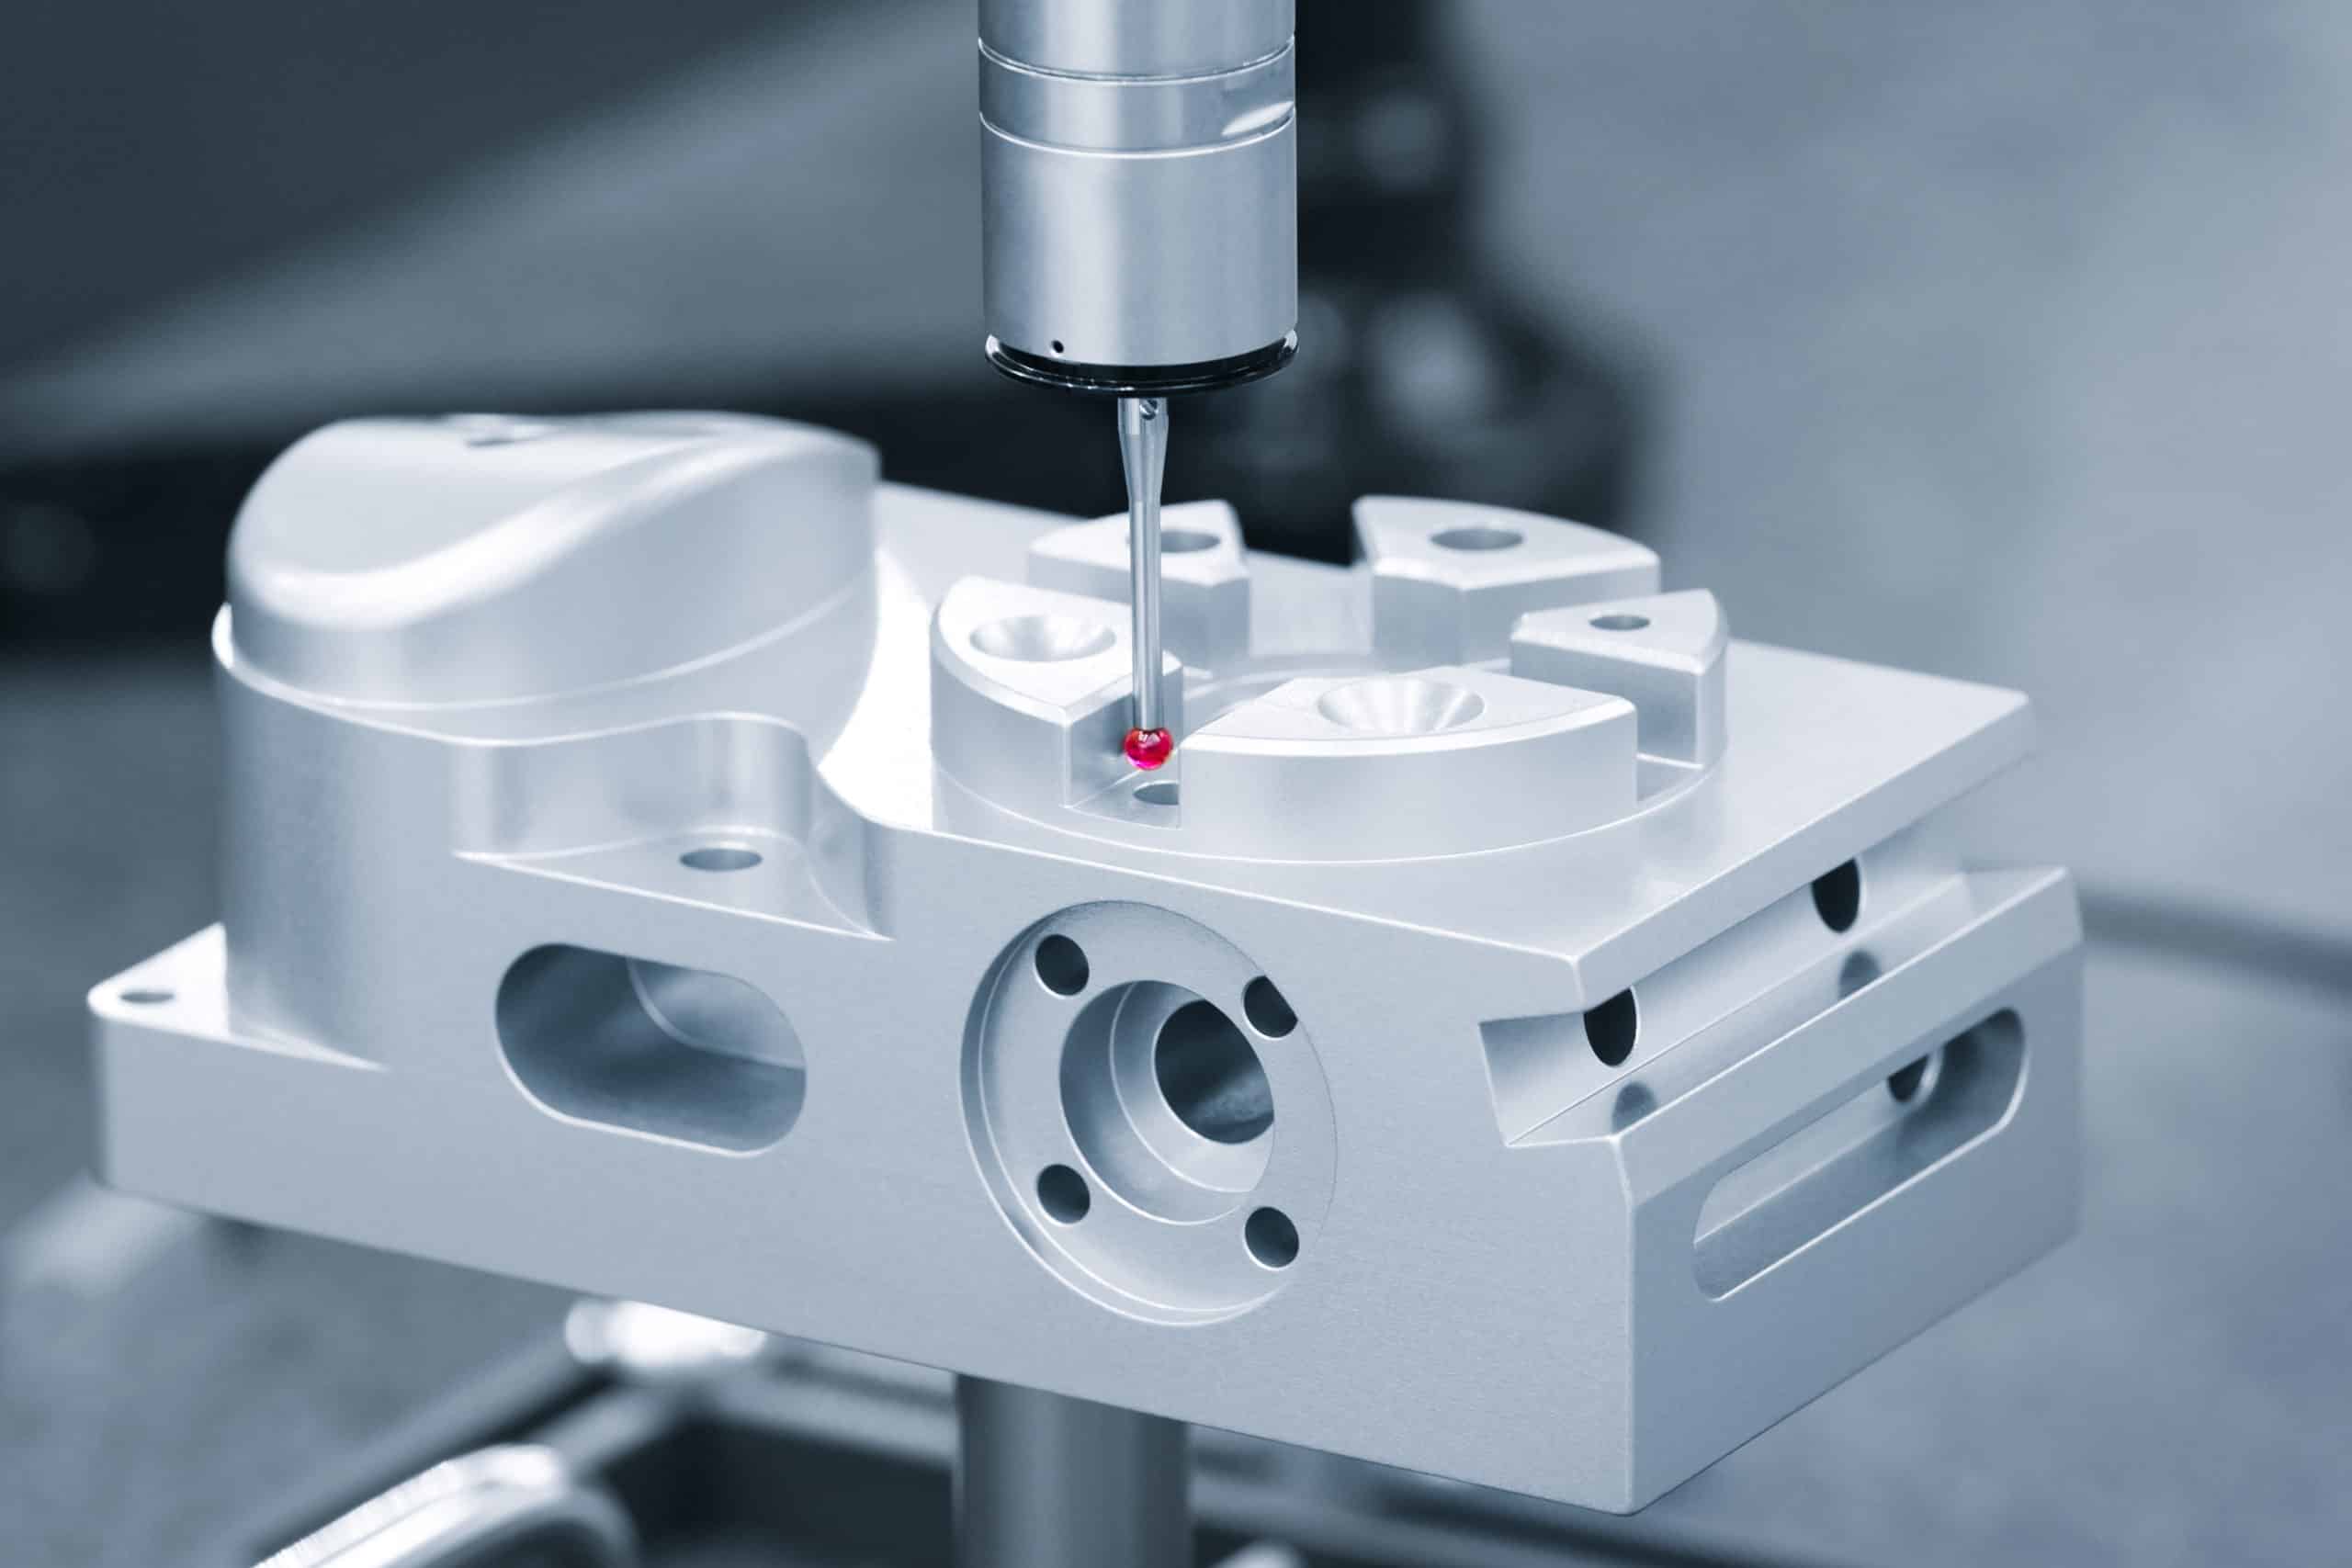
Even without the full gearbox, it’s possible to diagnose noise causes. We analyze the returned gear or CAD data using CMM-measured lead, profile, and runout to simulate the mesh under load. If the geometry shows misaligned contact or profile error, new gears will repeat the same noise no matter how precisely they’re cut.
Most vendors skip this step because it requires time and measurement expertise. We use geometry-based diagnostics first — checking lead deviation within ±2 µm, contact trace shape, and surface finish direction — before any machining starts. That saves days of rework and ensures replacements address the real cause, not just dimensions.
Sourcing Takeaway: If new gears still sound like the old ones, pause re-ordering. Share the gear data or measurement report for a 24-hour geometry-based review before cutting another batch — it prevents repeating the same failure cycle.
Why Most Vendors Replace Gears Instead of Solving the Root Cause?
Most vendors re-cut parts instead of diagnosing noise because they focus on throughput, not inspection.
When a gearbox remains noisy, “make another set” is the easy answer. But dimensional accuracy doesn’t equal quiet operation. Noise often comes from bearing preload, housing deflection, or run-out under torque — issues outside a drawing’s scope that basic QC never reveals.
Our workflow starts with verification, not production. We correlate shaft alignment, preload, and lead-profile data to isolate where the vibration originates — geometry, assembly, or support rigidity. This approach prevents unnecessary machining and exposes non-gear contributors to noise.
Each case produces a concise root-cause summary detailing which factor drives the sound and how to eliminate it — giving engineers factual insight before approving any new run.
Sourcing Takeaway: If a supplier keeps suggesting new gears without test or measurement data, stop the loop. Ask for root-cause confirmation backed by inspection traces before authorizing another order — that’s how sourcing teams cut cost and downtime together.
What to Do When a Supplier Says “The Gears Are Fine” but Noise Continues?
When a supplier says “the gears are fine,” it usually means they checked size, not how the teeth actually mesh under load.
Dimensional compliance hides dynamic faults. A 5 µm profile deviation can double vibration amplitude, even when every dimension passes. If the shop lacks lead-trace mapping or surface-lay analysis, it calls the part “good” while your gearbox still howls.
We verify what others miss. Lead/profile scans (± 2 µm), surface-finish checks ≤ Ra 0.8 µm, and run-out mapping expose hidden noise sources. When geometry looks fine but contact shows edge bias, we identify preload or housing misalignment before cutting anything new.
Each unverified batch wastes 7–10 days and can raise total project cost by 20 %. Our inspection reports are returned within 24 hours, allowing fast quoting or corrective machining the same week.
Sourcing Takeaway: If the shop says “fine” but the rig still screams, demand lead-trace and run-out plots. Without them, “fine” means “measured cold.” One 24-hour geometry review can rescue your schedule and your bearings.
Still hearing the same noise?
Get a geometry-based inspection quote within 24 hours and see what your previous vendor never measured.
Why Exact Replacements Keep Repeating the Same Noise Problem?
Exact replacements repeat noise because they reproduce the same geometry that created it.
Copying the original CAD guarantees identical harmonic behavior. When profile crowning, helix lead, or finish direction caused resonance once, cloning those specs ensures the same tone again. Most vendors simply duplicate data — same file, same flaw.
We start by scanning returned gears with CMM accuracy ± 2 µm and running surface-texture analysis. If simulation shows overlap-ratio or profile-shift > 0.01 mm, we alter the micro-geometry or finishing process, not the nominal dimensions. That breaks the noise signature while maintaining fit.
Each unnecessary re-cut adds 1–2 weeks lead time and inflates total cost ≈ 30 %. Our corrective machining plan and quote are typically issued within 48 hours of inspection — before another redundant order starts.
Sourcing Takeaway: When a vendor proudly says “we made it exactly the same,” that’s the red flag. Ask for a geometry-comparison report showing what changed between batches. Matching drawings never fixes noise — changing the contact path does.
Why Third-Party Gear Replacements Fail More Often Than OEM Parts?
Third-party replacements fail because they copy form without reproducing the OEM’s tuned system.
OEM gears are built around matched center distances, bearing classes, and controlled micro-offsets. Aftermarket shops lack that data. Even a 0.02 mm center-distance bias can raise noise ≈ 5 dB, and an uncompensated 0.01 mm profile-shift moves load to the edge, accelerating wear.
Most vendors assume identical module = identical performance. In reality, shaft compliance, housing stiffness, and lubrication pattern decide noise behavior. Without those parameters, parts meet print dimensions but excite new vibration modes.
We reverse-measure existing gears, compare them against standard OEM geometry bands, and simulate mesh contact to predict noise before production. If deviation exceeds limits, we modify finishing or relief — not guess. Results and quote are delivered within 48 hours.
Capability Comparison Snapshot
Capability | Typical Job Shop | Our Diagnostic Process |
Lead/Profile Accuracy | ± 10 µm | ± 2 µm |
Finish Control | Ra 1.6 µm | Ra 0.8 µm |
Report Turnaround | 1–2 weeks | 24–48 h |
Sourcing Takeaway: If third-party gears keep failing, stop chasing copies. Ask for a geometry-to-OEM correlation report before approval. Noise issues rarely stem from machining quality — they stem from missing the tuned system behind the print.
Why Most Gear Suppliers Skip the Inspection That Prevents Noise?
Most suppliers skip the inspection that prevents noise because it takes time, training, and specialized tools they don’t have.
Standard QC checks only tooth count, OD, and run-out. But quiet operation depends on lead trace symmetry, profile slope, and loaded contact pattern — parameters invisible to dial gauges. Many shops lack CMM gear-analysis software or single-flank testers, so they declare parts good after a few quick checks.
We invest that extra step. Every gear set goes through CMM profile and lead-trace mapping (± 2 µm) and, when required, single-flank composite testing to confirm transmission-error stability before shipping. Detecting noise potential this early prevents weeks of re-cuts and warranty returns.
Skipping this inspection saves vendors an hour but costs you ten days of troubleshooting. Our inspection summaries are issued within 24 hours and include graphs you can compare against any supplier’s QC sheet.
Sourcing Takeaway: Ask every vendor to show lead-trace or composite-error plots before accepting “QC passed.” If they can’t produce them within 24 hours, they’re checking dimensions — not performance.
Why Gears “Within Tolerance” Still Cause Noise Problems?
Gears within drawing tolerance can still make noise because tolerance bands don’t account for mesh dynamics.
Print limits control size, not function. Two gears each at opposite ends of ± 0.01 mm tooth-thickness tolerance may technically pass — yet run out of phase, producing periodic impact at mesh frequency. Add surface-finish direction or shaft deflection, and the pair becomes audibly rough.
We analyze how dimensional combinations behave under load. Using statistical tolerance stack-ups and micro-geometry simulation, we identify where acceptable parts interact poorly. A profile deviation above 5 µm, for instance, can double transmission-error amplitude even though it’s “in spec.”
Our reports highlight those risky intersections before production, allowing customers to tighten only what matters instead of rewriting every tolerance.
That saves quote time and avoids over-spec costs — typical lead-time recovery: 48 hours vs 2 weeks at general shops.
Sourcing Takeaway: When a vendor says “all within tolerance,” ask which side of the band each part sits on. Quiet gears depend on matching zones, not individual numbers. Request their stack-up summary before authorizing delivery.
Why “It Meets the Drawing” Isn’t Good Enough Anymore?
“Meets the drawing” no longer guarantees performance — modern noise control requires validation beyond print dimensions.
Drawings capture static geometry; noise comes from dynamic mesh behavior. Vendors that stop at dimensional compliance miss surface-energy direction, hardness gradient, and assembly stress, all of which shift contact under torque. As tolerances tighten, these unmeasured factors dominate failure rates.
Our process closes that gap. After dimensional inspection, we run a loaded contact-pattern simulation using measured geometry and real-torque data. This confirms whether the part’s functional performance equals the drawing intent. Results — pass/fail visuals and correction notes — are issued within 24–48 hours for quoting or re-machining.
For sourcing engineers, that’s the new baseline: verifying function, not just form.
Sourcing Takeaway: The next time a supplier says “it meets the drawing,” ask for functional verification data — loaded contact, hardness map, or noise trace. If none exist, compliance means paperwork, not performance.
How to Verify Your Gear Supplier Actually Understands Noise Problems?
You can verify a supplier’s real noise-control competence by what they measure — not what they claim.
Any shop can cut gears; only a few understand why gears become noisy. The test is simple: ask for their inspection protocol and contact-pattern verification method. If they can’t describe how they measure transmission error or contact bias under load, they don’t have the systems to diagnose noise.
A capable supplier should provide:
- CMM or gear-analyzer lead/profile charts (± 2 µm)
- Surface-finish data ≤ Ra 0.8 µm
- Optional single-flank composite error results
These reveal if they truly understand dynamic mesh behavior, not just dimensional compliance.
We encourage customers to share their current QC reports for side-by-side comparison. In 24 hours, we return a capability assessment sheet highlighting what’s missing — inspection gaps, unsupported geometries, or unverified tolerances. Most engineers see immediately which vendor can control noise and which only meets prints.
Sourcing Takeaway: Ask for measurement data, not marketing claims. A supplier who understands gear noise will show test traces, not brochures. If they can’t, the problem isn’t your design — it’s their diagnostics.
Should You Keep Replacing Parts — or Replace the Supplier?
If repeated replacements don’t solve noise, the issue is no longer technical — it’s supplier capability.
Each re-cut that “might fix it this time” costs another week and compounds delay. The moment a shop repeats the same approach without root-cause evidence, it’s signaling a limit in analysis, not in machining.
Switching doesn’t have to restart development. With accurate drawings or sample parts, we can re-inspect, simulate, and re-quote within 48 hours. Our team maps lead and profile deviation, identifies the failure mechanism, and provides a revised geometry or surface-finish plan before any production starts.
Engineers who switch after two failed attempts typically recover full function within one re-run cycle. Those who stay locked in the replacement loop lose both time and test resources.
Sourcing Takeaway: If you’ve replaced parts twice and noise persists, stop re-ordering. You don’t need new parts — you need a new diagnostic approach. Replacing the supplier often restores performance faster than re-cutting the same geometry again.
How to Get Gears That Solve Noise — Not Just Replace Parts?
Quiet gears come from diagnosing the system, not duplicating the print.
Noise control starts when geometry, material, and finish are optimized as one unit. We combine gear-geometry analysis, bearing-fit review, and surface-finish correlation to produce a contact path tuned for load and speed. This is what separates a precision manufacturer from a replacement vendor.
Each gear set is verified through lead/profile trace mapping, composite-error analysis, and functional contact simulation before shipment. Reports are delivered within 24–48 hours of inspection so sourcing teams can make data-based decisions quickly. The process eliminates trial-and-error noise troubleshooting and reduces re-quote cycles by up to 30 %.
Quiet operation is measurable — and repeatable — when inspection, machining, and verification are integrated from the start.
Sourcing Takeaway: Stop chasing “identical replacements.” Request a noise-diagnosed gear quote instead. When the supplier proves they measure contact pattern, not just tolerance, you finally get gears that solve the noise — not repeat it.
Conclusion
Supplier noise issues often persist because vendors replace parts instead of diagnosing the cause. Okdor specializes in geometry-based inspection that finds what others miss and restores quiet performance fast. Upload your rejected drawing today for a 24-hour diagnostic assessment and revised quote — before another week is lost.
Frequently Asked Questions
We perform lead/profile mapping, composite-error testing, and full functional contact verification before shipment. These checks ensure the geometry performs as intended under load. Every report is traceable, and adjustments are documented so future re-orders repeat success, not failure.
We provide verified quotes within 24 hours for most rejected or high-tolerance parts. Each quote includes a short capability review — geometry limits, achievable finishes, and recommended changes — so you know exactly what’s feasible before re-launching production.
Our pricing includes precision inspection and diagnostic control — the steps most low-cost shops skip. While hourly rates may be higher, total project cost is lower once you remove repeated re-quotes, scrap, and rework. Many customers shorten total project lead time by 30–40 % after switching.
Not when the diagnostic step replaces repeated trial-and-error. We perform inspection review and quoting within 24 hours, and launch machining within 48–72 hours of approval. Starting new often recovers time because it ends the endless re-cut cycle that’s already cost you weeks.
Yes. We begin with a fresh diagnostic assessment based on your drawings or sample parts. Within 24 hours, we identify whether geometry, tolerance, or finishing caused the failure and provide a new manufacturability quote. Every project starts clean to ensure reliable, repeatable results — never mid-stream continuation.
Yes. We routinely achieve ±0.01 mm machining accuracy and Ra ≤ 0.8 µm surface finishes, verified through CMM and profile-trace inspection. If your previous results were inconsistent, our dimensional and surface reports document verified stability before production begins.
