Your drawing looks fine on screen — but quotes come back 4× higher than expected, peppered with “DFM issues,” or outright no-quotes. At that point you’re stuck: revise the design under time pressure, or start the supplier search all over again.
CNC machining quote failures are usually caused by design features that add hidden machining risk and cost — such as unnecessarily tight tolerances, deep pockets, thin walls, sharp internal corners, complex GD&T, difficult materials, oversized parts, and demanding finishing requirements.
In this post, we’ll walk through 12 specific design features that quietly kill quotes and show how to adjust them before you request pricing.
Table of Contents
Which tight tolerances are causing unnecessary CNC machining cost?
Tight tolerances trigger quote failures when they don’t protect a real fit — especially anything tighter than ±0.02 mm or flatness under 0.05 mm across multiple setups.
Buyers usually notice the warning signs through supplier questions like:
“Can we relax tolerance on these faces?”
“Is this really critical to function?”
“We can’t guarantee yield at that spec.”
The hidden problem isn’t the tolerance itself — it’s that it applies to every surface. Shops expect scrap, extra inspections, and grinding/lapping on features that don’t matter.
We look for three clues:
- Tolerance copied into title block
- Applied to cosmetic faces
- Impacts multiple setups → stack-up failure risk
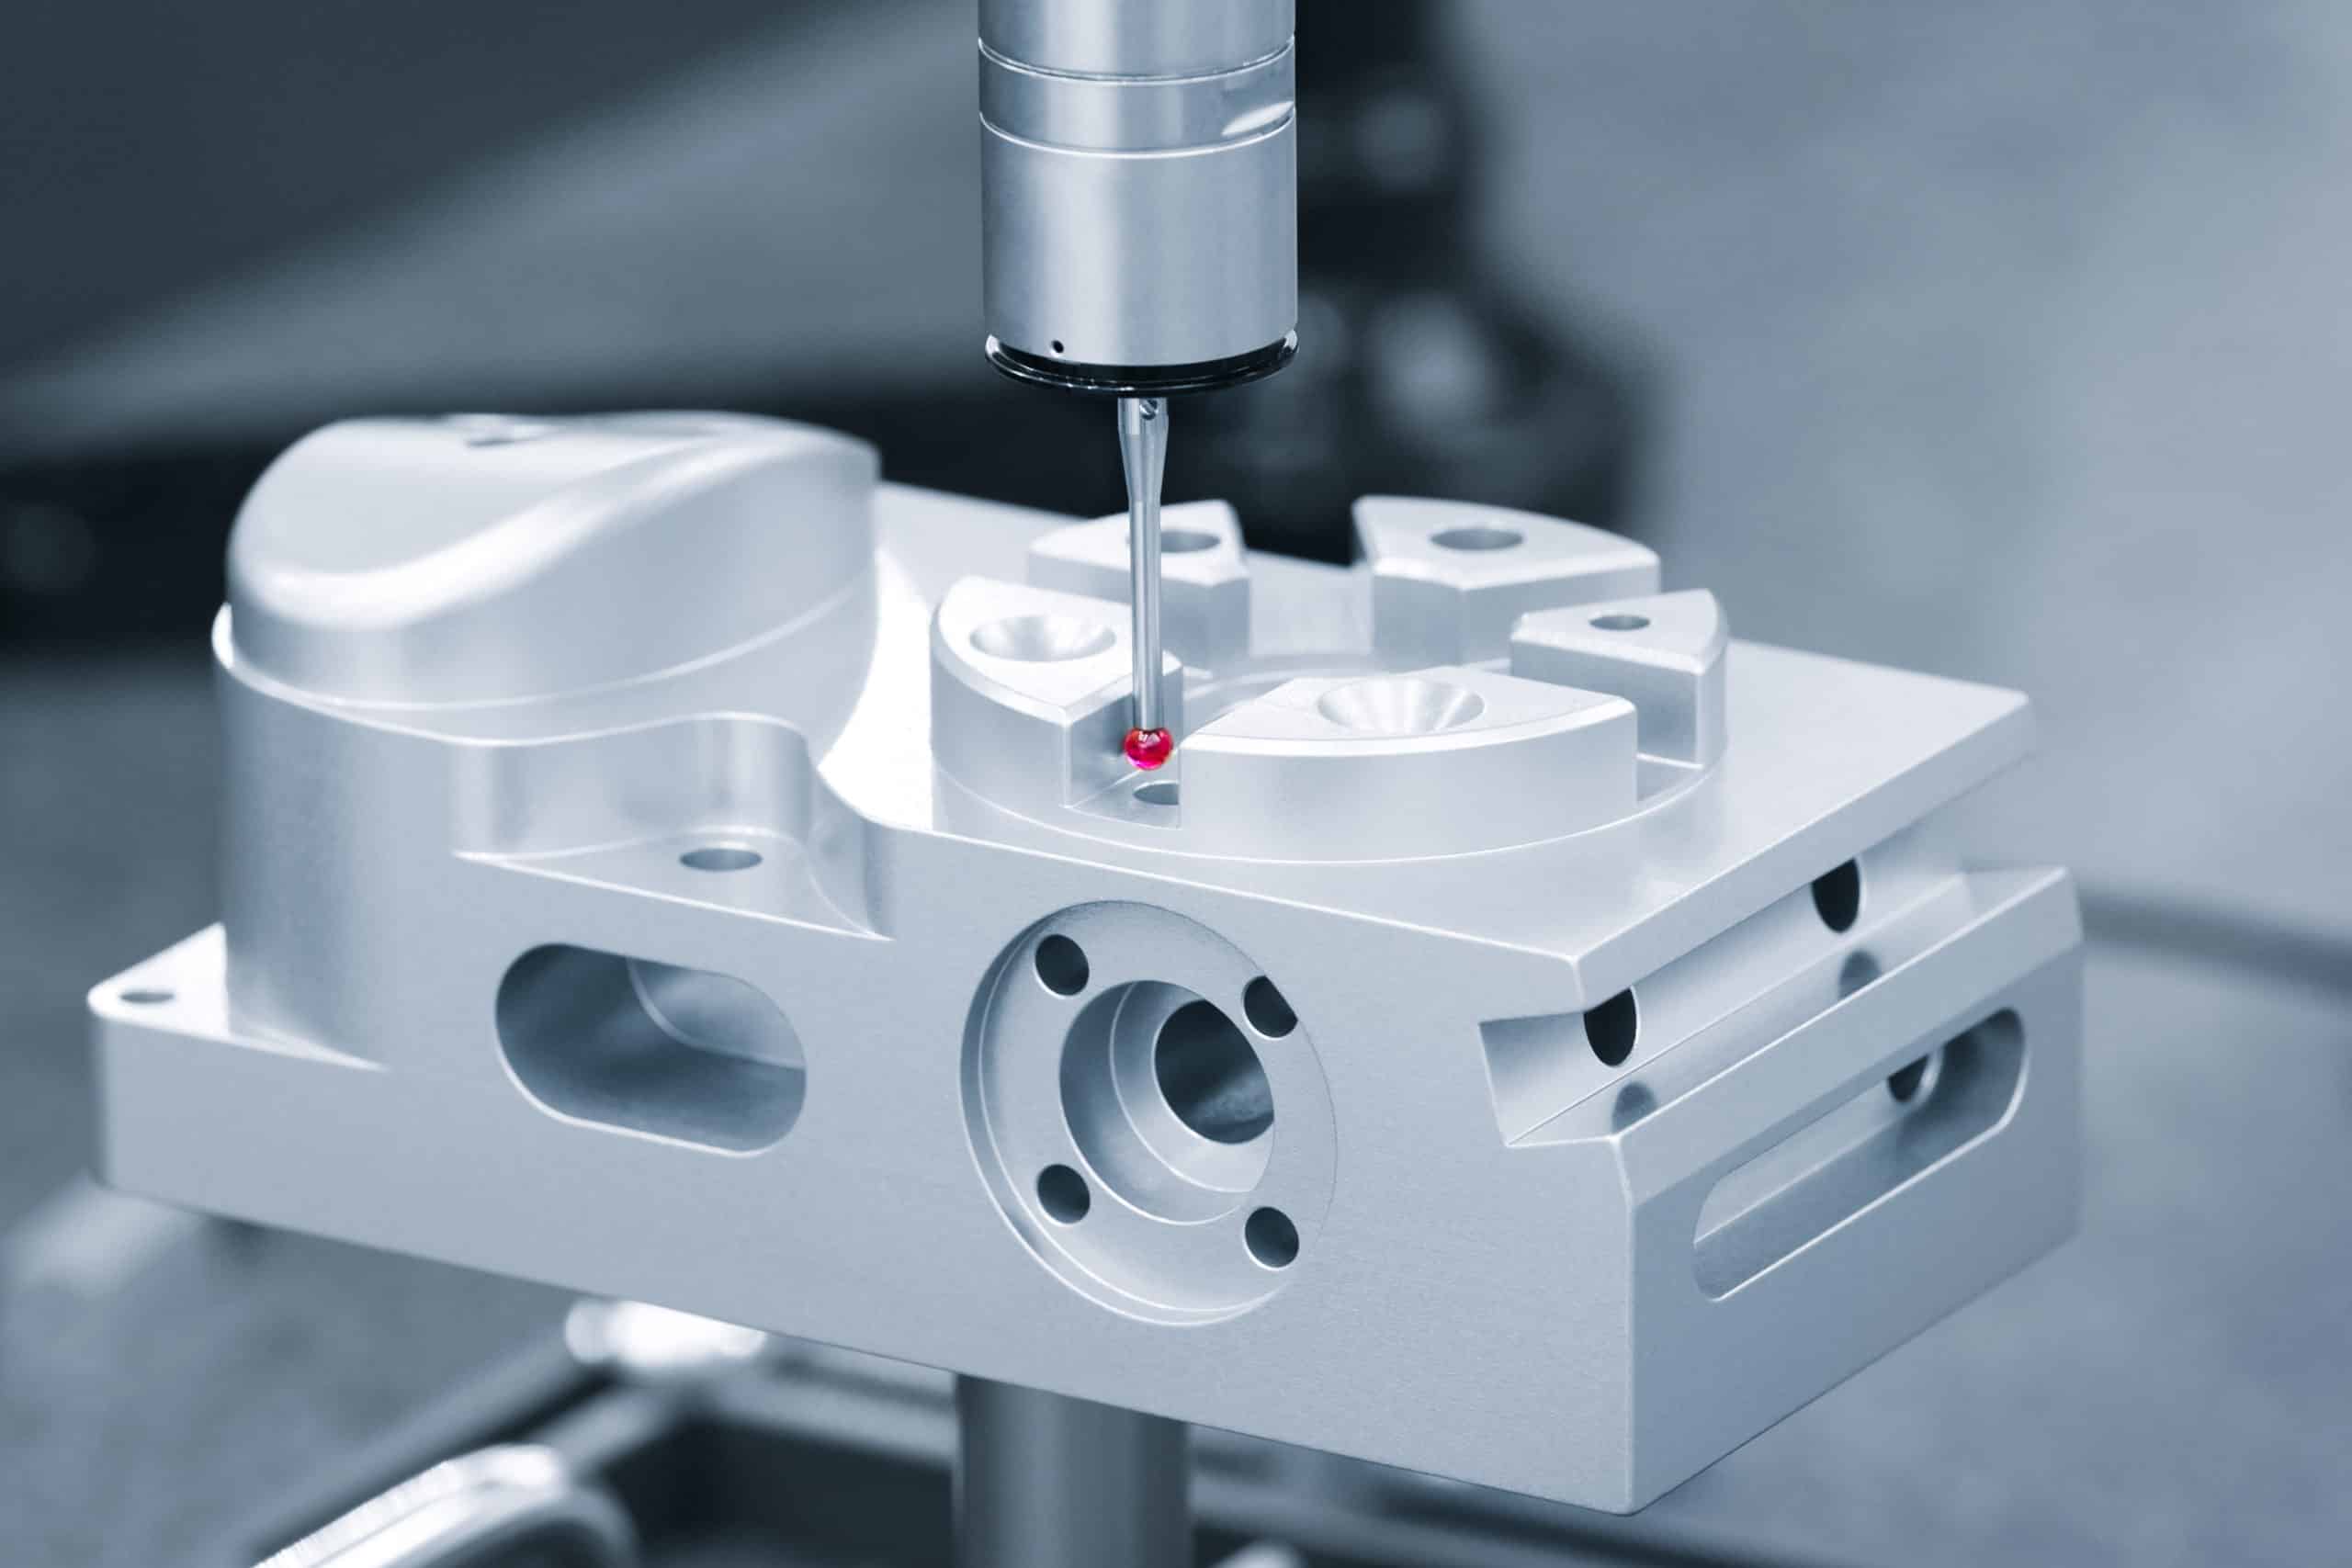
When only true mating features remain tight, cost drops and suppliers accept quickly — and we verify actual critical fits with CMM so you don’t trade quality for cost.
If your supplier is pushing back on tolerances, share the drawing and we’ll mark which ones drive cost — and which ones genuinely protect performance.
When do deep pockets create tool reach and lead-time risks?
Deep pockets become unquotable when pocket depth exceeds 4× the endmill diameter — especially if the floor needs Ra 1.6 µm or better.
Supplier signals you’re in trouble:
“This requires long-reach tooling.”
“We may need EDM to finish the floor.”
“Lead time depends on tool ordering.”
Here’s the trap:
A simple-looking cavity in CAD can force slow feeds, multiple tool changes, and test cuts just to avoid chatter. Cycle time explodes — or parts fail during finishing.
We review pocket geometry for:
- Depth vs. width ratio
- Corner radii (≥ tool radius)
- Whether access is possible from the opposite side
- If a 5-axis tilt solves reach issues
Even a 1–2 mm relief or blind-to-through conversion can eliminate long-reach problems and shave days off machining.
If your quote mentions reach concerns or extended lead time, send the file — we’ll help you confirm whether the deep pocket is manufacturable as-is or needs a quick design tweak.
How to eliminate unmachinable sharp internal corners in milled parts?
Sharp internal corners are unmachinable by standard milling because round end mills cannot produce a zero-radius inside corner. In CAD, a sharp corner looks normal, but machinists instantly see it as a cost and risk issue. They know that cutting tools must either leave a radius or rely on EDM or hand-finishing to complete the geometry, which is why responses like “This corner will leave a radius” appear early in supplier feedback.
You can often detect this problem early from supplier comments such as: “This corner will leave a radius,” or “We need to modify geometry to hit this.” The moment you hear that, it means rework risk and schedule uncertainty are entering the job.
Our approach is to preserve functionality while making geometry machinable. When a visible internal corner must remain sharp for fit or movement, we sometimes add a small relief cut in the hidden side to allow the cutter to enter cleanly. Where space allows, even a tiny corner radius — as little as 0.5 mm — can convert a part from risky to stable production. And when the corner is purely cosmetic, a more forgiving radius removes the need for expensive secondary processes altogether.
If a supplier has already circled sharp corners on your drawing or hinted that EDM might be required, share the file. We’ll identify the smallest change that keeps the design intent yet avoids cost, tool breakage, and downstream delays.
How to prevent thin-wall deflection during CNC machining?
Thin walls deflect during machining when their height exceeds roughly ten times their thickness, causing vibration and out-of-tolerance surfaces. That’s why suppliers warn that they “can’t guarantee tolerance after finishing,” or that vibration will cause the walls to move under tool pressure.
Machinists know a simple ratio: once the height exceeds roughly ten times the wall thickness, stability is no longer guaranteed. It doesn’t mean the part is impossible — it means additional steps are required, usually slower cutting strategies, temporary support stock, or multiple semi-finish passes. Those add time, and time adds cost.
Our engineers start by checking whether the wall’s stiffness really controls function. Often, increasing thickness by even 0.3–0.5 mm, adding a small rib where it will never be seen, or removing excess height solves the manufacturability risk instantly. When geometry must remain thin, we adjust the machining plan to maintain rigidity until the final finishing cuts, reducing deflection without changing form.
If a supplier has delayed quoting due to thin walls or asked whether the feature is negotiable, send us that section of the drawing. It usually takes just one small geometry shift to bring stability back — and protect your lead time.
Is your GD&T forcing 5-axis setups and fixturing complexity?
GD&T forces 5-axis setups and fixturing complexity when geometric controls apply to surfaces that cannot be machined or measured in a single orientation. Suppliers will often bring up fixture cost or “multiple datum access” as clues that machining risk is rising.
The hidden issue isn’t GD&T itself. It’s when geometric controls apply to surfaces that don’t actually influence the assembly. A true position tighter than 0.1 mm across multiple orientations, or perpendicularity tied to a surface that will be masked or trimmed later, forces operators to chase accuracy no one will ever measure in real use. Shops see that and anticipate repeat inspections, re-clamping errors, and yield loss.
When we review drawings with quote failures tied to GD&T, we trace the actual functional interfaces and rebuild the tolerance stack around those datums only. That way, the essential relationships stay precise, but the secondary faces become easier to machine in a single stable setup — keeping accuracy where it belongs without introducing unnecessary complexity.
If a supplier has suggested relaxing GD&T but couldn’t tell you exactly where or why, share your drawing before adjusting tolerances blindly. A focused redesign on just one or two constraints can reduce cost sharply while protecting every fit that matters.
When do internal channels require EDM instead of milling?
Internal channels require EDM instead of milling when their path includes blocked tool access, sharp directional changes, or internal radii smaller than the cutter geometry. Suppliers rarely say “no” directly — they say the part “needs EDM” or suggest splitting a feature into a second piece.
What makes this frustrating is that it’s often a tiny geometry conflict causing the issue. A transition radius smaller than the tool nose, or a turn inside the part that prevents chip evacuation, is enough to turn a simple request into a schedule threat. The mistake isn’t that the channel exists — it’s that the manufacturability of its path wasn’t reviewed before quoting.
We break the problem down quickly: if a cutter can’t travel the full length while clearing chips, milling won’t hold spec. Adjusting the channel by a millimeter, opening access from another face, or converting one sealed section into a removable cover usually turns an impossible feature into a standard workflow.
Before you accept EDM by default — and the weeks it adds — send us the channel geometry. We’ll confirm whether machining can still meet tolerance and save your launch from an avoidable detour.
Is your material selection causing tool wear and supplier refusal?
Your material selection is causing supplier refusal when machining creates excessive tool wear, heat distortion, or unstable tolerances that threaten production yield. Machinists see this coming and warn you that “lead time depends on cutter life” — a sure sign the quote is about to slip..
Heat-treated stainless steels, Inconel, titanium, and glass-filled polymers can turn every pass into a fight against the material. The shop must slow everything down: cutting depth, speed, and tool changes. And the tighter your tolerances, the more they fear scrapping expensive stock right when you need stability most.
We always ask one thing: what is the material actually protecting? Corrosion? Strength? Stiffness? If that answer reveals that another grade delivers the same performance with far better machinability, you immediately cut cost and lead time. If the high-performance material truly is essential, then the machining plan must change to protect tolerance and tool life — not rely on heroics.
If a supplier has already mentioned cutter life or instability, don’t keep pushing the same drawing downstream. Let our team confirm whether the spec is the real cause — or if there’s a smarter, faster path to production that protects both the part and your schedule.
Is part size exceeding machine travel and delaying production?
Part size exceeds machine travel when its longest dimension cannot be reached or supported in a single stable setup, leading to extra clamps, fixtures, and schedule delays. Suppliers hint at this by saying the part “needs custom fixtures” or suggesting longer lead time tied to machine availability.
Suppliers rarely say, “Your part is too big.” Instead, you’ll hear that completion depends on machine availability, or that the longest dimension needs a special fixture. Both are warnings that your straightforward part just became an optimization puzzle — one that threatens your lead time.
We evaluate manufacturability not by the number on your drawing, but by how the machine holds and reaches those surfaces. Sometimes reducing a flange length or adjusting the height by a few millimeters keeps the whole part within one rigid setup. Other times, splitting the geometry into a smart sub-assembly improves tolerance control and reduces risk across the entire program.
If your current shop has slowed communication on a large part, the issue is already affecting your schedule. Share the model — we’ll help confirm whether the part fits efficient machining, or whether a tiny dimension shift keeps your delivery date intact.
How many setups are increasing tolerance stack-up risk?
Tolerance stack-up risk increases when a part requires more than one setup or re-clamping to machine all critical features. When this happens, shops rarely state the full concern directly. Instead, they say things like, “tolerance depends on fixture repeatability,” or “we’ll try our best to hold those relationships,” as polite warnings that even with careful machining, the final assembly may not align.
Every time the part is repositioned, the exact orientation shifts slightly — and if your GD&T links several surfaces across those shifts, the error compounds. The part may look perfect in one setup but break tolerance once it’s flipped. Quote times climb because shops spend more effort figuring out how to inspect the part than cut it.
When reviewing manufacturability, we aim to protect the functional datums — the features that matter most to assembly and performance. Sometimes it’s adding a tab for a more stable hold, sometimes it’s adjusting the cut order, and sometimes it’s relaxing tolerance on faces that serve no mechanical purpose. Small changes here avoid expensive fixture complexity and protect the dimensions you truly rely on.
If a supplier appears unsure about holding tolerance after flipping the part, share the model with us before delays pile up. The earlier setup risk is solved, the more predictable your launch remains.
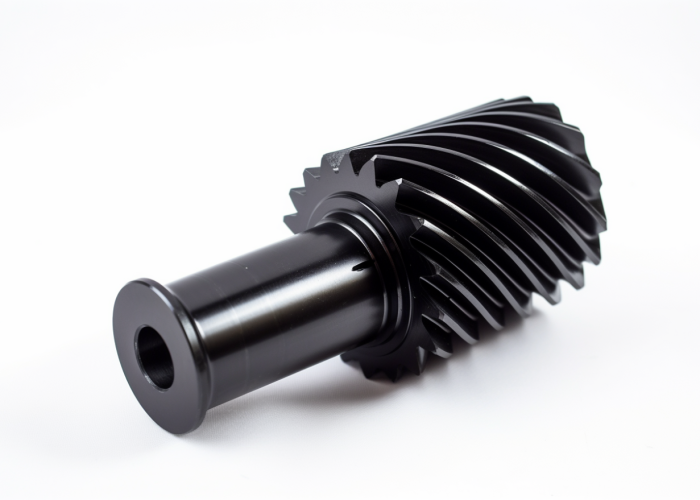
Why do flatness or straightness failures happen after machining?
Flatness and straightness failures occur when internal material stresses are released after machining, causing distortion once the part is unclamped. A surface may measure perfectly flat while held in the vise, then shift a few hundred microns the moment it’s free. Buyers first notice this problem through feedback like, “flatness fails after unclamp,” or remarks about residual stress in the stock.
This isn’t measurement error — it’s material behavior. As machining removes mass, especially more from one side of the part than the other, the internal tension equalizes and the geometry moves. Long plates, large pockets, and thin flanges are particularly susceptible because the reduced stiffness can’t resist the stress change.
To protect the final geometry, we consider the stock condition and machining balance early. Roughing both sides in stages before finishing either can prevent bowing. Choosing stress-relieved plate material instead of rolled sheet dramatically improves outcome as well, especially on large parts.
If flatness issues keep appearing late in the process, don’t chase tolerances harder on the same machining plan. Let us review how the part is held and balanced — preventing warpage is always faster than trying to correct it.
Which cosmetic surface specs are driving rework and inspection failures?
Cosmetic surface specifications drive rework when a fine Ra finish or visual standard forces additional handling and finishing steps to maintain appearance. Shops rarely list cosmetic risk in writing, but subtle mentions of “finishing effort” or “consistency concerns” are early signs that yield is in danger.
A cosmetic requirement becomes costly when it sits adjacent to a functional tolerance. Operators must achieve performance first, then somehow avoid marking the area that needs to look perfect. Probe touches, tool entry marks, even small clamp points suddenly become defect triggers. And the more times the part gets refinished, the more tolerance and delivery time are threatened.
When reviewing cosmetic specifications, we always ask whether the surface is truly visible to the end user, and under what viewing distance. Many times, a simpler finishing path — light media finish, anodizing uniformity, or texture — achieves the aesthetic goal without turning every part into a polishing project. Clarifying the inspected area alone can eliminate unnecessary scrap.
If your supplier has recently shifted the conversation toward appearance rather than function, that’s exactly when to send the drawing our way. A small clarification now prevents a cosmetic requirement from becoming a bottleneck in production.
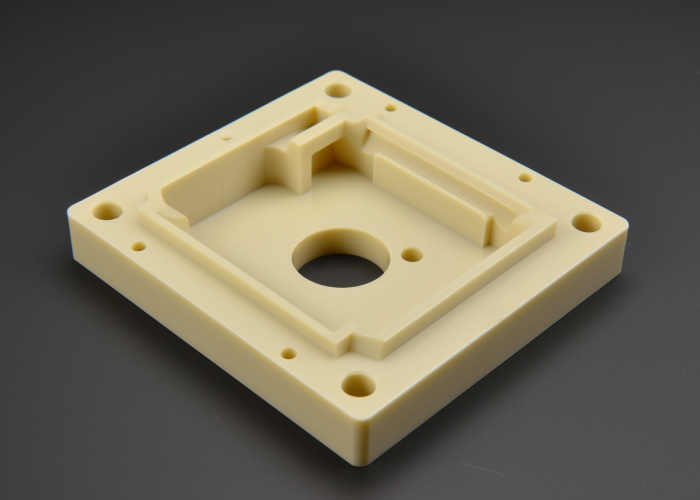
Which finishing requirements cause low yield in CNC machined parts?
Low yield is most often caused by finishing requirements such as tight Ra surface roughness, Class-A cosmetic standards, anodizing color uniformity, and masking rules that protect functional surfaces. These specifications seem harmless on the drawing, but they force the shop to chase perfection after machining — where every tiny mark becomes a reason to reject a part.
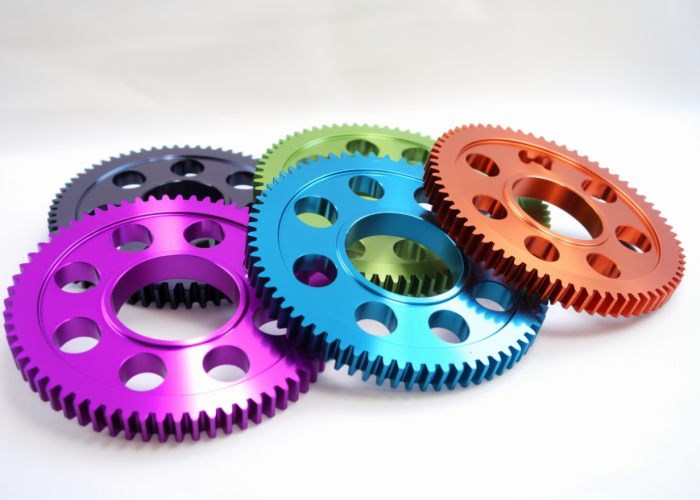
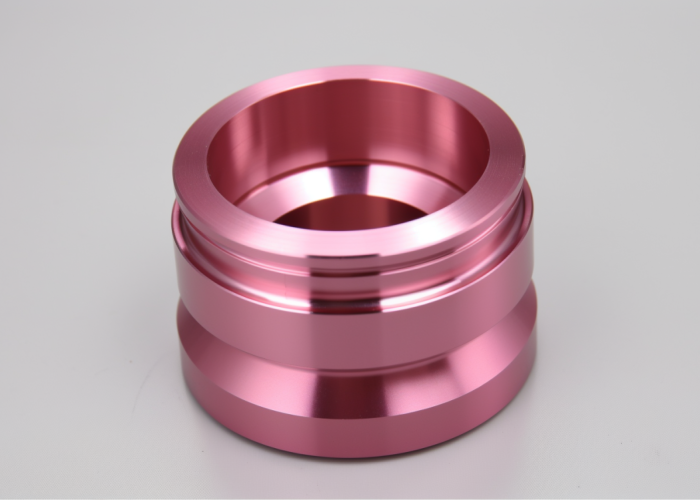
You’ll know finishing is threatening your delivery when the supplier starts mentioning polishing time, “consistency concerns,” or extra inspection. The risk comes from how finishing interacts with tight tolerances. A part that measures perfectly in metal can shift slightly during anodizing or reveal tool-path patterns once the coating cures. Suddenly, areas that weren’t even critical become production bottlenecks.
When we review manufacturability, the first step is clarifying where cosmetic requirements truly matter. If the surface is only visible from one direction or at a specific distance, defining that properly prevents shops from scrapping otherwise excellent parts. Sometimes a light texture or bead-blast finish provides the same final appearance without turning every piece into an hours-long polishing project.
If finishing notes have become the loudest topic in your supplier’s emails, share the drawing before approving changes. Protecting yield and appearance early keeps your shipment on time — and avoids panic right before launch.
Conclusion
When suppliers hesitate, costs rise and timelines slip. Before revisions or re-quotes risk your launch, share your drawing. We’ll flag the specific features causing pushback and provide a manufacturable path forward in 24–48 hours—so your CNC machining stays accurate, on schedule, and approved the first time.
Frequently Asked Questions
You’ll have clear manufacturability guidance within 24–48 hours, so quoting stays on track and production doesn’t slip.
STEP (.stp/.step) files combined with drawings that note key tolerances and finishes allow us to verify production readiness and highlight any avoidable machining constraints.
Drawings get rejected when features create machining risk—like deep pockets, thin walls, tight cosmetic finishes, or tolerances that don’t protect real function. Send your file and we’ll identify exactly what triggered pushback and how to fix it without delaying your schedule.
“Not machinable” typically means geometry or tolerance choices exceed stable cutting limits. Before revising blindly, share your drawing—our engineers will highlight the smallest changes that turn your design into a fast approval.
Costs fall quickly when non-critical tolerances loosen slightly, thin walls avoid vibration, and pocket depths support tool reach. We review your design for those low-effort, high-impact improvements so function stays exactly as intended.
Suppliers hesitate when features appear risky or yield-sensitive. A manufacturability check before quoting removes red flags—so your project gets time-secure pricing instead of uncertainty.
