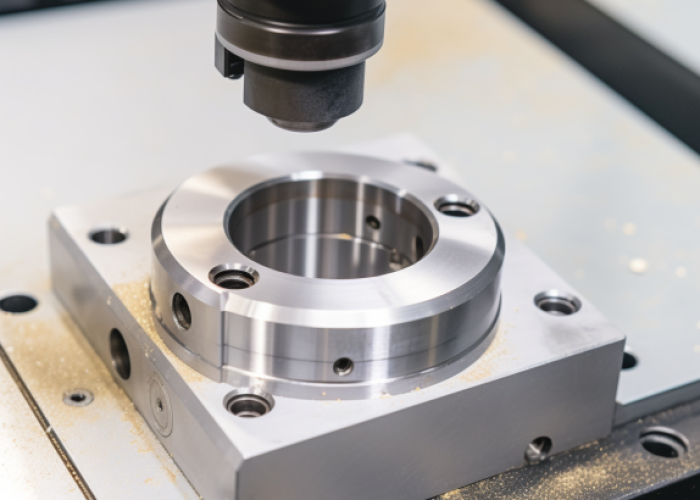
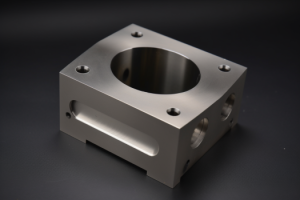
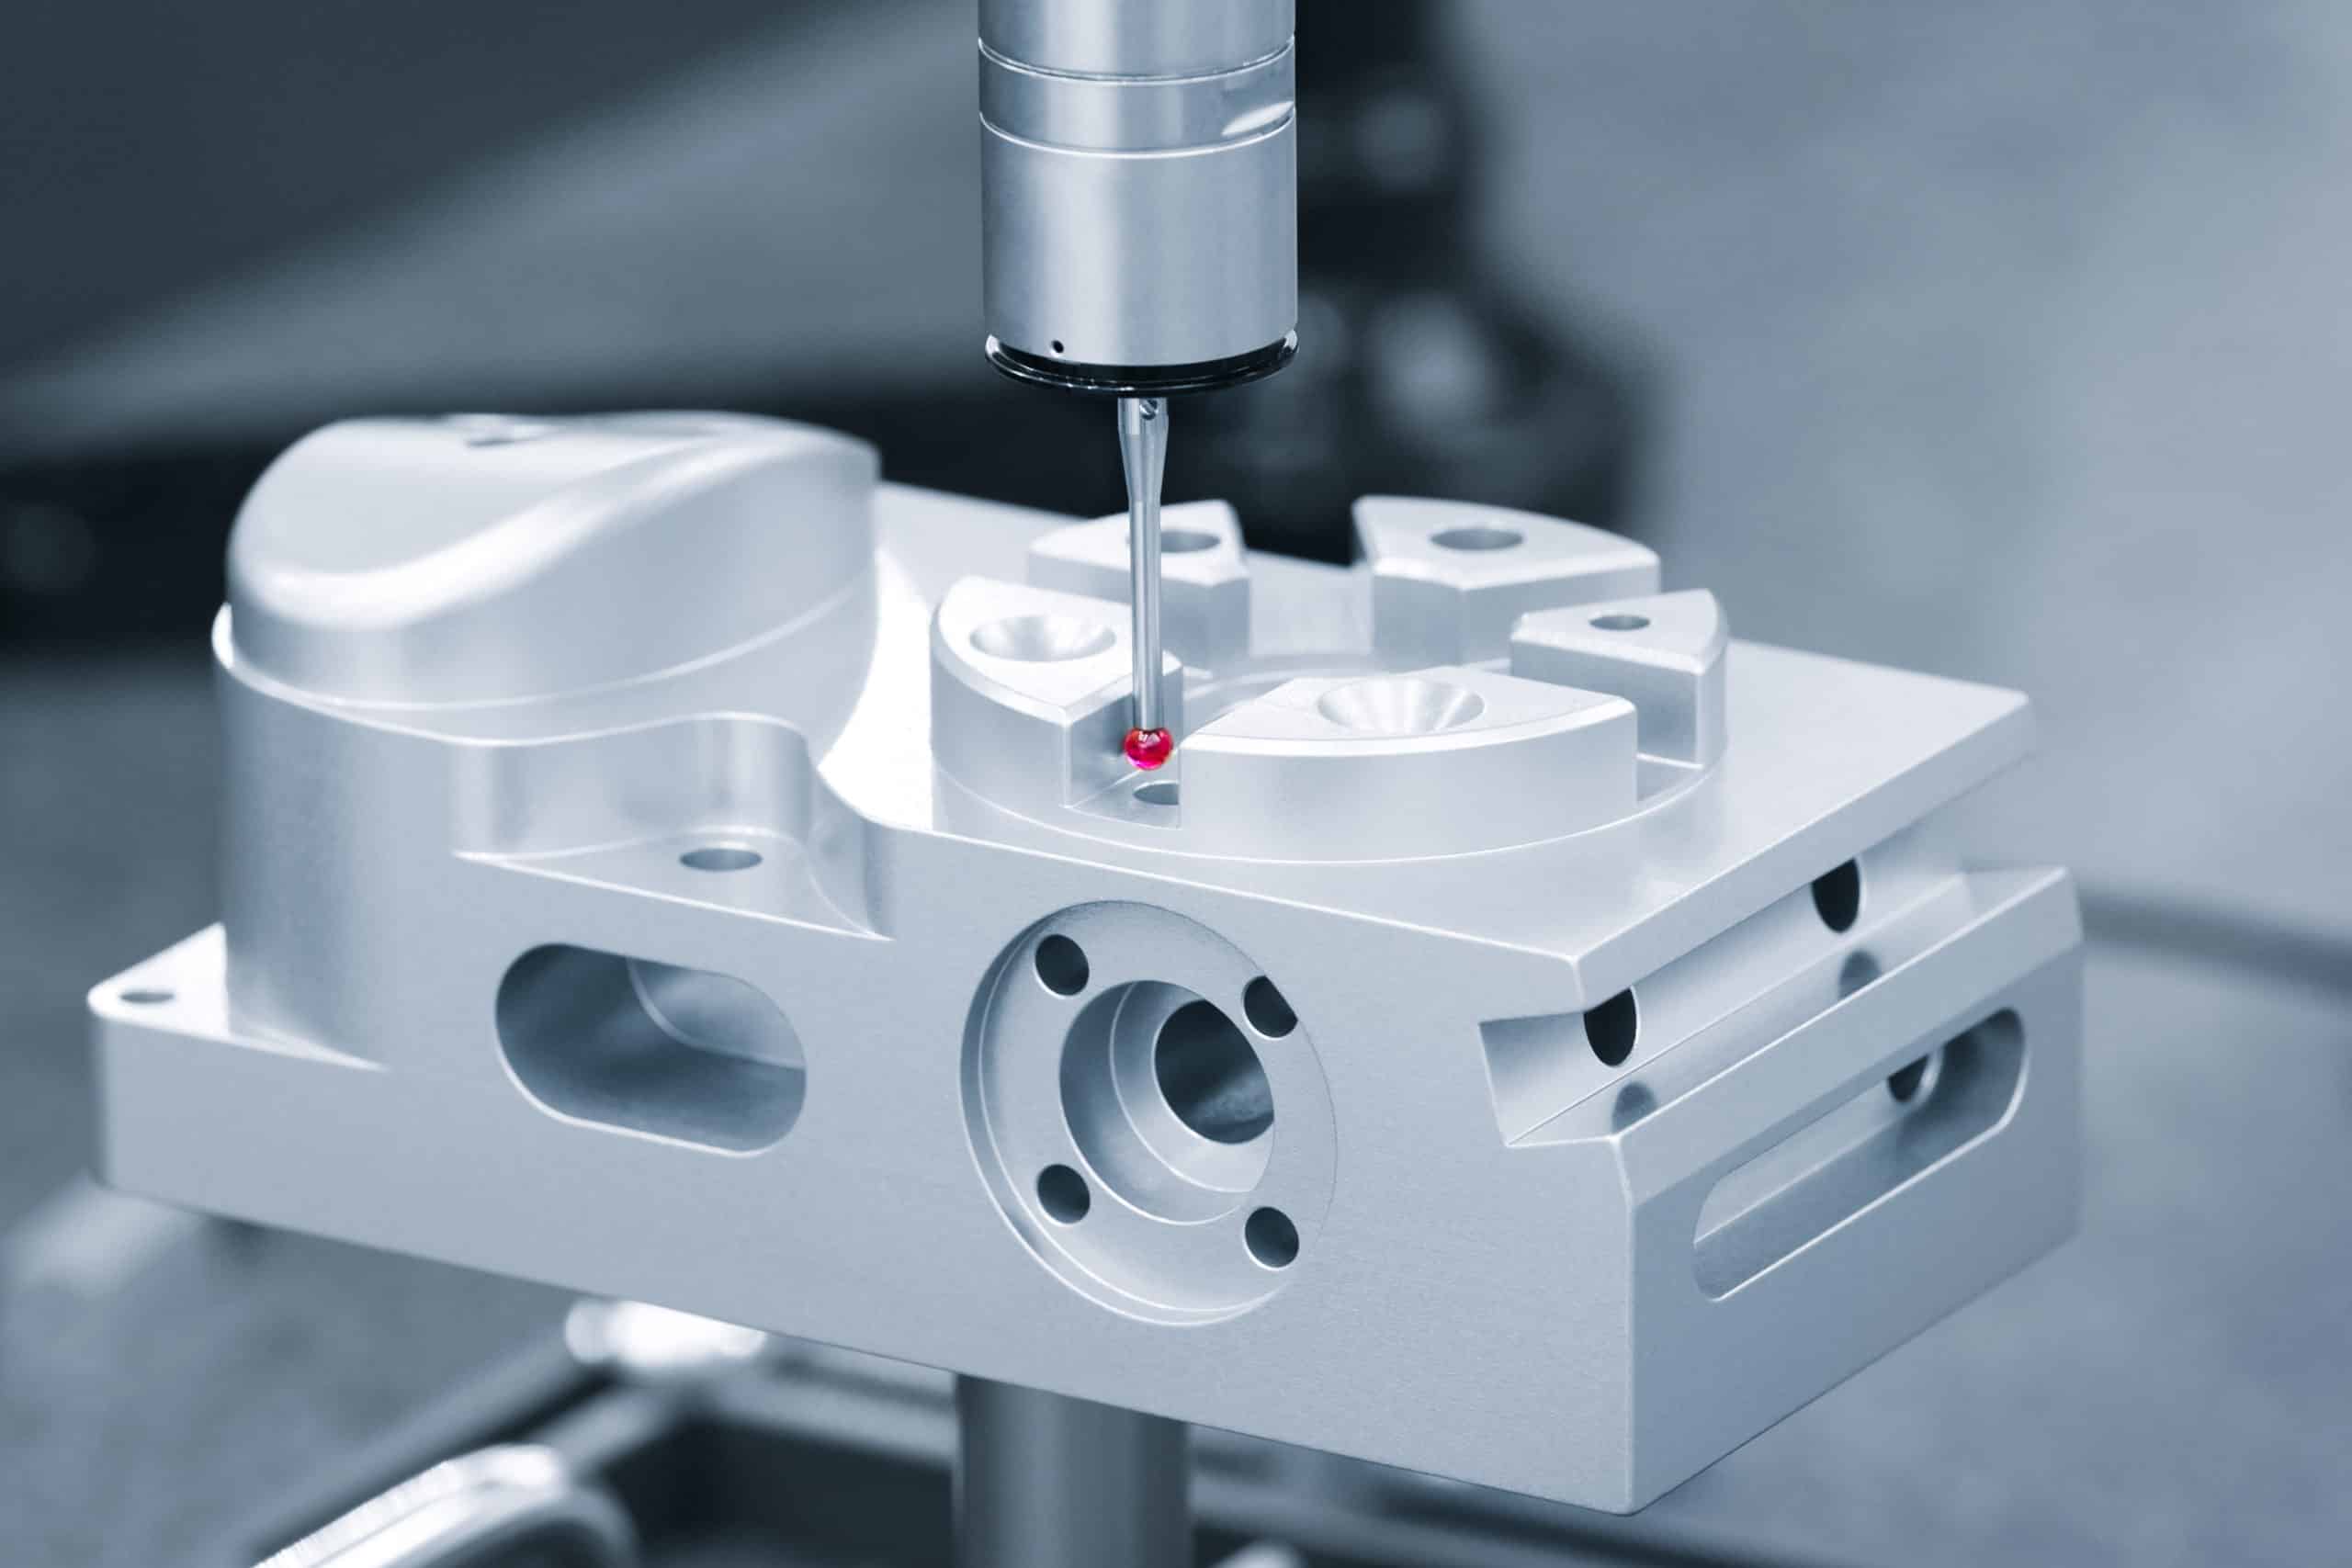
Achieving a superior milling finish is a blend of art and science. It involves material selection, machine dynamics, and staying abreast of milling innovations. The surface finish impacts a part’s functionality, aesthetics, and longevity.
This guide explores ten tips to enhance your milling finishes. Whether you’re an experienced machinist or a beginner, these insights will help you produce high-quality parts consistently. Let’s dive in and discover the secrets to perfect milling finishes.
Table of Contents
Material Selection
Understanding the Basics of Material Selection is crucial in manufacturing to achieve the desired milling finishes. Just as a cruise line’s success hinges on its ships, the outcome of a machining process is significantly influenced by the type of material used and its surface roughness.
1. Metals: The Common Choice
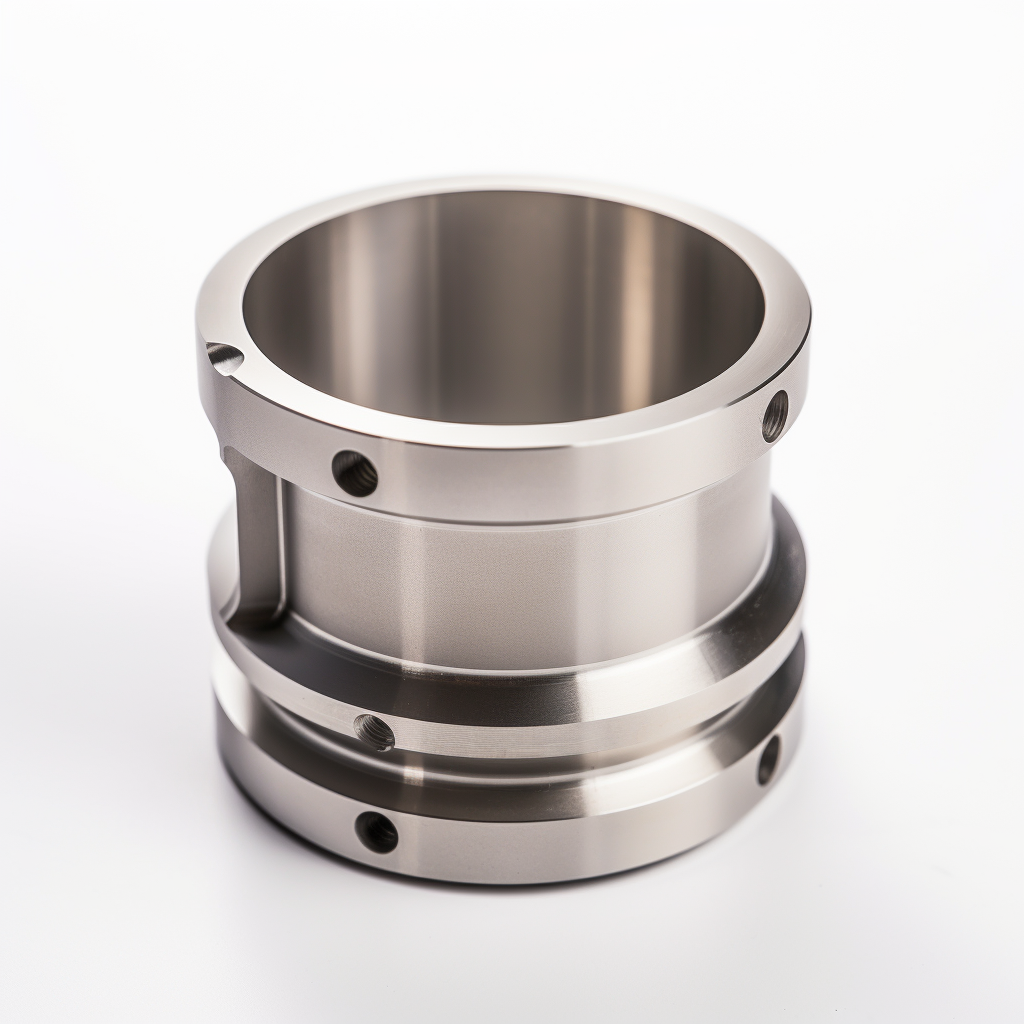
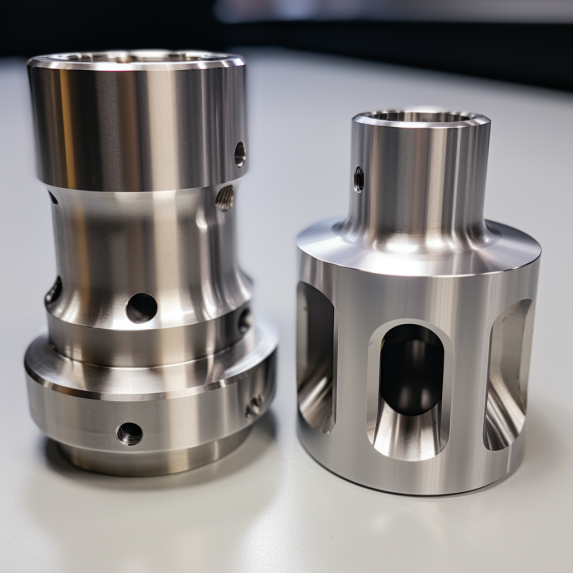
Metals, especially aluminum and steel, are commonly used in CNC machining due to their malleability and strength. The surface finish achieved often depends on the metal’s inherent surface roughness. For instance, with its smooth surfaces, aluminum is preferred for aerospace components due to its lightweight nature and corrosion resistance.
2. Plastics: The Modern Alternative
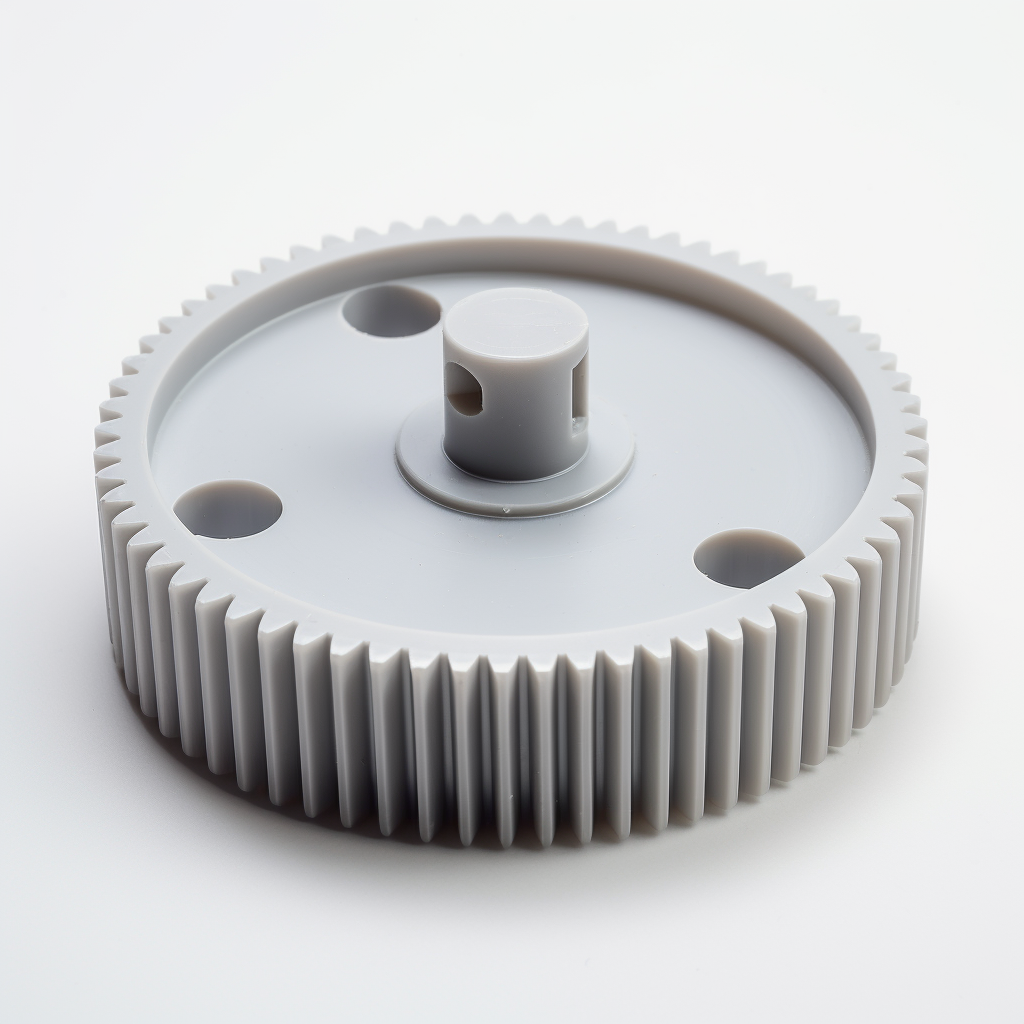
With advancements in different manufacturing processes, certain plastics have become viable alternatives to metals in milling. They offer benefits like reduced weight, corrosion resistance, and often a smoother surface which requires less finishing work.
3. Composite Materials: Best of Both Worlds
Composite materials can offer unique advantages in surface finishing. They combine the properties of metals and plastics, balancing strength, weight, and surface quality.
4. Material Purity and Surface Defects
The purity of the material can directly impact the surface finish. Impurities can lead to surface defects, affecting the average surface roughness and necessitating additional finishing processes.
5. Grain Structure and Surface Topography
The grain structure of the material can influence the surface finishes achieved. Materials with a fine grain structure tend to produce smoother finishes, while those with a rougher surface may require additional finishing techniques.
6. Material Hardness and Surface Roughness
While harder materials can result in more precise surface roughness, they pose challenges. They can wear out milling tools faster and may require specialized equipment or CNC machining techniques.
7. Material Cost and Surface Roughness Samples
Some practical considerations must be considered, such as the cost and availability of surface roughness samples. It’s essential to balance desired finish quality and the project’s budget.
8. Future Trends in Material Selection
As technology advances, new materials with enhanced properties are being developed. Staying updated on these trends can provide a competitive edge, ensuring the best possible surface finishing processes for future projects.
Tooling Dynamics
The choice of milling tools plays a pivotal role in determining the finished product’s surface quality and roughness. Just as a ship’s captain relies on the best navigational tools, a machinist must select the right tools to navigate the complexities of milling.
1. End Mills and Ball Nose Cutters
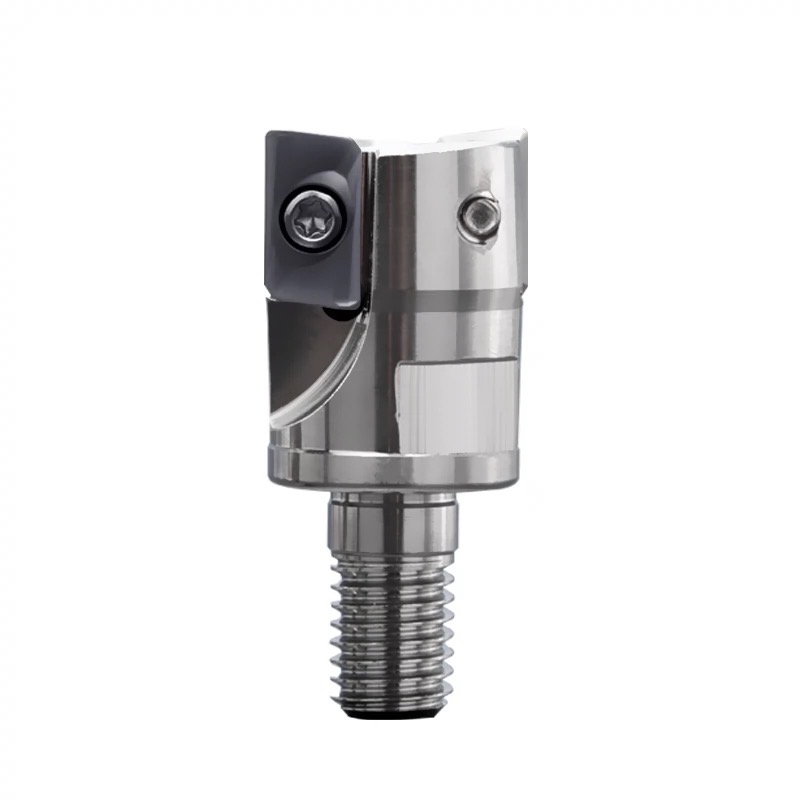
End mills’ versatile cutting profiles make them ideal for various machining processes. On the other hand, ball nose cutters, with their rounded tips, are ideal for producing a smoother surface and intricate details.
2. Tool Material and Surface Finish
The material of the tool itself, whether carbide, high-speed steel, or ceramic, can influence the desired surface finish. For instance, carbide tools, known for their hardness, can achieve a more precise surface roughness on harder materials.
3. Coatings for Enhanced Tool Performance
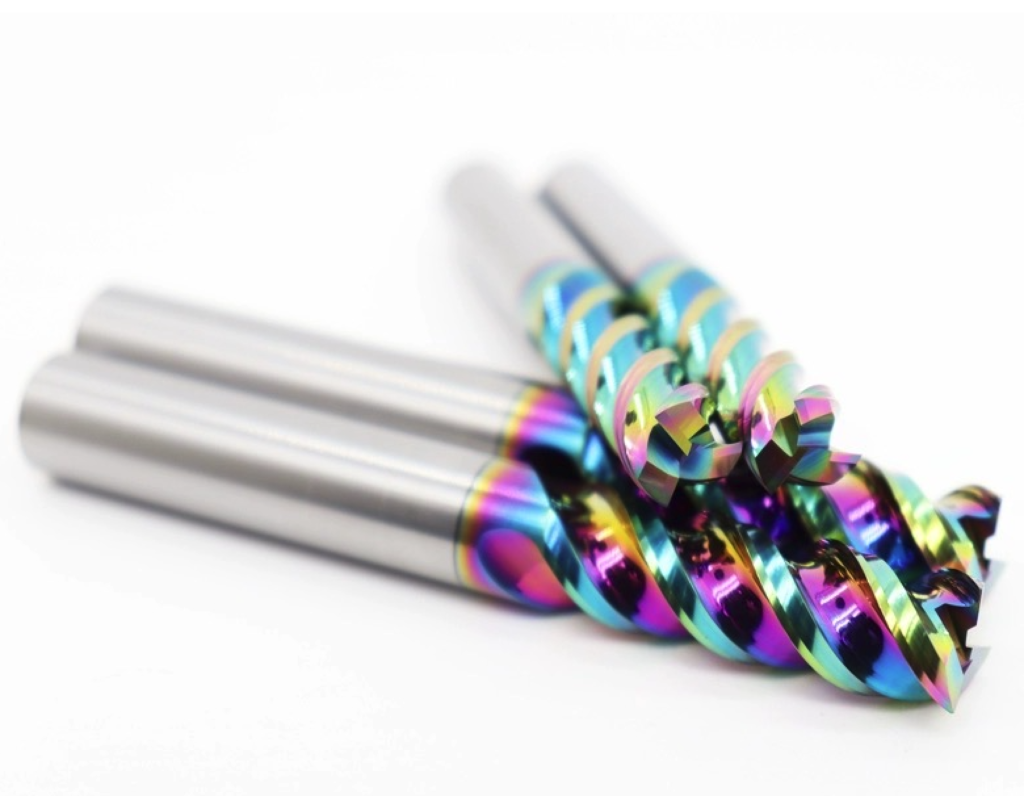
Modern tools often come with specialized coatings that enhance their performance. Coatings like TiN (Titanium Nitride) or AlCrN (Aluminum Chromium Nitride) can increase tool life, reduce wear, and improve the surface finish of the milled product.
4. Tool Geometry and Surface Topography
The tool’s geometry, from its helix angle to its cutting-edge design, is crucial in determining surface topography. A tool with the right geometry can reduce surface defects and achieve the desired roughness limits.
5. Tool Wear and Surface Roughness Symbols
As tools wear out, they can affect the average roughness of the milled surface. Regular inspection, understanding surface roughness symbols, and timely replacement of tools are essential to maintain consistent results.
6. Advanced Tooling Solutions
Technological advancements have emerging tools with high-resolution probes and specialized cutting profiles. These tools, designed for CNC machining, offer enhanced precision and can tackle complex milling challenges.
7. Tool Path and Surface Finish Symbols
The path a tool follows during milling, whether linear, helical, or contouring, can influence the final surface finish. Familiarity with surface finish symbols and machining surface finish symbols can guide machinists in selecting the optimal tool path.
8. Future Innovations in Tooling Dynamics
The world of tooling is ever-evolving. From tools designed for optical scattering to those optimized for various manufacturing processes, staying updated with the latest innovations ensures a superior milling finish.
Optimal Machine Speed and Feed Rates
1. The Dance of Speed and Feed
In CNC milling, machine speed and feed rates are the rhythm and pace of the entire operation. Just as a musician fine-tunes an instrument, a machinist adjusts these parameters to achieve the desired surface finish and roughness.
2. Utilizing Surface Roughness Charts
Surface roughness charts visually represent the expected finish based on different speeds and feed combinations. By referring to these charts and measuring surface roughness, machinists can set parameters that align with the desired surface roughness.
3. Material Impact on Speed and Feed
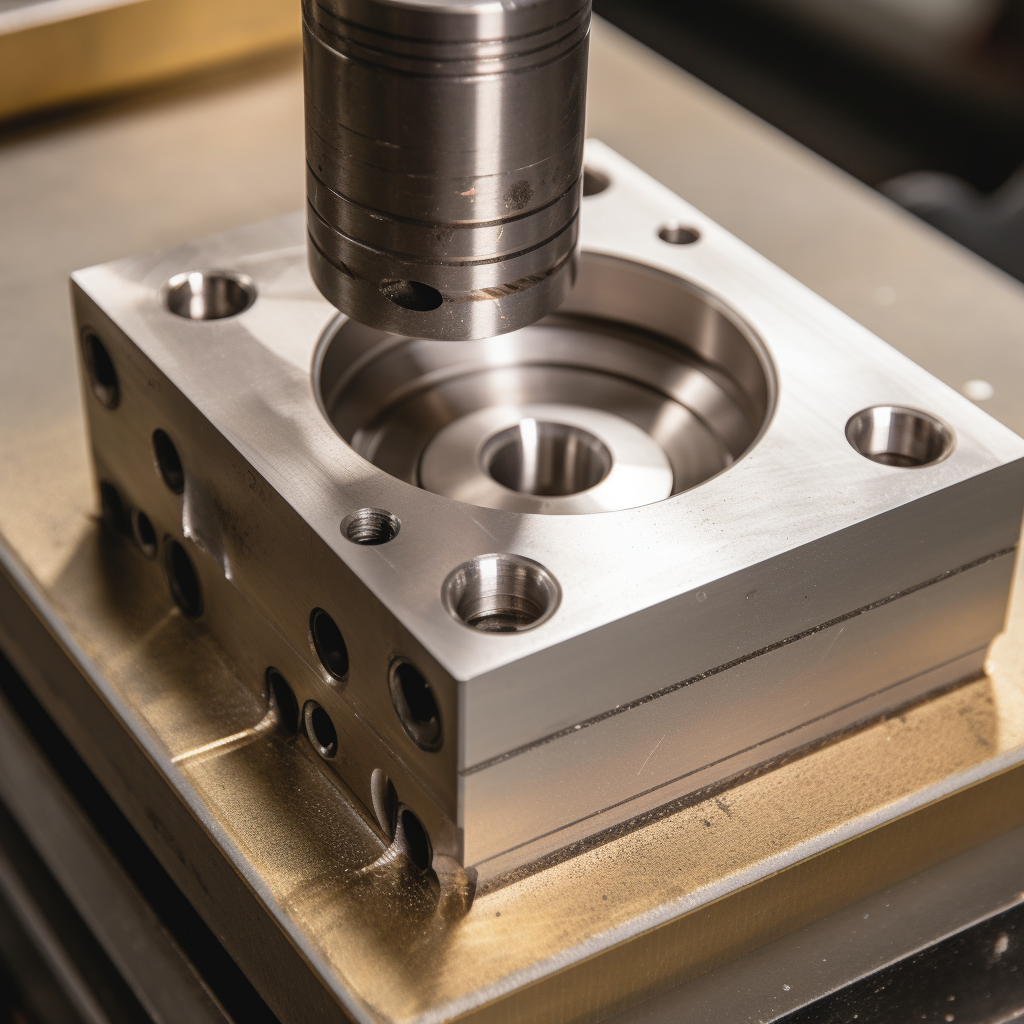
Different materials, from soft aluminum to hard steel, require varied machine speeds and feed rates. For instance, softer materials allow for faster feed rates, while harder materials demand slower speeds to prevent tool wear and achieve a smoother surface.
4. Balancing Material Removal Rate (MRR) and Surface Texture
The material removal rate is a crucial metric that measures how quickly material is milled away. By optimizing speed and feed, machinists can maximize MRR without compromising on the surface finish or altering the predominant surface pattern.
5. Recognizing Visible Cut Marks and Peaks and Valleys
Visible cut marks are often indicators of suboptimal speed or feed rates. By adjusting these parameters, machinists can reduce or eliminate these marks, ensuring a more consistent and smooth finish. Similarly, peaks and valleys on the milled surface can indicate a need for speed or feed adjustments.
6. The Role of CNC Probes in Surface Measurements
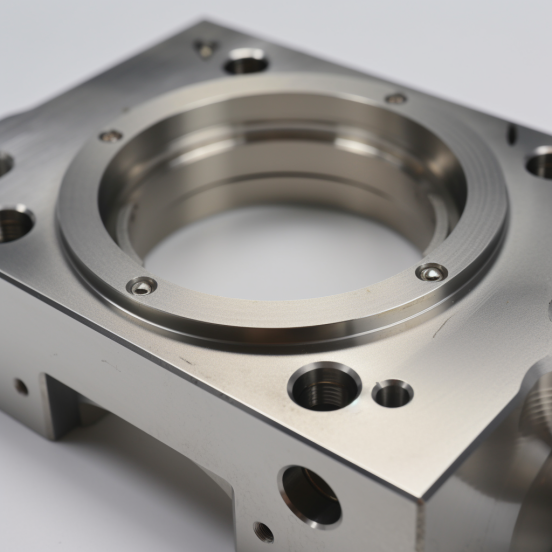
Modern milling machines come equipped with typical CNC probes that provide real-time feedback on the milling process. These high-resolution probes can help fine-tune the speed and feed rates on-the-fly, ensuring optimal results and suitable surface roughness.
7. External Factors Affecting Speed and Feed
Factors like tool wear, machine vibration, and coolant application can influence the optimal speed and feed rates. Regular machine maintenance and calibration ensure these external factors are kept in check.
8. Advanced Techniques: Adaptive Machining and Surface Finishing Processes
Adaptive machining adjusts speed and feed rates based on real-time feedback. This approach ensures that the machine operates at optimal conditions, adjusting to variations in material hardness or tool wear. Additionally, understanding the surface finishing process can help optimize speed and feed rates for the desired finish.
9. Safety, Efficiency, and Chemical Resistance
Speed and feed rates can be pushed to their limits to improve efficiency, but safety should never be compromised. It’s essential to adhere to machine safety guidelines and never exceed the recommended limits. Additionally, understanding the chemical resistance of materials can inform speed and feed rate decisions.
10. Staying Updated with Industry Trends and Production Methods
As technology and machining processes evolve, so do the best practices for setting machine speed and feed rates. Continuous learning and staying updated with industry trends ensure that machinists always operate at peak efficiency.
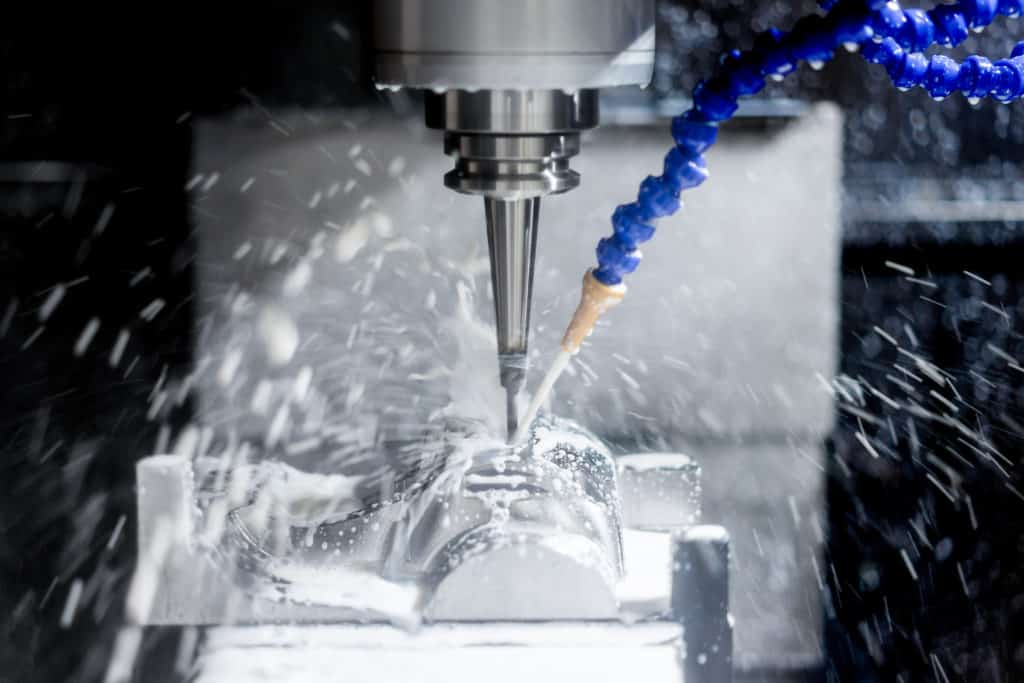
Coolant and Lubrication
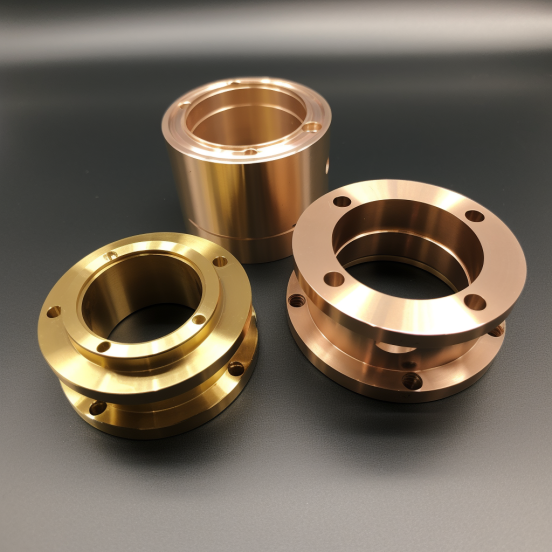
Just as a well-oiled machine runs smoothly, using coolant and lubrication in milling is essential for achieving a superior surface finish. These substances reduce heat and friction, prevent tool wear, and can significantly affect the surface roughness of the milled product.
1. Coolant and Surface Roughness
The application of coolant can directly influence the surface roughness of the milled product. By reducing heat and flushing away chips, coolant helps maintain a consistent surface finish and prevents the formation of rough surfaces.
2. Lubrication and Tool Life
Lubrication extends tool life by reducing friction between the tool and the workpiece. Surface finish is particularly important when milling harder materials since excessive friction can quickly wear out tools.
3. Coolant Types and Their Impact
Different types of coolants, from water-based mixtures to straight oils, can have varying impacts on the milling process. The choice of coolant often depends on the milling material and the desired surface finish.
4. Lubrication Methods: Contact and Non-Contact
There are both contact and non-contact methods to apply lubrication in milling. The choice between these methods can depend on factors like the complexity of the milling operation, the material, and the surface finish units required.
6. Coolant Application Techniques
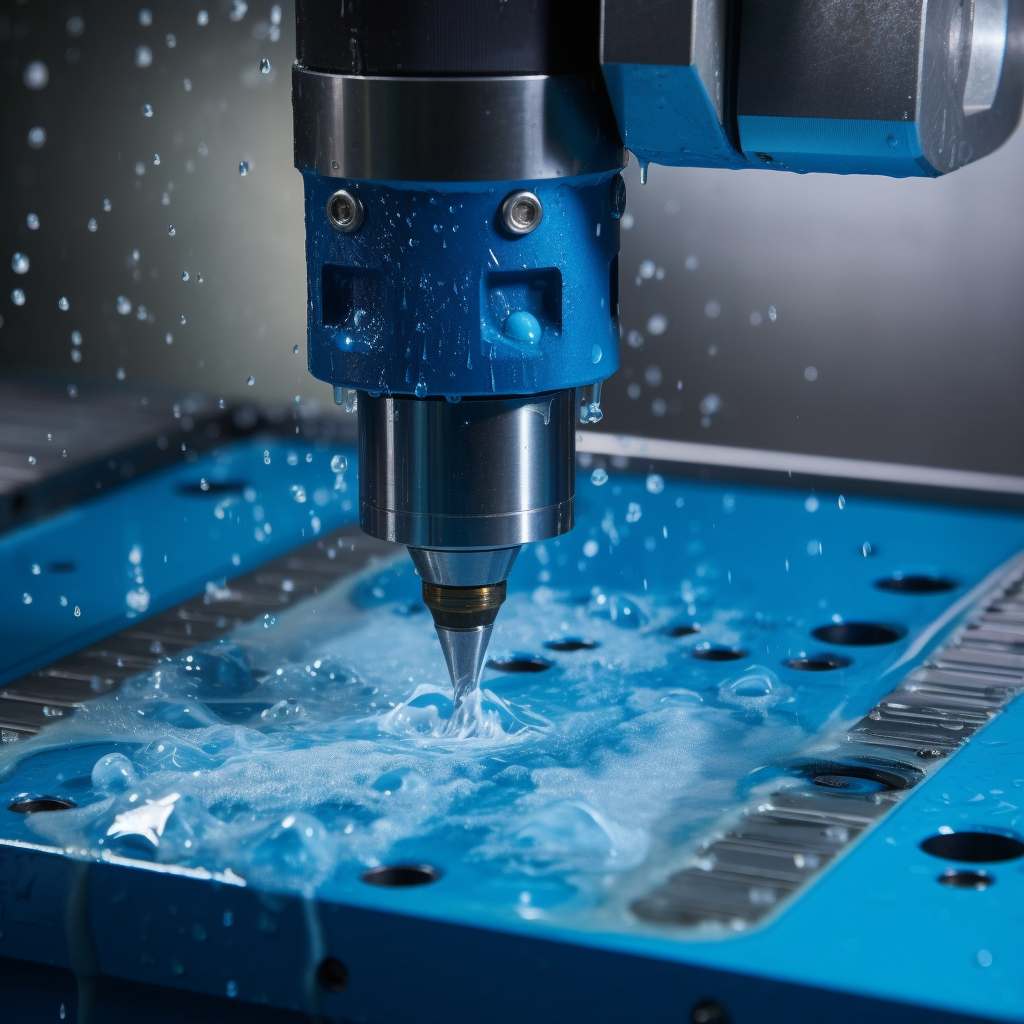
You can use various methods to apply coolant during milling, from flood coolant systems to high-pressure coolant jets. The choice of technique can influence the surface finish, especially when milling materials are sensitive to heat.
7. Coolant, Lubrication, and Surface Measurements
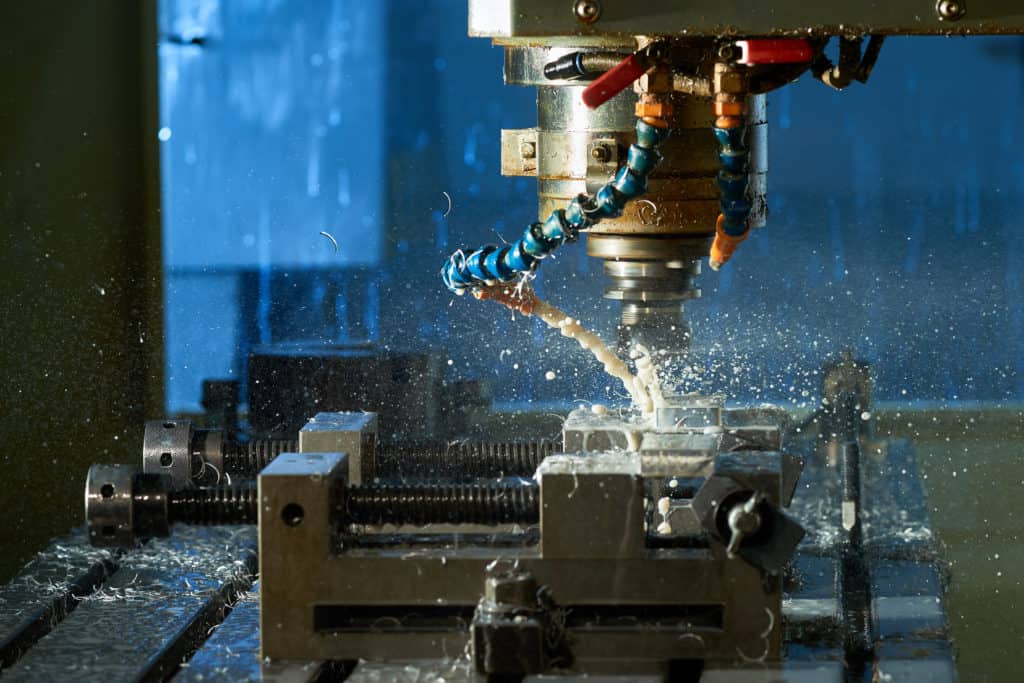
Regular surface measurements can help determine the effectiveness of the coolant and lubrication. By monitoring parameters like the center line average or the Ra surface finish chart, machinists can adjust their coolant and lubrication strategies to optimize the surface finish.
Tool Path Strategies
In CNC milling, tool paths are the navigational guides that direct the movement of the cutting tool. By optimizing these paths, reducing tool wear, and increasing efficiency, machinists can achieve superior surface finishes.
Milled products can directly impact the surface roughness due to the tool path strategy. Machinists can reduce the occurrence of rough surfaces by selecting a path that minimizes tool deflection and vibration.
1. Different Types of Tool Paths
There are several types of tool paths that CNC machinists use to optimize their milling processes. Some of these include:
- Face Tool Path: This tool path strategy is excellent for achieving a superior finish on the face of a part.
- Constant Stepover Tool Path: This strategy ensures a consistent and regular-looking finish to a part.
- Pencil Milling Tool Path: This tool path strategy takes care of the corners and concave areas of the part, helping achieve an optimum surface finish.
- Contour Tool Path: This tool path strategy is used for machining loops, open pockets, stick fonts, or saw cuts.
- Horizontal Machining Tool Path: This finishing strategy works for flat and sloped areas.
- Rest Machining or Rest Roughing Tool Path: This tool path strategy achieves intended roughing and finishing using larger and smaller cutters.
- Chamfer Tool Path: This tool path strategy is employed for deburring and creating chamfers.
- Fillet Tool Path: This strategy utilizes a corner rounding tool and helps create fillets.
- Zig-zag Clearing Tool Path: This tool path strategy is designed to optimize the straight-line motion of the cutter.
- Spiral Tool Path: This tool path strategy efficiently serves machine-rounded shaped details.
- 3D Plunge Roughing Tool Path: This tool path strategy aims to drill out material for the plunging motion.
- Advanced Z Level Finishing Tool Path: This 3D finishing tool path helps machine the vertical surfaces of your part.
- Pocket Tool Path: This tool path strategy is ideal for roughing or finishing pockets of various shapes and sizes.
- Slot Mill Tool Path: This strategy is ideal for machining straight or arc slots.
- Pencil Tool Path: This tool path strategy allows you to clean up the inside corners of 3D projects.
2. The Impact of Tool Path on Surface Measurements
By optimizing the tool path, machinists can control parameters like the center line average or the Ra surface finish, critical surface measurements in milling. This optimization can lead to a more consistent and desirable surface.
3.Tool Path Strategies for Different Materials
Different materials may require different tool path strategies. For instance, harder materials benefit from a high-speed machining path that reduces heat, while softer materials are better suited to a slower, more controlled path.
4. Advanced Software and Tool Path Optimization
CAM software today offers advanced tool path strategies and allows for real-time adjustments based on high-resolution probe feedback. Machinists can use this software to select the best path for the desired surface finish.
5. The Role of Tool Path in Surface Topology
The tool path strategy can also influence the surface topology of the milled product. By choosing a path that aligns with the part’s geometry, machinists can ensure a more precise and consistent finish.
Depth of Cut and Stepover
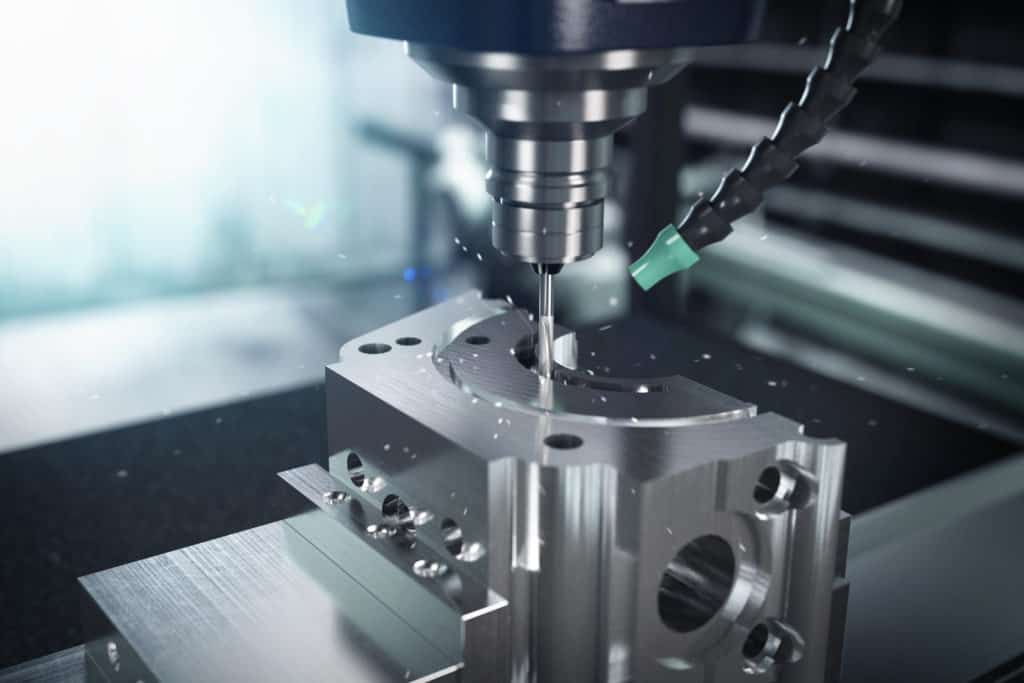
In CNC machining, the depth of cut and stepover significantly influences the surface roughness. The depth of cut, the vertical distance the tool penetrates the material, and the stepover, the lateral movement from one cut path to the next, must be balanced for the desired surface finish.
A deeper cut can increase surface roughness due to the higher material removal rate, while a smaller stepover can create a smoother surface, affecting surface finish measurements. A larger stepover can lead to higher peaks and valleys, increasing the center line average (CLA), a measure of surface roughness. Conversely, a smaller stepover can reduce visible cut marks, lowering the CLA but increasing machining time.
The choice of depth and stepover depends on the production method and CNC machine capabilities. Using high-resolution probe machines, you can measure surface roughness accurately with smaller parameters. Enhancing production efficiency can be achieved by optimizing these factors, such as surface quality, machining time, and material removal rate.
Machine Rigidity and Vibration Control
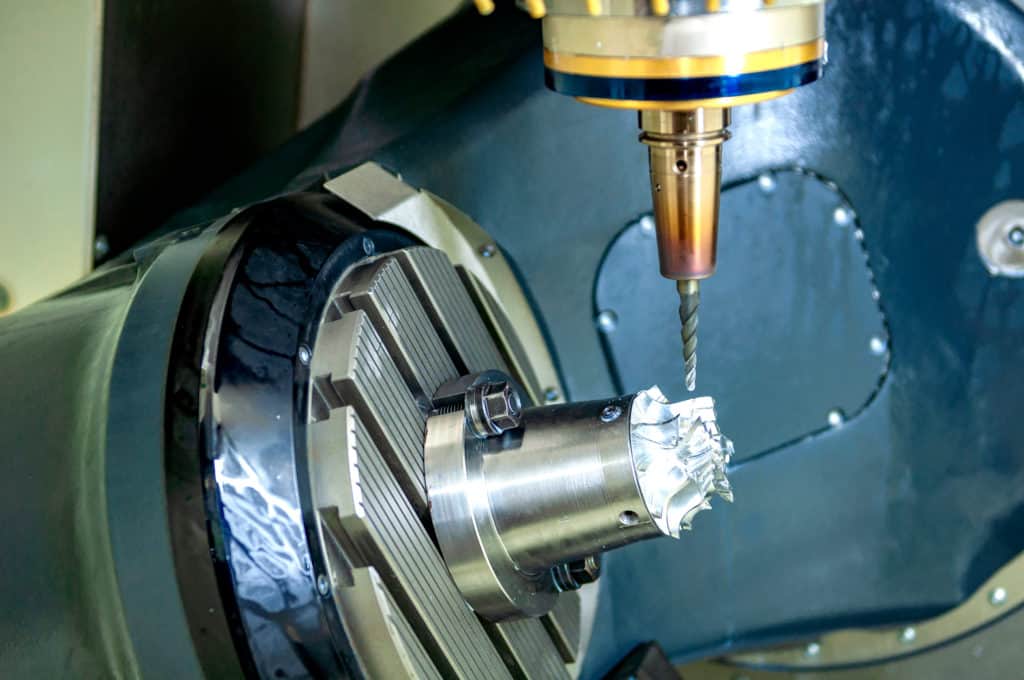
CNC milling requires machine rigidity and vibration control for a good surface finish. A high-resolution probe, such as one used by CNC machines, can measure surface roughness directly.
To determine surface roughness, compare the measured finish to a standard chart. Different production methods, such as bead blasting or powder coating, can alter the surface finish. Sometimes, more than one process may be needed, especially when working with magnetic materials or when tight tolerances are required.
Regular Tool Inspection and Maintenance
If you want your CNC machine to produce the best milling finish, check it regularly to ensure everything is working. You should examine all machine parts, including the control panel.
Following the maintenance guidelines for your specific machine is key. Depending on how much you use your machine and what materials you use, you may need to service it more often. Generally, it’s a good idea to check your CNC machine once a month.
It is important to check all covers and safety devices daily, adjust sliding parts weekly, and clean the machine every two weeks. Every month, you should adjust any limit switches and emergency stops, check the quill area for damage, and check all electrical wiring and motor brushes.
Machine Calibration and Backlash Compensation
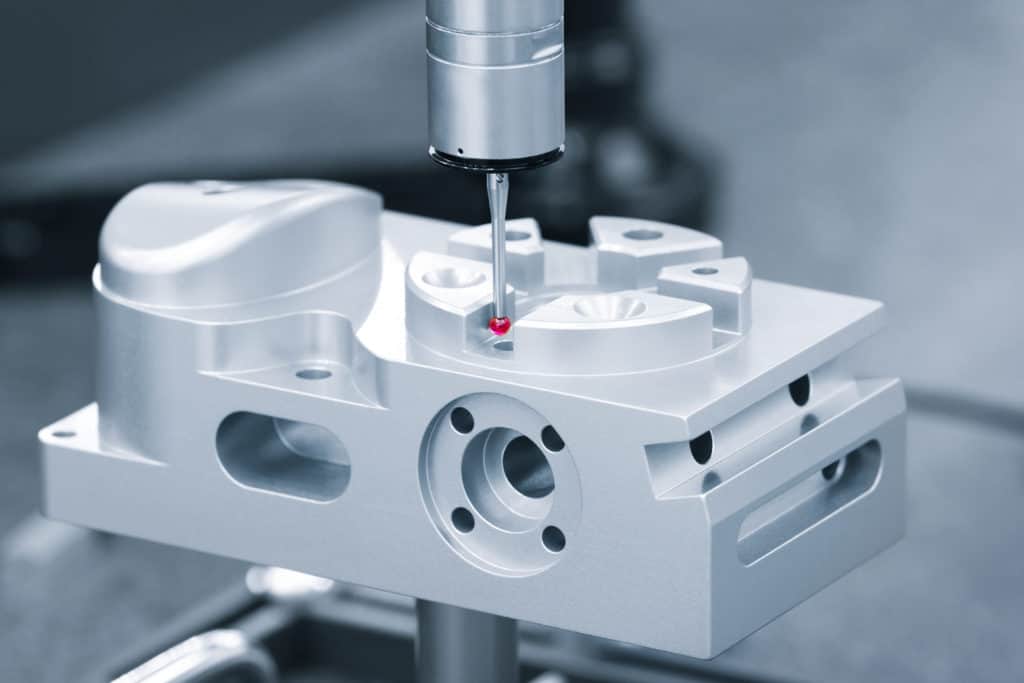
- Backlash, a slight movement in the machine parts, can cause errors. Software like MachMotion can compensate for this.
- CNC machines use ball screws instead of lead screws to minimize backlash.
- Software backlash compensation works by adjusting for the measured backlash in the machine’s control system.
- Machine calibration involves adjusting the machine’s settings to ensure optimal operation. This includes checking and adjusting alignment, speed, temperature, and vibration controls.
- Regular calibration ensures peak machine performance and a smoother surface finish.
Staying Updated with Milling Innovations
Keeping up with the latest innovations is crucial in the ever-evolving world of CNC machining. A constant stream of new technologies and techniques are being developed, such as high-resolution probes for measuring surface roughness and bead blasting.
With these advancements that improve milling finishes, you will remain competitive in the manufacturing industry. Achieving superior milling finishes is constantly learning new techniques and technologies.
Conclusion
Achieving a superior milling finish involves several factors that need careful consideration. Every step is crucial in selecting the right material and tools, optimizing machine speed and feed rates, and staying updated with milling innovations.
The following tips will help you achieve high-quality milling finishes, ensuring efficient manufacturing. A great milling finish enhances the aesthetic appeal and functionality of a part.
Frequently Asked Questions
Milling finishing refers to the final surface quality achieved after a milling process. It is influenced by several factors, including the material used, the type of milling machine, the tooling dynamics, and the machine’s speed and feed rates.
A mill finish typically has visible tool marks and a higher roughness grade. However, the appearance can vary depending on the milling process and machining material.
A machined part’s surface finish refers to its texture and roughness. A part’s fit, function, and lifespan can all be affected by it, which is a critical aspect of the manufacturing process.
A machined finish is the surface finish achieved directly from a machining process, such as milling or turning. This finish typically has visible tool marks and a certain degree of roughness.
A 0.8 Ra surface finish refers to a surface roughness where the arithmetic average (Ra) of the absolute values of the surface height deviations from the mean line is 0.8 micrometers. This is a relatively smooth surface finish.
To determine the surface finish, measuring the surface’s roughness parameters, such as the arithmetic average (Ra) or the roughness grade number, is necessary. Many methods are available, including contact methods such as stylus profilometers and non-contact methods such as optical or ultrasonic scattering.
A typical milling surface finish is characterized by its roughness parameters, which are measured using a surface roughness chart. These parameters include the arithmetic average (Ra), representing the average absolute deviation of the surface heights from the mean line.
The best surface finish for aluminum depends on the application. For instance, a smooth surface finish is desirable for parts that require high corrosion resistance or electrical conductivity. You can achieve this by using processes such as bead blasting or powder coating.
Milling machines require several factors to achieve a good finish. Among those are selecting the right material, optimizing the machine speed and feed rate, using appropriate coolant and lubrication, implementing advanced toolpath strategies, and regularly inspecting and maintaining your tools.
RMA (Roughness Mean Average) and RMS (Root Mean Square) are parameters used to measure surface roughness. While RMA is the arithmetic average of the absolute values of the surface height deviations measured from the mean line, RMS is the square root of the mean of the squares of the same deviations.
