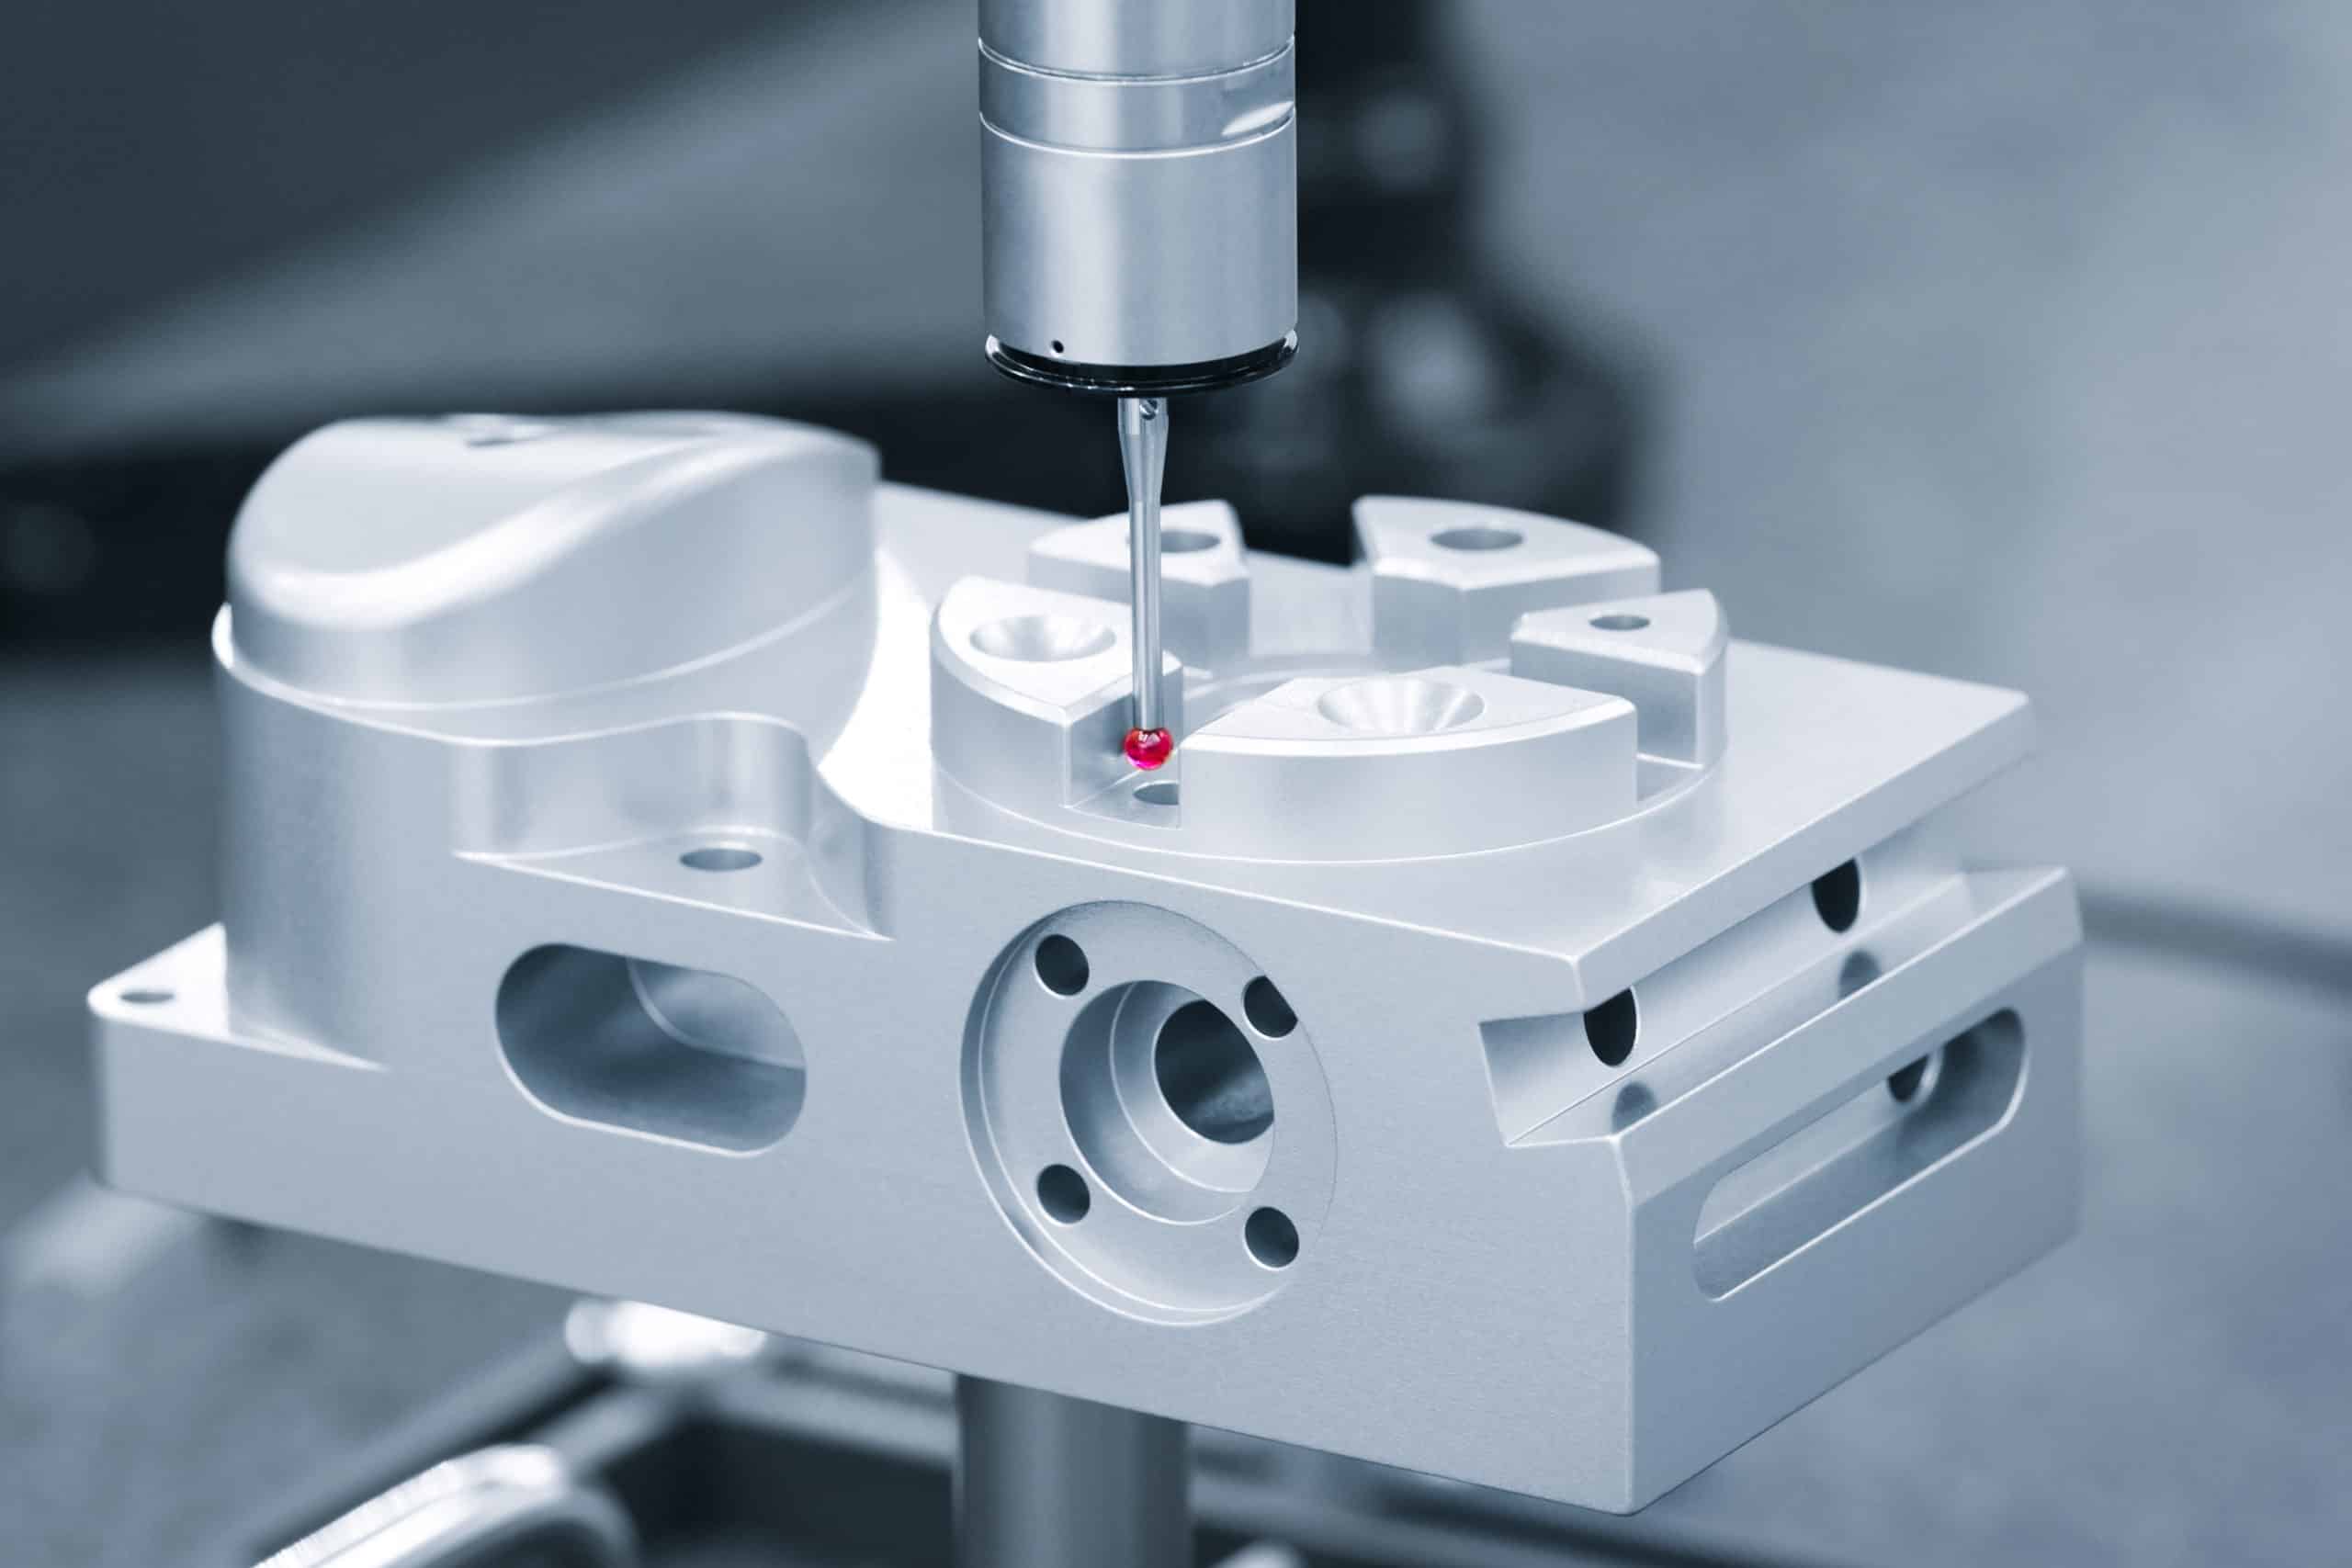
Engineers often struggle with mechanical fit selection, balancing functional requirements against manufacturing reality and cost constraints. After machining thousands of precision components for aerospace, medical, and industrial applications, we’ve seen how poor fit choices lead to assembly issues, excessive costs, or performance failures.
The 8 critical factors for optimal mechanical fit selection include: understanding fundamental fit types, recognizing manufacturing constraints, matching fits to operating conditions, specifying appropriate tolerance standards, determining when prototype testing is necessary, and designing for long-term performance degradation.
This guide addresses the most common fit selection challenges we encounter, helping product developers make informed decisions that optimize both performance and manufacturability.
Table of Contents
What Are Clearance, Interference, and Transition Fits?
Clearance fits have intentional gaps allowing free movement between parts, interference fits create tight press-fit connections requiring force assembly, and transition fits can be either clearance or interference depending on manufacturing variation. Each fit type serves different mechanical functions based on assembly method and operational requirements.
The three main fit types are:
- Clearance fits: 0.01-0.5mm gaps for moving parts and thermal expansion
- Interference fits: 0.005-0.05mm overlap requiring 50N-5000N assembly force
- Transition fits: ±0.01mm variation depending on manufacturing tolerance stack-up
Clearance fits typically provide 0.01-0.5mm gaps depending on shaft diameter and application requirements. Interference fits create 0.005-0.05mm material overlap, generating assembly forces from 50N to 5000N depending on part size and interference amount. Transition fits fall in the ±0.01mm range where manufacturing tolerance stack-up determines whether individual part pairs have slight clearance or slight interference. Assembly forces for transition fits range from hand pressure to light press-fit tools.
In precision mechanical assemblies, clearance fits work best for rotating shafts in bronze bushings or ball bearing applications where lubrication and thermal expansion must be accommodated. Interference fits excel for bearing outer races pressed into aluminum housings, steel pins in cast iron components, and gear hubs that must transfer high torque loads. Transition fits serve specialized applications like precision locating pins in fixture plates or alignment bushings where exact positioning matters more than assembly method.
The ISO 286 hole basis system provides standardized designations for these fit types, ensuring consistent interpretation between design and manufacturing teams worldwide.
Design Takeaway: Choose fit type based on your assembly method and required function – specify clearance fits when thermal expansion or serviceability matters, interference fits for permanent load transfer connections, and transition fits only when precise alignment is critical without requiring heavy assembly forces.
How Do Manufacturing Constraints Affect Fit Selection?
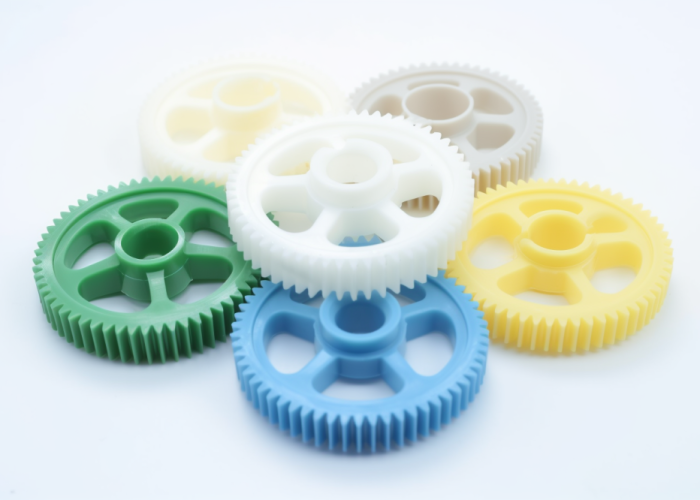
CNC machining capabilities directly limit achievable fits – standard operations hold ±0.05mm while precision setups achieve ±0.01mm. Tighter tolerances increase cost exponentially, making some interference fits economically impractical for many applications.
Key manufacturing constraints include:
- Standard CNC capability: ±0.05mm tolerance, suitable for most clearance fits
- Precision CNC setup: ±0.01mm achievable with specialized fixturing and slower feeds
- Cost impact: 2x cost for ±0.02mm, 4x cost for ±0.01mm vs standard tolerances
Standard 3-axis CNC machining routinely achieves ±0.05mm tolerances, adequate for most clearance fits and loose interference fits. Precision setups with specialized fixturing and slower feed rates can achieve ±0.01mm tolerances consistently. Secondary finishing operations can reach ±0.005mm for critical features, but add significant cost and lead time. Material properties also affect achievable tolerances – aluminum machines more consistently than stainless steel due to lower cutting forces.
The economic reality determines fit feasibility – achieving ±0.005mm tolerances may cost 10x more than ±0.05mm standard work. Setup complexity increases dramatically for tight tolerances, requiring specialized tooling and extended cycle times. Most interference fits requiring better than ±0.02mm tolerances need secondary operations rather than direct CNC machining.
ISO 2768-m defines standard machining tolerances for non-critical features, providing baseline expectations for general CNC work without special callouts.
Design Takeaway: Match fit requirements to manufacturing capabilities early in design – specify tight tolerances only where functionally critical to avoid 2-4x cost penalties, and consider secondary operations only when precision justifies the manufacturing complexity and expense.
How Do You Choose Fits Based on Operating Conditions?
Select fits based on load type, operating speed, environmental factors, and thermal conditions. High-speed applications need clearance for thermal expansion, heavy static loads require interference for connection strength, and corrosive environments need larger clearances for maintenance access.
Operating condition guidelines:
- High-speed rotation: 0.02-0.05mm minimum clearance for thermal expansion
- Heavy static loads: 0.01-0.03mm interference for rigid load transfer
- Corrosive environments: 0.05mm+ clearance for coating thickness and access
High-speed rotating applications require 0.02-0.05mm clearance minimum to accommodate thermal growth – shaft expansion can reach 0.01mm per 100°C temperature rise. Static structural loads demand 0.01-0.03mm interference fits to create rigid load paths and prevent micro-movement under stress. Vibrating assemblies need interference fits to eliminate fretting damage caused by small relative motions between parts. Chemical environments require 0.05mm or larger clearances to accommodate protective coatings and allow corrosion product buildup without binding.
Pump impeller shafts use clearance fits because thermal expansion from fluid friction would seize interference fits during operation. Press-fit bearing races use interference fits because load path integrity matters more than thermal effects in most industrial applications. Aerospace fasteners in vibration environments use interference fits to prevent loosening from dynamic loads. Medical device assemblies often require transition fits for precise alignment without permanent joining.
AGMA gear standards and bearing manufacturer specifications provide specific fit recommendations for rotating machinery applications.
Design Takeaway: Prioritize actual operating conditions over theoretical calculations – thermal effects, vibration cycles, and environmental factors often dictate larger clearances or tighter interferences than static stress analysis alone would suggest.
What Tolerance Standards Should You Specify for Different Fits?
Use ISO 286 hole basis system with standard designations like H7/g6 for clearance fits, H7/p6 for interference fits, and H7/k6 for transition fits. These standard designations ensure consistent manufacturing interpretation globally and optimize machining efficiency compared to custom tolerances.
Common ISO 286 fit designations:
- H7/g6 clearance: 0.01-0.04mm gaps for most moving parts
- H7/p6 interference: 0.01-0.03mm interference for press-fit assembly
- H7/k6 transition: ±0.01mm variation allowing either clearance or interference
H7/g6 clearance fits provide 0.01-0.04mm gaps that scale with diameter, suitable for bearing races and sliding mechanisms. H7/p6 interference fits create 0.01-0.03mm material overlap requiring assembly forces from 100N-3000N depending on part size. H7/k6 transition fits range within ±0.01mm, meaning some part pairs assemble by hand while others need light press fitting. Custom tolerances cost 20-30% more in machining time and require special inspection procedures.
Bearing installations commonly use H7/k6 transition fits for precise positioning without excessive assembly forces. Hydraulic cylinder bores specify H8/f7 clearance fits to accommodate seal compression. High-torque gear hubs use H7/s6 interference fits for permanent connection. Standard designations eliminate tolerance calculations and reduce manufacturing errors compared to custom specifications.
ISO 286 hole basis system provides standardized fit classes from loose running (H11/c11) to force fits (H7/s6), with proper drawing callouts per ISO standards.
Design Takeaway: Always specify standard ISO 286 fits rather than custom tolerances – they’re universally understood by machinists and reduce manufacturing costs by 20-30% while ensuring predictable assembly characteristics.
When Should You Test Mechanical Fits Before Production?
Test fits when interference exceeds 0.02mm, production volumes exceed 1000 parts, or when assembly forces could affect production efficiency. Prototype testing prevents assembly issues and validates design assumptions before committing to full production tooling.
Key testing decision factors:
- High interference fits: >0.02mm interference requiring >500N assembly force
- Production volume: >1000 parts justify $500-2000 testing investment
- Critical applications: Medical, aerospace, or safety systems need validation
Assembly forces typically measure 150-300% of calculated values due to surface finish variations, material property differences, and friction effects. Press-fit operations requiring >1000N force need hydraulic equipment validation and cycle time verification. Testing costs $500-2000 for prototypes but prevents $10,000+ production delays from assembly line problems. Heating/cooling assembly methods require temperature validation to prevent part damage or dimensional changes.
Medical device assemblies must validate fits for FDA documentation and quality system compliance. Automotive production lines test high-volume fits to optimize assembly equipment and prevent line stoppages. Low-volume industrial parts (< 100 pieces) rarely justify testing costs unless interference fits are critical to safety. Aerospace components test any interference fit >0.01mm due to material costs and safety requirements.
Testing decisions balance validation costs against production risk, with no industry standards mandating specific testing requirements for mechanical fits.
Design Takeaway: Test when assembly forces exceed 500N or production volumes justify validation investment – real-world assembly conditions vary significantly from calculations, making prototype testing essential for high-volume or critical applications.
How Do You Design Fits for Long-Term Performance?
Design fits with wear allowances, material compatibility considerations, and environmental degradation margins. Initial interference may reduce to clearance after break-in cycles, while clearance fits may require larger gaps to accommodate corrosion buildup or wear over extended service life.
Long-term performance factors:
- Wear allowances: 0.001-0.005mm per 1000 cycles for steel-on-steel contact
- Corrosion margins: 0.005-0.02mm additional clearance for harsh environments
- Material compatibility: Avoid galvanic corrosion between dissimilar metals
Steel-on-steel interfaces typically wear 0.001-0.005mm per 1000 operating cycles, requiring initial interference fits to account for material loss over time. Fretting wear in loose interference fits can reach 0.01mm depth under vibration, making proper initial interference critical for connection integrity. Aluminum components in marine environments need 0.01-0.02mm additional clearance to accommodate corrosion product buildup. Stainless steel pairs risk galling in tight fits, requiring surface treatments or material changes for long-term reliability.
Automotive suspension components design initial interference to maintain connection strength after 100,000+ load cycles. Marine equipment specifies larger clearances to prevent seizure from salt corrosion and coating degradation. Industrial machinery operating in dusty environments needs clearance allowances for contamination accumulation. High-temperature applications must account for differential thermal expansion between dissimilar materials over thousands of heating cycles.
ASTM wear testing standards and material compatibility databases provide guidance for corrosion prevention and material selection in specific environments.
Design Takeaway: Factor long-term degradation into initial fit selection – what functions perfectly at assembly may fail after thousands of cycles or environmental exposure without proper allowances for wear, corrosion, and material aging effects.
Conclusion
Optimal mechanical fit selection requires balancing functional requirements, manufacturing constraints, and long-term performance considerations. Specify standard ISO fits when possible, test critical interfaces, and account for wear and environmental factors. Contact us to explore manufacturing solutions tailored to your mechanical fit requirements.
Frequently Asked Questions
Absolutely. Our engineering team reviews your drawings to optimize fit specifications for manufacturability and cost. We identify potential issues early and suggest alternatives that maintain function while reducing complexity and expense.
Use interference fits (0.01-0.03mm) for permanent connections requiring load transfer, like bearing races or gear hubs. Choose clearance fits (0.01-0.05mm) for moving parts, thermal expansion accommodation, or serviceable assemblies requiring disassembly.
Yes, we recommend prototype testing for interference fits >0.02mm or high-volume production. Our testing validates assembly forces and methods, preventing costly production issues. Prototype costs typically run $500-1500 depending on complexity.
Yes, we routinely machine H7/p6 interference fits with ±0.01mm tolerance using climate-controlled setups and specialized fixturing. Our CMM inspection validates all critical fits to ensure consistent assembly forces and performance.
Precision fits typically require 5-7 business days versus 2-3 days for standard tolerances, due to specialized setups and extended inspection time. Rush orders can be accommodated with 24-48 hour expedite options.
We have extensive experience with medical device housings requiring ISO 13485 compliance and aerospace components needing AS9100 documentation. Our quality systems support regulated industries with full traceability and inspection records.
