Designing precision parts often leads to a familiar crossroads: will standard CNC machining deliver the surface you need, or must you add grinding? With experience machining gauge blocks and precision tooling, small surface decisions can dramatically impact both function and cost.
You need surface grinding when flatness requirements are tighter than ±0.02 mm, when mating surfaces require consistent contact, or when surface finish affects sealing performance. Most CNC operations achieve ±0.05 mm flatness, while grinding reaches ±0.0025 mm.
Learn the specific criteria that justify grinding, how it affects your other features, and design strategies to avoid it when possible.
Table of Contents
Do I Need Surface Grinding or Is CNC Machining Enough?
Surface grinding is necessary when your part requires flatness tighter than ±0.025 mm, parallelism between surfaces within ±0.01 mm, or surface finishes below Ra 0.8 μm for sealing or wear applications. Standard CNC face milling typically achieves ±0.05 mm flatness and Ra 1.6-3.2 μm finish, which works for most structural and cosmetic applications.
Quick Decision Checklist:
- Sealing surfaces (O-rings, gaskets): Need grinding
- Optical mounting surfaces: Need grinding
- Valve seats or wear surfaces: Need grinding
- Mounting flanges or bolt patterns: Machining OK
- Cosmetic faceplates: Machining OK
- General structural surfaces: Machining OK
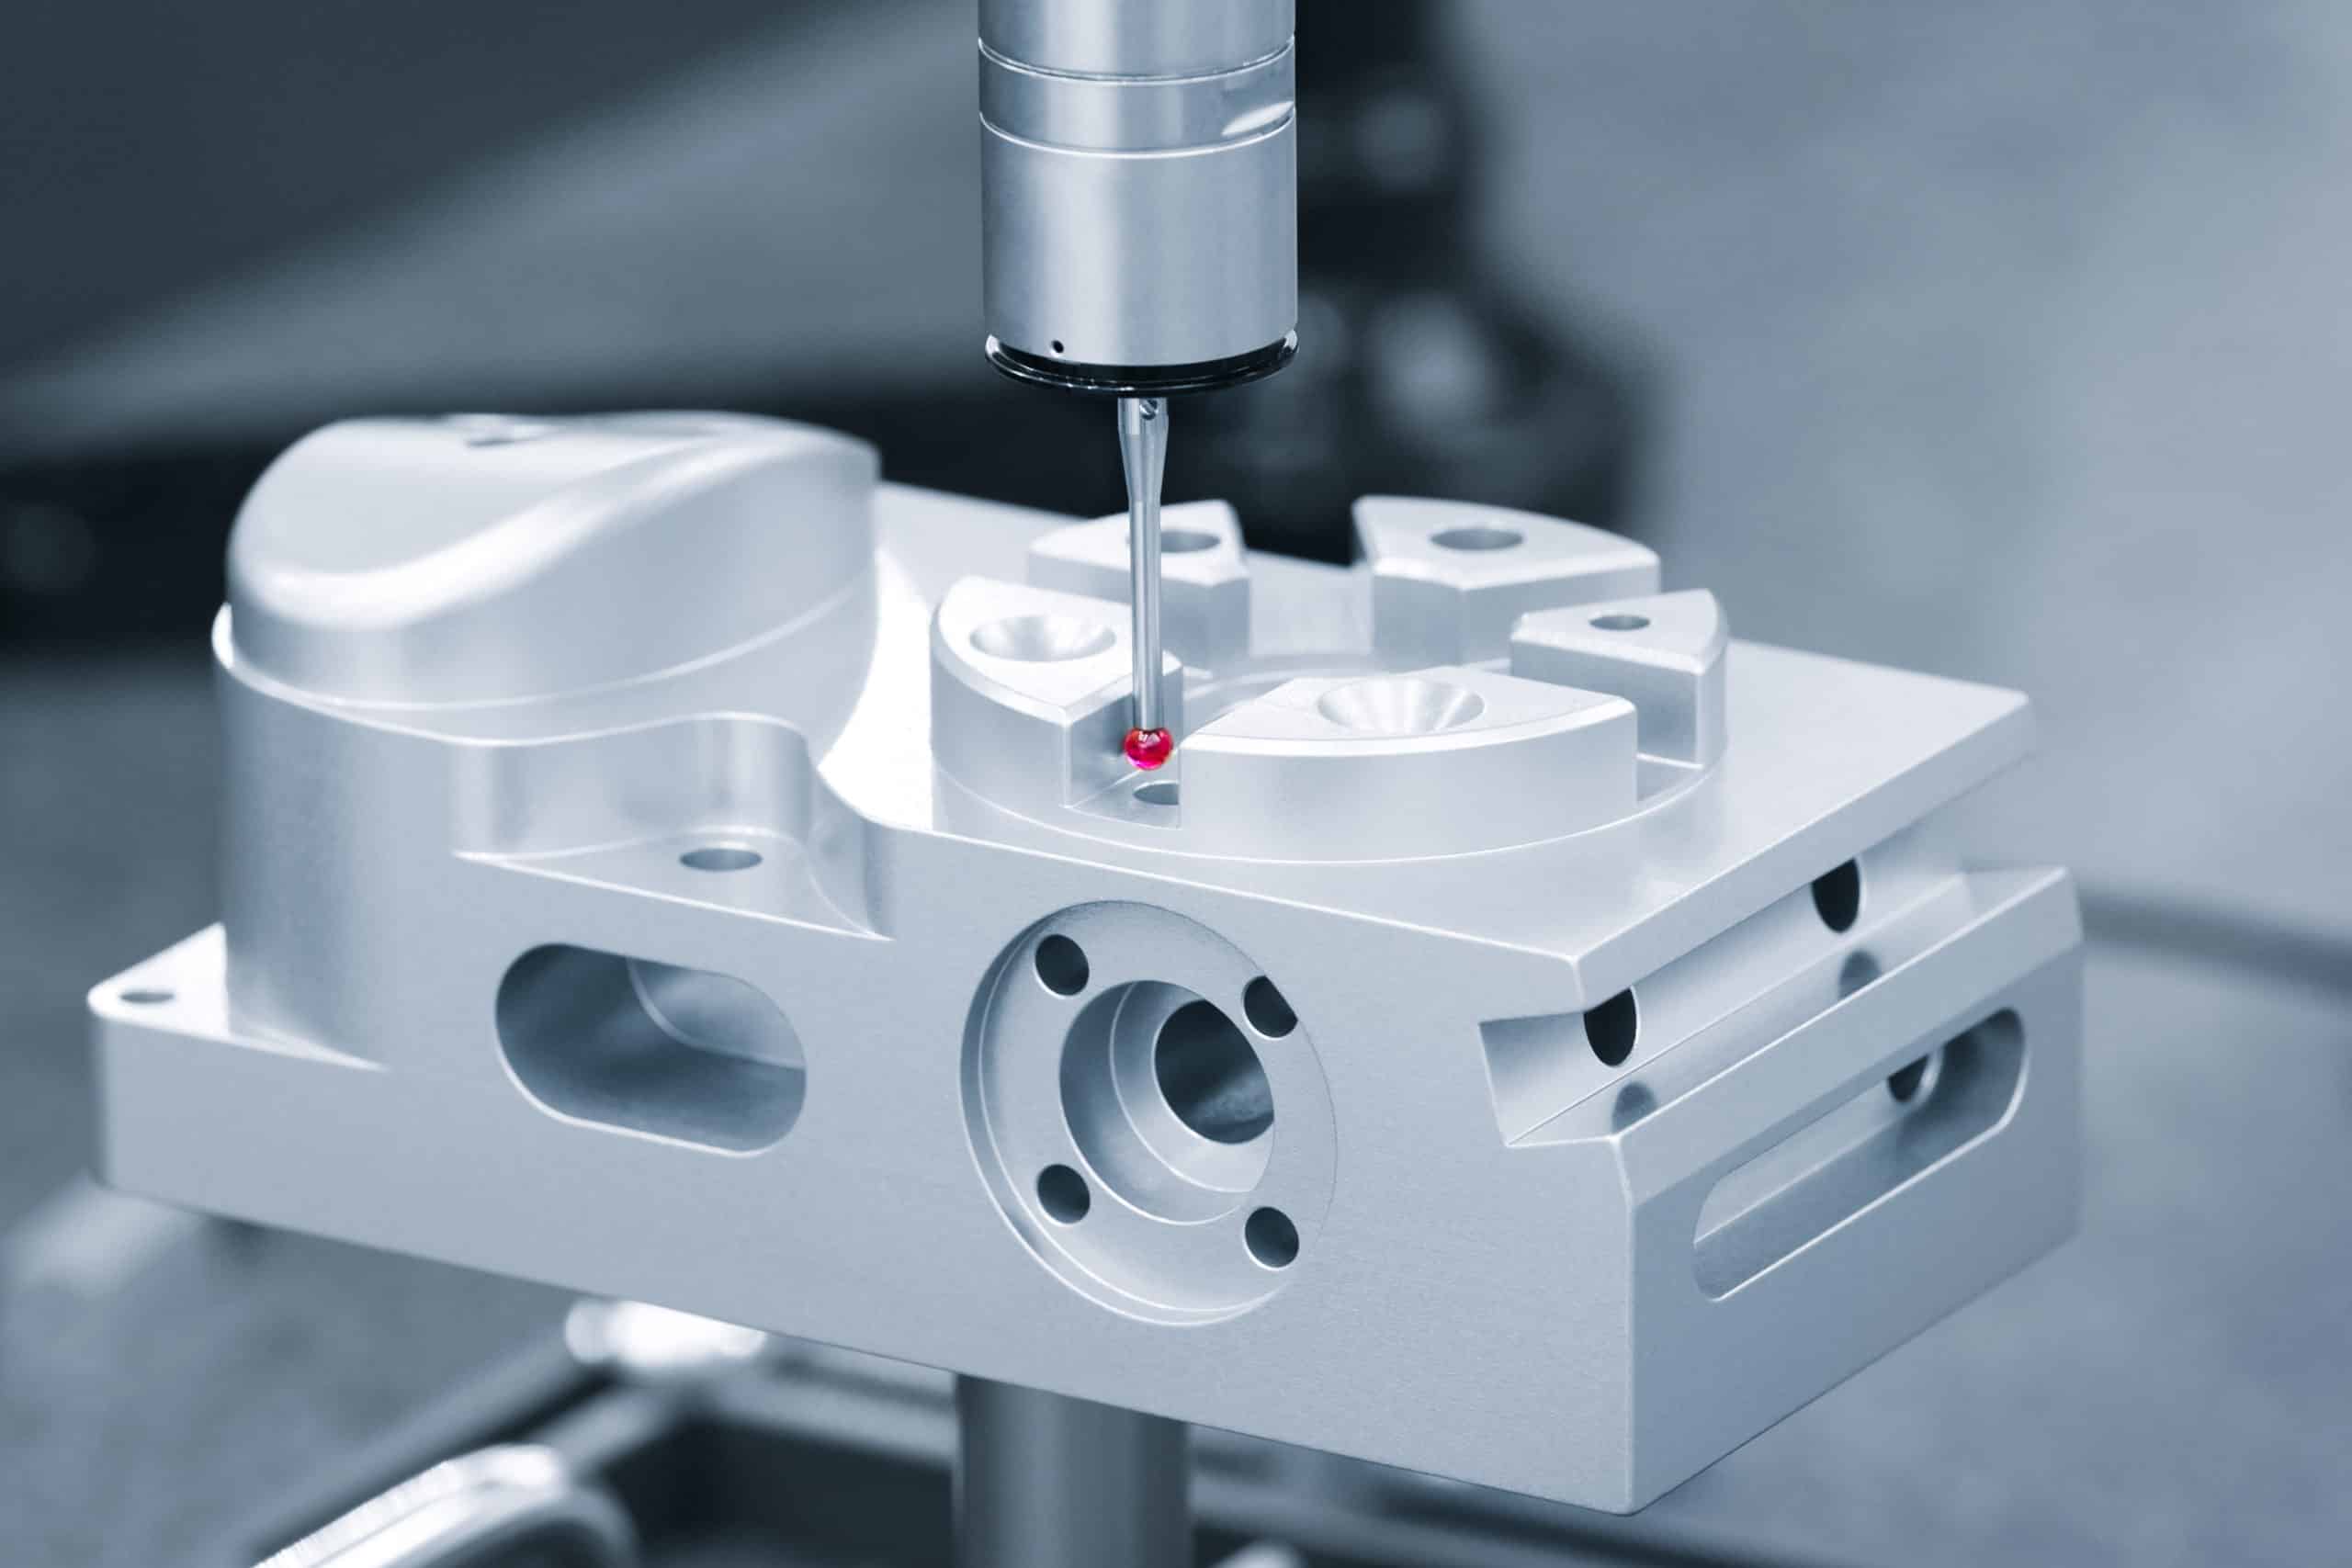
From production experience, grinding typically adds 30-50% to part cost and 3-5 days to delivery. We’ve seen engineers specify grinding on mounting brackets that function perfectly with standard machined surfaces, while missing it on encoder housings where the extra precision was actually critical for proper alignment. Our CMM measurements show face-milled surfaces consistently holding ±0.025 mm across 100mm spans, while ground surfaces achieve ±0.005 mm with Ra 0.4 μm finish verified by profilometer.
Red flags that usually require grinding: Your drawing shows flatness callouts tighter than ±0.025 mm, surface finish requirements below Ra 1.6 μm, or assembly notes mentioning “full surface contact” or “leak-tight sealing.”
Alternatives to consider before specifying grinding: Thicker gaskets or O-rings can accommodate surface variations, spring-loaded contacts eliminate flatness concerns, and adjustable mounting interfaces can compensate for minor surface irregularities.
Design Takeaway: If your part doesn’t seal, slide, or serve as a precision reference, standard CNC machining is probably sufficient. When in doubt, ask: “What happens if this surface varies by ±0.05 mm?” If the answer is “nothing critical,” stick with machining.
Which Materials Work Best for Surface Grinding?
Aluminum alloys (6061, 7075) and steel grades are ideal for surface grinding, while soft plastics like nylon and PTFE are problematic due to heat buildup and material removal inconsistencies. Hardened steels actually grind better than soft materials because they resist deformation and maintain dimensional stability under grinding forces.
Material choice directly impacts whether grinding will deliver the precision you’re designing for. We consistently achieve Ra 0.4 μm finishes on 7075 aluminum with ±0.005 mm flatness using standard surface grinding procedures, verified through profilometer measurements. However, the same process on Delrin plastic resulted in melted surfaces and dimensional inconsistencies due to thermal buildup.
Materials that deliver reliable grinding results:
- Aluminum 6061/7075: Excellent heat dissipation, achieves Ra 0.2-0.8 μm consistently
- Stainless steel 304/316: Stable dimensions, meets medical/food grade requirements
- Tool steels (A2, D2): Superior surface quality when hardened per ASTM specifications
- Carbon steel: Cost-effective option for non-critical applications
Materials that create grinding challenges:
- Soft plastics (nylon, PTFE): Heat causes melting, irregular material removal
- Very thin sections (<3mm): Prone to warping regardless of base material
- Gummy aluminum alloys: Can load grinding wheels, causing poor surface finish
The thermal properties of your chosen material matter more than hardness alone. Materials that conduct heat away from the grinding zone perform consistently, while those that retain heat create unpredictable results that can compromise your design intent.
Design Takeaway: Select materials early with grinding requirements in mind. If your design demands both precise surfaces and specific material properties, aluminum alloys offer the best balance of grindability and performance. Avoid soft plastics for ground surfaces unless you can redesign around the thermal limitations.
What Flatness and Surface Finish Can Surface Grinding Achieve?
Surface grinding achieves flatness within ±0.005 mm and surface finishes from Ra 0.2 to 0.8 μm on most metals, compared to ±0.025 mm flatness and Ra 1.6-3.2 μm from standard CNC machining. These specifications align with ISO 1302 surface finish standards and provide the precision needed for sealing, optical, and precision assembly applications.
When evaluating whether your tolerance callouts are realistic, these numbers provide your design benchmarks. We consistently achieve ±0.003 mm flatness across 150mm aluminum housings using precision surface grinders, with results verified through coordinate measuring machine inspection per ISO 10360 standards.
Quick specification decision table:
Your Application Flatness Tolerance Surface Finish Grinding Needed?
Mounting flanges ±0.05 mm Ra 3.2 μm No – machine only
Gasket sealing ±0.01 mm Ra 0.8 μm Yes – grinding required
O-ring interfaces ±0.005 mm Ra 0.4 μm Yes – grinding required
Optical mounts ±0.002 mm Ra 0.2 μm Yes – precision grinding
Achievable ranges by part size per ISO 2768 tolerance classes:
- Under 100mm: ±0.002 mm flatness consistently achievable
- 100-300mm: ±0.005 mm standard capability for most applications
- Over 300mm: ±0.008-0.010 mm realistic expectation, plan accordingly
Critical design decision: Medical device sealing typically requires Ra 0.4 μm per FDA guidance, while mounting interfaces for industrial equipment function perfectly with Ra 1.6 μm machined surfaces. Over-specifying creates unnecessary cost without functional benefit.
Design Takeaway: Use ±0.005 mm flatness and Ra 0.4 μm as your baseline grinding specifications for sealing and precision applications. Verify tighter tolerances are functionally necessary before specifying – they significantly increase cost and lead time.
Can I Redesign My Part to Avoid Surface Grinding?
Strategic design modifications eliminate grinding requirements in approximately 70% of cases through relocated interfaces, geometry changes, or assembly methods that accommodate standard machined tolerances. Focus on achieving the same function through different approaches rather than pursuing perfect surfaces.
The most successful redesigns address the root functional requirement rather than just accommodating surface limitations. We’ve helped customers eliminate grinding specifications while maintaining or improving performance through creative geometry and assembly approaches.
Immediate redesign checklist:
If You Need Grinding For: Try This Alternative: Typical Cost Savings
Large flat sealing surfaces Raised sealing lands or O-ring grooves 40–60%
Parallel mounting surfaces Adjustable mounting with reference surface 50–70%
Precision alignment Dowel pins + standard surfaces 30–50%
Multiple surface parallelism Self-aligning interfaces or flexible couplings 60–80%
Proven geometry alternatives:
Replace large surfaces with small precision features: Convert a 100mm x 150mm ground sealing face into a 3mm wide raised perimeter that can be face-milled to equivalent finish. Same sealing performance, 60% cost reduction.
Use multiple small interfaces: Redesign large ground mounting bases as individual precision pads or bosses that achieve required stability through strategic placement rather than surface perfection.
Relocate critical interfaces: Move sealing requirements from large flat surfaces to cylindrical features where turning operations naturally achieve grinding-quality finishes.
Design in compliance: Use spring-loaded contacts, compliant gaskets, or adjustable mounting that accommodates ±0.025 mm surface variations without functional compromise.
When redesign isn’t feasible: Precision optical surfaces, gauge reference standards, and wear surfaces in high-friction applications typically require grinding regardless of design approach. These applications demand the uniform surface contact that only grinding can provide consistently.
Design Takeaway: Before specifying grinding, identify the core functional requirement – sealing, alignment, or load distribution. Most grinding specifications can be eliminated through geometry modifications that achieve the same result more cost-effectively with standard machined surfaces.
How Much Machining Stock Should I Leave for Surface Grinding?
Leave 0.75mm of stock per surface for reliable grinding results on aluminum and steel parts, accounting for both material removal and potential pre-machining variations. This stock allowance ensures complete removal of machining marks while preventing breakthrough to inconsistent base surfaces that compromise finish quality.
The stock you leave directly affects your final part dimensions and whether grinding can achieve the precision you’ve designed for. Insufficient stock means grinding may not fully remove machining irregularities, creating mixed surface finishes that look unprofessional and may not seal properly. We’ve measured parts where 0.3mm stock left visible machining marks after grinding, while 0.75mm stock consistently delivered uniform Ra 0.4 μm surfaces across the entire face.
Stock planning for your design:
- Single surface grinding: Factor 0.75mm loss from overall thickness
- Double-sided grinding: Plan for 1.5mm total thickness reduction
- Precision assemblies: Verify remaining thickness meets structural requirements
Critical thickness calculations: If you’re designing a 10mm housing that needs both sides ground, start with 11.5mm material thickness to achieve your final dimension. Model your CAD at the final ground thickness (10mm), then specify “machine to 10.75mm, finish grind to 10.00 ±0.05mm” on your drawings.
For parts with tight thickness tolerances (±0.1mm or tighter), coordinate with your vendor on stock consistency. Uneven pre-grinding surfaces can cause final dimensions to vary beyond your design intent, especially on thin-walled components where grinding forces may cause deflection.
Design Takeaway: Always work backward from your required final thickness when specifying ground surfaces. If removing 1.5mm for double-sided grinding compromises your part’s structural integrity or assembly requirements, consider grinding only one surface or exploring design alternatives before committing to the process.
Will Surface Grinding Affect My Other Part Dimensions and Fits?
Surface grinding affects adjacent dimensions through workholding forces, thermal expansion, and material stress relief, with features within 10-15mm of ground surfaces typically shifting ±0.01-0.02mm according to ASME Y14.5 geometric dimensioning principles. This predictable behavior allows smart designers to plan accommodations rather than discover problems during assembly.
Quick dimensional impact assessment:
Part Feature Risk Level Typical Shift Design Response
Holes within 10 mm of ground surface High ±0.015–0.025 mm Add clearance or machine after grinding
Threaded features near ground areas Medium ±0.010–0.015 mm Plan threads after grinding
Thin walls (<5 mm thickness) High ±0.020–0.030 mm Increase wall thickness or use fixtures
Assembly interfaces Critical ±0.010–0.020 mm Design clearances with grinding in mind
Why this happens: Grinding generates heat and mechanical forces that propagate through your part structure. Our CMM measurements per ISO 10360 standards consistently show aluminum housings with bore diameter changes of 0.010-0.025mm.
Real assembly impact: Medical device housing experienced interference during assembly because 0.018mm grinding shift transformed a 0.025mm clearance into an interference fit.
Best approach: Complete grinding first, then machine final assembly dimensions. Plan assembly clearances assuming ±0.025mm potential movement in adjacent features.
Design Takeaway: Use the assessment table to identify at-risk features during design, then plan clearances and operation sequences accordingly. Grinding effects are predictable – design with them rather than against them.
How Does Surface Grinding Affect Cost and Lead Time?
Surface grinding adds 40-60% to part cost and 3-5 days to lead time compared to machining-only operations, with project complexity increasing due to limited vendor capabilities and specialized quality requirements. Early planning prevents budget surprises and schedule delays.
Project cost planning by specification:
Grinding Requirement Cost Multiplier Lead Time Impact Vendor Pool When Justified
Standard grinding (±0.01 mm) +40–50% +3–4 days ~30% of shops Sealing surfaces
Precision grinding (±0.005 mm) +60–80% +5–7 days ~15% of shops Critical assemblies
Multiple surfaces (precision stack) +80–120% +7–10 days ~10% of shops Precision equipment
Vendor limitation reality: Grinding requirements eliminate 70% of potential machine shops. Most subcontract grinding, adding logistics complexity and quality control gaps.
Quantity impact:
- Prototypes often see doubled costs due to setup expenses
- Production (100+ parts) drops premium to 20-30%
Budget justification: Frame around risk mitigation. Medical housing requiring leak-tight sealing justifies grinding costs by preventing field failures that cost exponentially more.
Essential vendor questions:
- “Do you grind in-house with your own equipment?”
- “What measurement equipment verifies flatness and finish?”
- “What’s typical lead time including inspection?”
Smart planning: Get quotes with and without grinding during initial design while changes are still inexpensive.
Design Takeaway: Factor grinding impacts into project planning from the start using the cost table above. The investment often delivers proportional value, but verify necessity through vendor discussions before finalizing specifications.
Conclusion
Surface grinding delivers precision when your design truly requires it, but smart geometry and material choices can often achieve the same function more cost-effectively. Evaluate flatness requirements against actual assembly needs, plan for dimensional impacts, and consider design alternatives before specifying grinding operations.
Contact us to explore manufacturing solutions tailored to your precision surface requirements.
Frequently Asked Questions
Plan 0.75mm stock per surface for reliable results. If your part requires 10mm final thickness and both sides need grinding, start with 11.5mm material thickness. Model your CAD at final dimensions and specify “machine to 10.75mm, finish grind to 10.00 ±0.05mm” on drawings.
6061-T6 aluminum provides excellent grindability with consistent Ra 0.2-0.4 μm finishes and minimal thermal distortion. 7075 aluminum grinds well but costs more and is harder on grinding wheels. Both grades significantly outperform soft plastics like nylon, which tend to melt during grinding operations.
Yes, grinding forces and thermal effects can shift hole positions by ±0.015-0.025mm, particularly in thin-walled parts under 5mm thickness. Complete grinding operations first, then machine critical features like threads and precision bores to ensure assembly fits remain within specification.
Ask if they grind in-house with their own equipment and operators, what measurement tools they use to verify flatness and finish, and request capability studies for your specific tolerances. Many shops subcontract grinding, which adds complexity and potential quality issues to your project.
For most applications, ±0.005 mm flatness and Ra 0.4 μm surface finish represent the sweet spot between precision and cost-effectiveness. Tighter specifications like ±0.002 mm flatness require specialized equipment and add 80-120% to part cost with limited functional benefit for typical sealing or assembly applications.
Standard grinding (±0.01mm flatness) typically adds 40-50% to part cost, while precision grinding (±0.005mm) increases costs by 60-80%. Multiple surfaces requiring grinding can double part costs. Evaluate whether your application truly needs the tighter specification before committing to premium pricing.
