Thin-wall parts look harmless in CAD — until suppliers start pushing back. Quotes disappear. Lead times stretch. And even approved parts warp during machining or fail inspection, putting budgets and schedules at risk.
The real issue isn’t shop capability — it’s that the drawing gives them no safe way to guarantee accuracy without risking distortion or scrap. When walls flex under cutting loads or when tolerances leave zero room for deflection, even top CNC shops can’t promise a pass at QA.
This guide shows the exact thin-wall triggers that cause shop rejections — and the simple design adjustments that keep your part manufacturable, on-spec, and off the scrap pile.
Table of Contents
Are your thin-wall specs too thin for CNC shops to quote?
Most CNC suppliers become uncomfortable quoting metal walls below 0.8 mm (≈0.03”), because the structure simply can’t resist the cutting forces generated during milling. In controlled prototype conditions — short walls, stable geometry, good access — we can sometimes push down to 0.5 mm, but only with slower machining, custom fixturing, and higher scrap risk. Plastics demand even more thickness: 1.5 mm is typically the minimum that remains dimensionally stable through the cut and inspection processes.
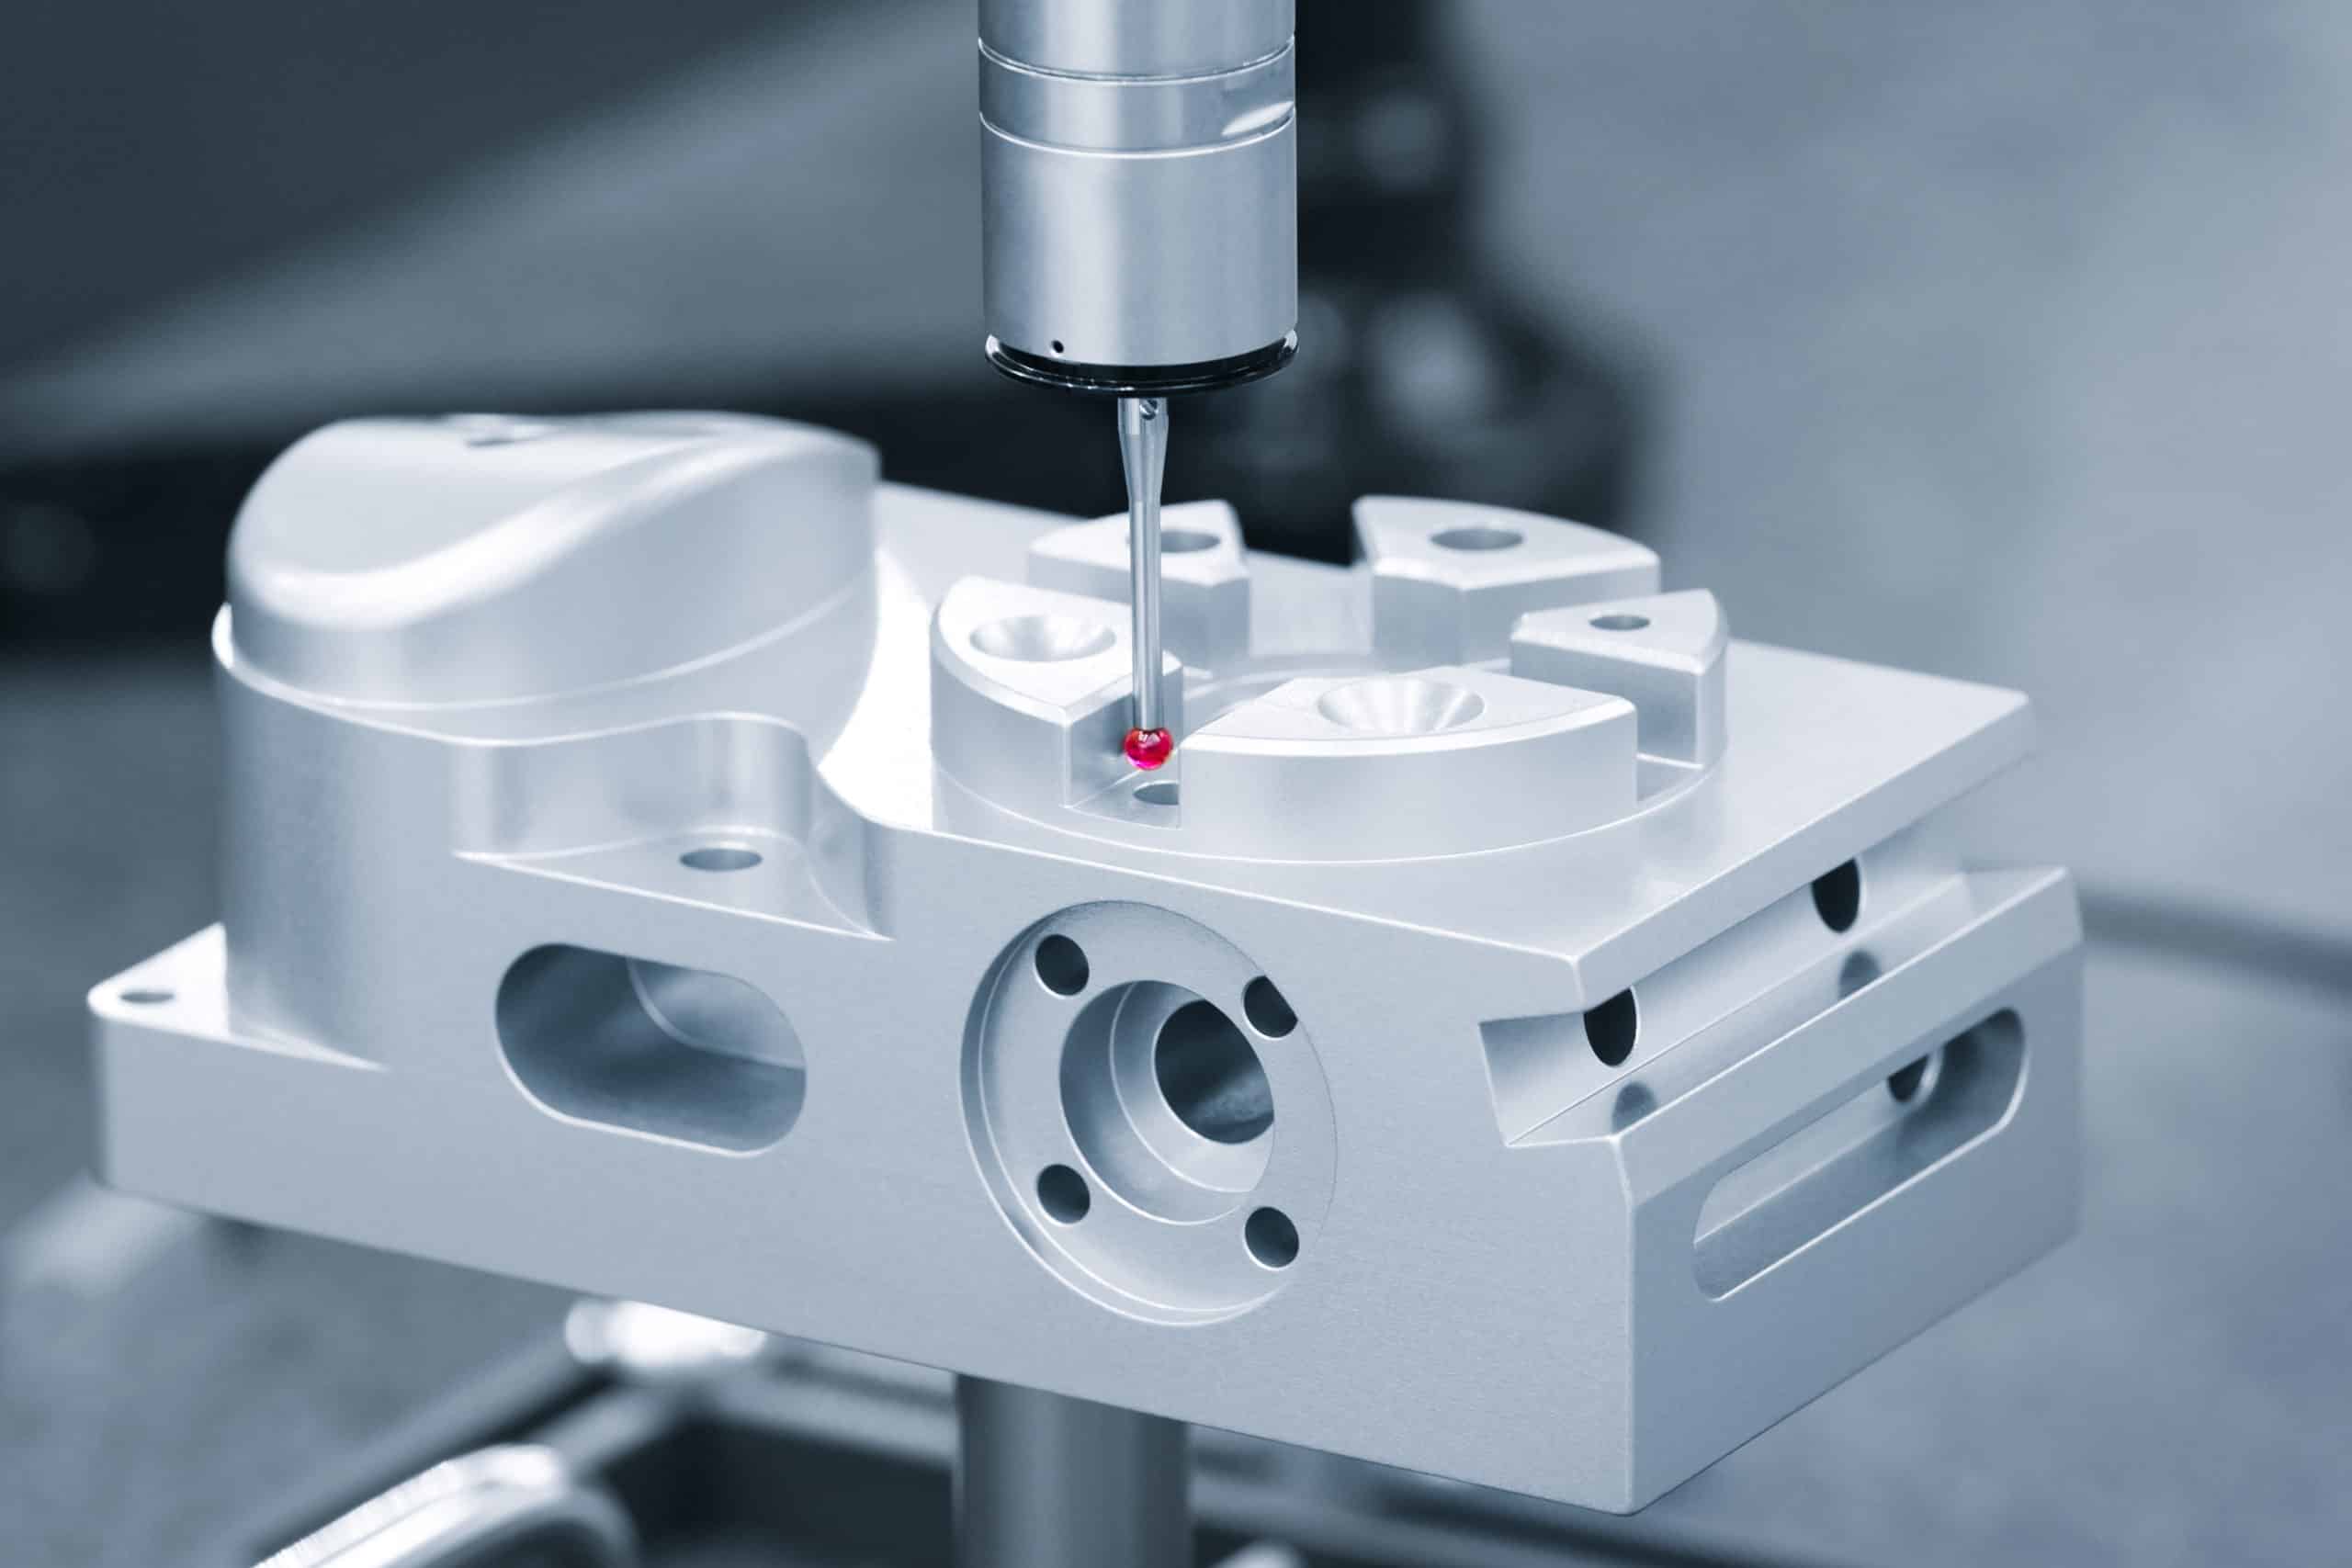
The real reason shops reject ultra-thin walls is risk: when a wall deflects just 0.05–0.10 mm under tool load, it can spring back out of tolerance after cutting. Even a light CMM probe can distort a thin section enough to trigger a QA reject. The supplier must choose between scrap at their cost or a failed delivery — and most won’t quote what they can’t guarantee.
If your functional requirement truly demands thin sections, we can help redesign support ribs, modify height-to-thickness ratios, or isolate thin zones to secondary operations. Sharing performance limits instead of locked dimensions gives us room to achieve the thinnest wall that still survives machining, handling, and inspection — avoiding no-quotes and late-cycle redesigns.
Is your material selection causing thin-wall distortion risk?
Even when a wall meets the minimum thickness, the material’s stiffness, ductility, and heat response decide whether the part holds its shape. Softer grades like 6061 aluminum or polymers can flex during cutting and never fully recover.
Harder materials like 17-4PH or titanium resist bending, but they generate higher cutting forces and heat — which can warp long unsupported walls or cause stress that releases during finishing. That’s why two walls with identical geometry behave completely differently once they reach the shop floor.
A conservative starting point is ≥ 0.8 mm for metals, ≥ 1.5 mm for plastics, but the critical factor is how that material handles tool pressure across the full height-to-wall ratio. A 0.8 mm aluminum wall that’s only 3 mm tall can remain perfectly stable; stretch that wall to 20–30 mm high and suddenly you’re fighting chatter, vibration marks, and failed tolerances.
Material choice should follow the function: high-rigidity alloys like 7075-T6 excel for lightweight thin structures; engineering plastics like POM and PC outperform soft metals in low-load situations; copper and 304 stainless often create more distortion than they solve.
When buyers share load requirements, environment, and cosmetic expectations, we can propose the material + geometry pairing that avoids warping risks — and prevents suppliers from no-quoting in the first place.
Do your thin-wall features make the part impossible to hold?
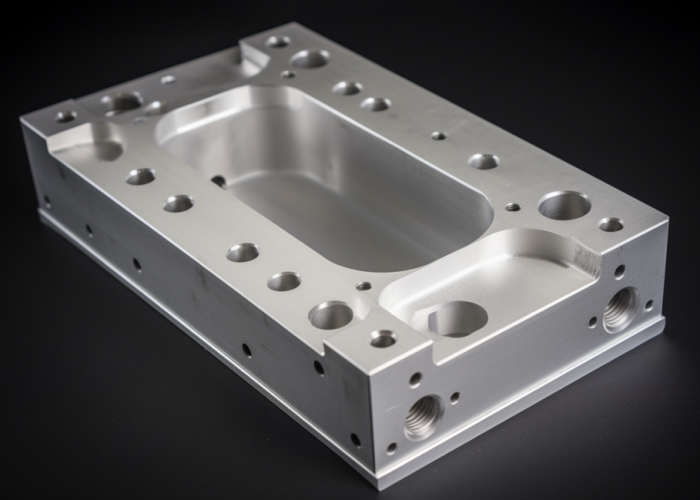
Yes. Thin-wall features often make the part impossible to hold securely, which forces CNC shops to reject the design because they can’t guarantee dimensional accuracy. When clamping causes distortion before the tool even touches metal, machining becomes fundamentally unachievable.
Most thin-wall designs fail fixturing long before they fail cutting. Tall outer walls, fragile flanges, and long unsupported ribs reduce rigid contact points — meaning the vise must squeeze harder, which bends the part. Even vacuum fixtures and soft jaws have limits; with too little structure, the part vibrates like a tuning fork, leaving chatter marks and warped geometry.
The result is unmeasurable risk: the shop has no stable plan to cut or re-clamp the part across multiple setups. That means unpredictable alignment, rejected datums, and QA disputes nobody can win.
A better approach is to design temporary rigidity into the model. We add sacrificial support stock, machine thin areas last, or introduce removable ribs that only exist to survive manufacturing. If buyers tell us which surfaces are functional and which can be modified, we transform a “no-quote” design into a stable machining process that protects cost, tolerance, and delivery.
Fix Thin-Wall Rejections Fast
Upload your drawing — we’ll confirm wall thickness and features before your supplier says “no quote” again
Will unsupported thin walls fail CNC inspection?
Yes. Unsupported thin walls frequently fail CNC inspection because probe pressure or internal stress causes walls to flex during measurement, making a good part appear out-of-tolerance. Shops reject thin-wall parts when they can’t validate accuracy with confidence.
Even when machining looks perfect, a 0.8 mm metal wall or 1.5 mm plastic wall can spring outward after roughing or finishing. Stress relief continues during deburring, cleaning, or even overnight — moving key surfaces by 0.05–0.15 mm. Touch-probe or CMM inspections make it worse: the stylus pushes the wall away slightly, and the machine records a fail that wasn’t present in real-world use.
This creates the most expensive scrap: a part that functions, assembles, and performs perfectly — but fails certification.
The solution is to support the geometry through the entire process. We thicken non-critical bases, add temporary bracing, or finish thin areas as the final operation to avoid stress buildup. When customers allow Okdor to adjust wall sequencing and stiffness early, we prevent the worst-case scenario: a full batch rejected at inspection simply because the design never accounted for measurement physics.
Do your GD&T callouts force impossible thin-wall precision?
Yes. Tight GD&T callouts can make thin-wall precision impossible because tool pressure and part flexibility exceed the tolerance window the moment machining starts. Shops reject thin-wall designs not for the geometry — but for the risk of guaranteed non-compliance.
A ±0.02 mm profile tolerance on a 30 mm-tall wall leaves no allowance for natural deflection. Add datums located on thin features and stacked tolerances across multiple setups, and the design requires perfection that manufacturing physics can’t deliver. The shop has only two options: slow cutting speeds, custom fixturing, and multiple in-process inspections — or simply no-quote to avoid conflict later.
The best fix is functional tolerance mapping. Not every wall surface carries assembly load or aligns a critical component. When buyers allow us to relax flatness on non-contact faces, shift datums to more rigid reference planes, or widen profile tolerance where cosmetics don’t matter, we preserve manufacturing feasibility without sacrificing performance.
Early tolerance review is where Okdor prevents the most hidden cost: redesigns after validation because GD&T requirements silently made the part unmanufacturable from day one.
Are your inside radii too tight for thin-wall measurement?
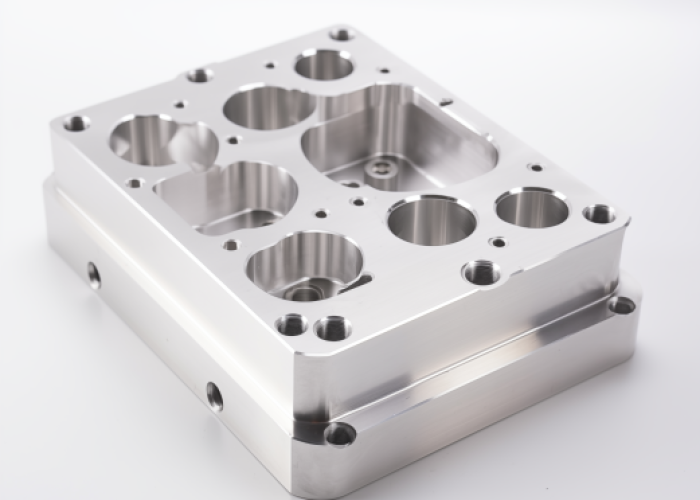
Yes. Inside radii that are too tight force tools that are too small, which cause vibration, heat, and deflection that thin walls cannot survive — and shops reject the design because they know the radius will measure out-of-tolerance during inspection.
When a corner is modeled sharp or with a very small fillet (like R0.2–R0.5 mm), the only cutter that fits is a micro end mill. That tool has low rigidity, producing chatter and stress that bend the adjacent wall even if the wall thickness meets guidelines. The result: the radius ends up larger than specified or becomes oval during probing.
Tight radii also block the CMM probe from seating correctly at depth, meaning measurement data becomes unreliable. A design that “looks precise in CAD” becomes un-verifiable in real production.
A smarter solution is to match internal corner radii to tool diameter. For thin sections, we recommend fillet sizes ≥ tool radius + 10–20% margin — most often R1.0–R1.5 mm in aluminum for stable finishing. Sharing tolerance priorities helps us position radii where accuracy matters — and open up manufacturability everywhere else.
Do deep pockets lead to thin-wall prototype failure?
Yes. Deep pockets often create thin walls indirectly — material gets removed from behind a stable surface, turning it into a fragile membrane that can warp during roughing, finishing, or QA. Shops reject deep-pocket designs when they know the pocket depth will destroy wall strength.
When cutting deep cavities (like 6–10× tool diameter), the tool extension required is large, increasing deflection and side-load forces dramatically. Those forces push into adjacent walls, bending them outward or generating heat that relieves internal stress — so what looked flat in CAD becomes visibly concave in the real part.
The first prototypes usually show signs early: hearing chatter, seeing vibration marks, measuring walls that taper thinner at the bottom.
We protect designs by rough-leaving extra stock on wall backs, using staged depths, and finishing walls as the last operation with rest-material support. If buyers let us modify pocket depth ratios or add temporary braces, we prevent the worst waste — a fully machined part scrapped in the final 30 minutes because the deep pocket ruined structural integrity.
Will your length-to-wall ratio deform thin CNC walls during QA?
Yes. If the wall is long compared to its thickness, even light handling or probe contact can deform it — so shops reject these parts because they cannot guarantee repeatable inspection results across the full length.
A 0.8 mm aluminum wall that’s only 3–5 mm tall is usually stable enough. But stretch that same wall to 20–30 mm tall, and it behaves like a metal ribbon — the slightest pressure introduces measurement error. During second-side machining, the wall may bow permanently as clamping forces shift.
The inspector becomes the enemy: the CMM probe registers deviation simply because the wall moves under measurement. That’s a guarantee of failed flatness or profile tolerances, even when the design functions perfectly in assembly.
Designing for a reasonable height-to-thickness ratio is essential. When geometry forces long thin walls, we introduce thicker bases, stepped machining, localized ribs, or alternative setups that reduce bending stress. If buyers include length-to-thickness risk zones in the RFQ package, we can plan machining sequences that preserve accuracy and eliminate false-fail QA cycles.
Are your surface finish specs too strict for thin-wall CNC parts?
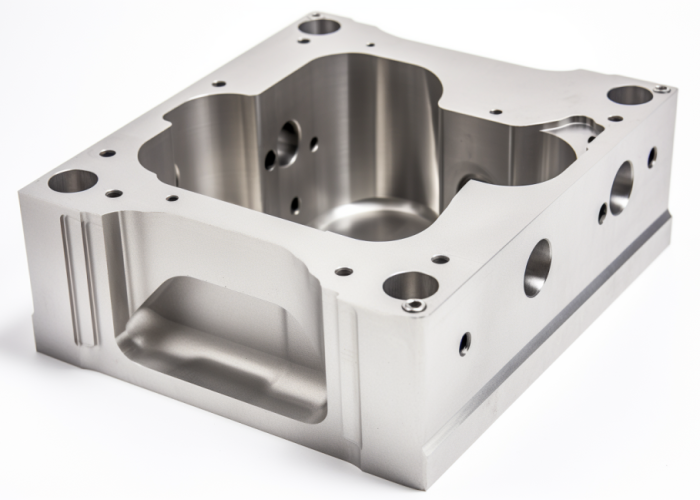
Yes. Strict surface finish requirements on thin walls can force ultra-slow cutting speeds and multiple finishing passes that overstress the wall and push it out of tolerance. Shops reject these specs because they can’t guarantee cosmetic perfection and dimensional stability at the same time.
When a wall is delicate, achieving Ra 0.8–1.6 µm requires fine stepdowns, sharp micro-tools, and more tool pressure per area. That pressure bows the surface like a drum skin — so the finish might look good, but the feature shifts by 0.05–0.10 mm. Polishing and bead blasting do not solve the problem; they remove extra material and risk uneven thinning that leads directly to QA fail.
The biggest trap is when cosmetic surfaces are dimensionally critical. A wall that must look flawless and locate a mating part leaves no buffer for real machining physics.
We recommend splitting intent: specify tighter finishes only where functional, then allow a slightly higher roughness on thin, non-locating surfaces. When finish and tolerance aren’t working against each other, shops can deliver both a clean appearance and a stable part — without over-processing and cost blowouts.
Do multi-setup geometries risk thin-wall rejection?
Yes. Thin-wall designs that require multiple setups often fail because realignment forces and clamping transitions create accumulated distortion that makes the final geometry unmeasurable. Shops reject these parts because the tolerance stack becomes impossible to control.
Every time a part is flipped, rotated, or re-clamped, the reference datums shift by microns — and those microns add up. Thin walls are the first victims: what was straight in Setup 1 may bow after Setup 3 when a different clamping face introduces uneven pressure. Even small changes in grip points or jaw heights can pull a long thin wall off-axis.
The more complex the geometry, the more scrap risk the supplier sees — especially if critical GD&T features span across opposing setups.
The key is minimizing re-clamps by combining setups when possible and anchoring datums on rigid, central structures. When that can’t happen, we modify sequencing so walls are rough-cut early but finished only once the final stable setup is reached.
Early dialog in the RFQ lets Okdor design a machining path that avoids the physics traps hidden inside multi-setup thin-wall builds — preventing late-stage rejects that are the most expensive failures in CNC machining.
Prevent First-Article Scrap
We’ll adjust your thin-wall design so it passes inspection without distortion or delays
Can thin-wall tolerances be relaxed to avoid QA rejection?
Yes. Many thin-wall tolerances can be safely relaxed because not every surface contributes to function — and keeping impossible tolerances leads to guaranteed QA rejection even if performance is perfect. Shops only reject when tolerances leave no room for natural flex.
Designers often copy tight ±0.02 mm or profile 0.05 mm across an entire part, even on walls that only protect space or provide cosmetics. On stiff parts, this waste is expensive but manageable. On thin walls, this decision becomes catastrophic: tool pressure alone exceeds the tolerance band before finishing even begins.
The smartest path is functional tolerance mapping — tightening only where load, alignment, sealing, or motion truly matter. Secondary faces, non-contact surfaces, and cosmetic transitions can still look right with wider zones like ±0.05–0.10 mm. That difference can be the line between a confidently quoted part and a nervous no-quote.
When buyers share the real assembly constraints, Okdor isolates the few surfaces that must hold precision — and gives the rest breathing room. This preserves manufacturing feasibility without sacrificing accuracy where it counts, preventing the dreaded scenario: “the part fits, but QA forces scrap anyway.”
Will your finishing requirements distort thin CNC walls?
Yes. Finishing operations like anodizing, polishing, bead blasting, and even simple deburring can distort thin CNC walls because they remove material unevenly or release residual stress that was holding the wall in tolerance. Shops reject these designs when they know that finishing will undo all machining accuracy.
A 0.8 mm aluminum wall is already near its structural limit. Add bead blasting, and localized impact can stretch one face more than the other, creating a visible bow. Chemical finishes like anodizing can also lift stress inside the wall — especially if the design required aggressive roughing earlier. One moment the part is perfect, the next it fails profile tolerance by 0.05 mm and no longer seals or aligns with its mating part.
The hidden danger is when finishing is specified without tolerance compensation. A flatness callout that holds after machining might instantly fail after coating thickness buildup or post-polish thinning.
We fix this by sequencing finish lifts to the very end and pre-compensating dimensions where coating thickness is known. We also recommend soft masking non-critical areas and limiting high-pressure media on unsupported walls. When buyers share cosmetic intent early, Okdor protects both finish and geometry — so the part passes inspection after finishing, not just before.
Conclusion
Thin-wall parts fail when designs leave no margin for machining or inspection. Before another supplier rejects your part or scrapes it at QA, let us review the model. We’ll flag thin-wall risks early and propose manufacturable adjustments.
Upload your drawing — free, fast, and confidential.
Frequently Asked Questions
Most shops recommend ≥0.8 mm for metals and ≥1.5 mm for plastics, depending on wall height and support. Anything thinner increases distortion and inspection failure risk.
Thin walls are rejected when suppliers can’t guarantee tolerance due to wall flex, workholding instability, multi-setup alignment errors, or finishing-induced distortion.
High-rigidity alloys like 7075-T6 aluminum and 17-4 PH stainless perform best. Soft metals and plastics need thicker walls to avoid vibration and springback.
Add temporary support, increase corner radii, finish thin areas last, and avoid tight cosmetic + tolerance stacks on the same wall.
Yes. Anodizing, polishing, and bead blasting can bow thin walls or reduce thickness unevenly. Dimensional compensation and gentle sequencing prevent distortion.
Yes — only functional surfaces need tight GD&T. Relaxing tolerances on cosmetic or non-contact faces dramatically reduces scrap and cost.
