Designing for CNC machining isn’t just about geometry—it’s about minimizing cost without compromising precision. With decades of experience manufacturing parts for aerospace, audio, and medical sectors, small tolerance adjustments can dramatically impact both performance and price.
The five hidden cost areas include exponential machining time increases, specialized equipment requirements, intensive inspection needs, complex setup procedures, and higher scrap rates. Tight tolerances can increase CNC machining costs by 2-4x for ±0.001″ precision, and up to 24x for ultra-tight ±0.0001″ specifications compared to standard tolerances.
Find out when tight tolerances matter, how they affect cost, and strategies to optimize precision—based on real-world CNC production examples.
Table of Contents
When Do I Actually Need Tight Tolerances for My Design?
Reserve tight tolerances (±0.01 mm or tighter) exclusively for features that impact assembly, fit, or function. Apply them to mating surfaces, sealing interfaces, and threaded connections where dimensional variation affects performance. Non-critical features like external corners and decorative surfaces function perfectly with standard ±0.05 mm tolerances.
Key situations requiring tight tolerances:
- Parts that must fit together precisely (shafts, housings, connectors)
- Sealing surfaces where leaks cannot occur (gasket grooves, O-ring channels)
- Moving components needing smooth operation (bearing seats, sliding mechanisms)
In our experience machining aluminum enclosures, over-specifying faceplate alignment to ±0.005 mm adds 40% to project cost with no assembly benefit. Medical device housings requiring fluid sealing consistently need ±0.01 mm tolerances on gasket grooves to prevent leakage. Consumer electronics typically need precision only on connector interfaces and moving parts—not every dimension.
Aerospace components require tight tolerances on structural interfaces where load transfer occurs, while cosmetic panels use standard tolerances. Engineers frequently specify unnecessarily tight tolerances “just to be safe,” which can double machining costs during prototyping phases.
For non-critical dimensions, ISO 2768-m provides adequate guidance. ASME Y14.5 geometric dimensioning standards help determine when positional tolerances are more appropriate than dimensional tolerances.
Design Takeaway: Evaluate each tolerance based on functional necessity—ask “what happens if this dimension varies by ±0.05 mm?” If the answer is “nothing critical,” use standard tolerances to reduce cost, complexity, and inspection requirements.
How Much Will Tight Tolerances Add to My Manufacturing Cost?
Tight tolerances increase CNC machining costs exponentially—±0.005″ precision costs roughly 2x standard rates, ±0.001″ costs 4x more, and ultra-tight ±0.0001″ tolerances can cost up to 24x the base price. This exponential scaling occurs because each tighter tolerance level requires slower cutting speeds, more precise equipment, and extensive quality control measures.
Cost multipliers by tolerance level:
- Standard ±0.005″ (±0.13mm): Baseline cost
- Precision ±0.002″ (±0.05mm): 1.5-2x cost increase
- Tight ±0.001″ (±0.025mm): 3-4x cost increase
- Ultra-tight ±0.0001″ (±0.0025mm): 10-24x cost increase
For a typical aluminum bracket costing $50 with standard tolerances, specifying ±0.001″ precision on critical features increases the price to $150-200. A medical device housing we machined jumped from $180 to $320 when the customer tightened non-functional exterior tolerances from ±0.005″ to ±0.001″. Going from ±0.13mm to ±0.05mm tolerances typically adds 15-30% to project costs across different materials.
These cost increases stem from longer machining cycles, specialized tooling requirements, and intensive inspection procedures. Parts requiring ±0.0001″ tolerances often need climate-controlled environments and coordinate measuring machine (CMM) verification, adding substantial overhead to production.
Industry benchmarks show that over-specifying tolerances accounts for 25-40% of unnecessary manufacturing costs in prototype development. ISO 2768-m standards provide cost-effective alternatives for non-critical dimensions.
Design Takeaway: Budget 2-4x higher costs when specifying tight tolerances, and reserve them only for features where dimensional variation directly impacts product function or assembly requirements.
How Do Tight Tolerances Affect My Project Timeline?
Tight tolerance machining typically extends lead times by 1-3 weeks compared to standard production, with ±0.001″ parts requiring 2-3x longer cycle times due to slower cutting speeds and multiple finishing passes. Additional time is needed for specialized setup, tool changes, and comprehensive quality inspection procedures.
Timeline impacts by tolerance level:
- Standard ±0.005″: Normal 5-7 day lead time
- Precision ±0.002″: 7-10 day lead time (40% increase)
- Tight ±0.001″: 10-14 day lead time (100% increase)
- Ultra-tight ±0.0001″: 14-21 day lead time (200-300% increase)
A recent aerospace bracket project requiring ±0.0005″ tolerances took 18 days versus 6 days for the same part with standard tolerances. The extended timeline included 3 days for specialized fixture design, 8 days for careful machining with multiple light passes, and 2 days for CMM inspection and documentation. Medical device prototypes often require 2-3 additional days for compliance documentation and traceability records.
Tight tolerances require frequent tool changes to maintain cutting edge sharpness, adding 20-30% to machining time. Quality control becomes more intensive, with parts often requiring 100% dimensional inspection rather than statistical sampling used for standard work.
Rush orders for tight tolerance parts typically cost 50-100% more due to overtime labor and priority scheduling. Climate-controlled machining environments may require parts to stabilize for 4-8 hours before final measurement.
Design Takeaway: Plan 2-3x normal lead times for tight tolerance features and avoid specifying unnecessarily tight tolerances on prototype parts where design changes are likely, as revisions compound timeline delays.
How Do I Verify My Parts Meet the Tight Tolerances I Designed?
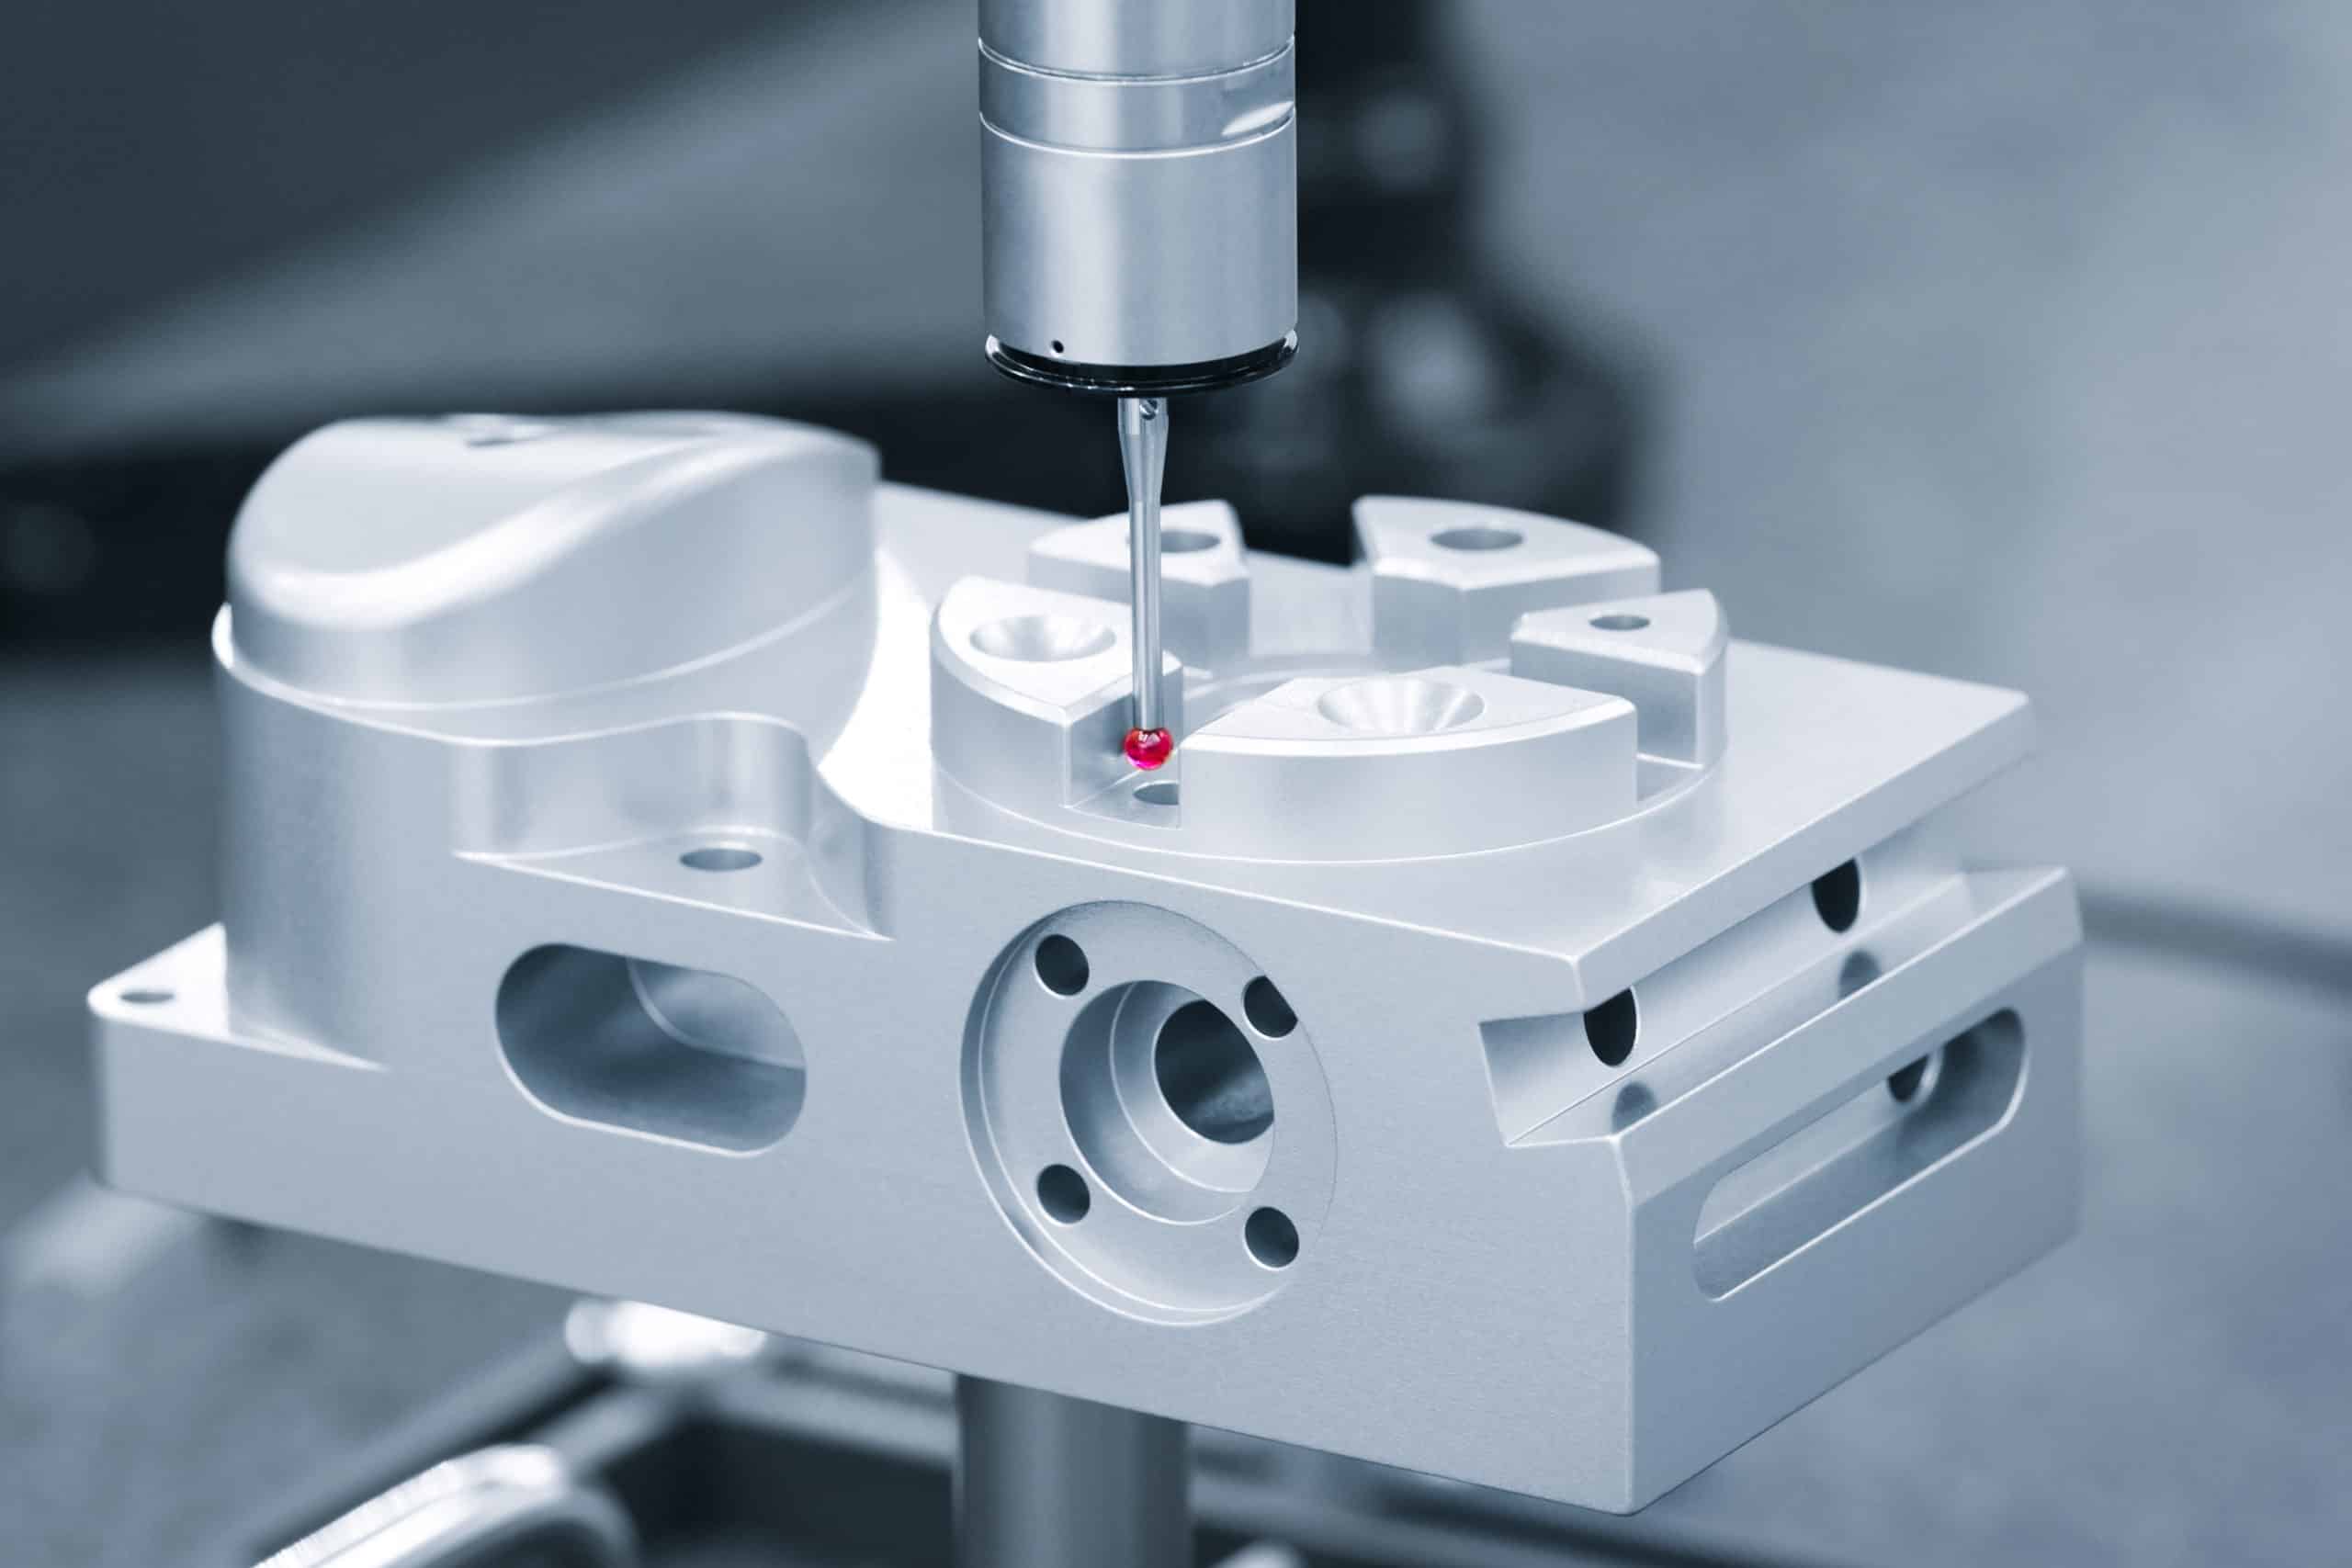
Tight tolerance verification requires coordinate measuring machines (CMMs) with high precision capabilities, surface measurement tools, and detailed inspection reports documenting every critical dimension. Standard measuring tools like calipers and rulers lack sufficient accuracy for tolerances tighter than ±0.001″.
Inspection methods by tolerance level:
- Standard ±0.005″: Calipers, micrometers, basic measuring tools
- Precision ±0.002″: Digital indicators, precision gauges
- Tight ±0.001″: CMM inspection, optical measurement systems
- Ultra-tight ±0.0001″: High-precision CMMs, advanced measurement equipment
For parts requiring ±0.001″ tolerances, we use professional-grade CMMs in temperature-controlled environments to ensure accurate readings. Each critical dimension receives individual measurement with data analysis to verify manufacturing consistency. Medical device components require complete dimensional reports with full documentation and traceability to national standards.
Surface finish verification uses specialized tools that measure smoothness to very fine levels. Complex geometric requirements like flatness need multi-point measurement systems. Thread quality requires dedicated gauges or specialized measurement techniques to verify proper fit and function.
Quality inspection adds 15-25% to part cost for tight tolerance work versus 5-10% for standard parts. Complete inspection reports take 2-4 hours per part depending on complexity. Aerospace and medical applications often require detailed first-time inspection documentation covering every specification.
Inspection timing depends on tolerance requirements—standard parts can be checked during production, while tight tolerance parts often need dedicated measurement time after machining completion.
Design Takeaway: Plan for inspection requirements early in your project timeline and budget—professional measurement and documentation typically adds $50-150 per part depending on complexity and the level of documentation your industry requires.
How Can I Reduce CNC Costs Without Sacrificing Quality?
Apply tight tolerances only to functional features and use standard ±0.05 mm tolerances for non-critical dimensions—this approach can reduce machining costs by 40-60% while maintaining product performance. Focus precision requirements on parts that must fit together or move, while relaxing tolerances on decorative or non-functional areas.
Cost reduction strategies:
- Specify tight tolerances only where function requires it (holes that connect parts, sealing surfaces)
- Use standard tolerances for external surfaces and decorative features
- Choose easier-to-machine materials when possible
- Design with standard tool sizes and avoid overly complex shapes
A medical device housing we optimized dropped from $340 to $195 per part by changing non-functional exterior surfaces from tight to standard tolerances. An audio equipment faceplate reduced costs by 35% when we applied precision only to control holes and mounting points, leaving cosmetic areas at standard precision.
Simple design changes significantly impact cost—rounded internal corners machine faster than sharp ones. Avoiding features deeper than 4x their width prevents expensive specialized tooling. Standard hole sizes cost less than custom diameters requiring special tools.
Material choice affects both ease of machining and cost. Some aluminum grades machine quickly and hold tight tolerances reliably, while stainless steel requires slower cutting speeds and adds 40-60% to production time.
Design Takeaway: Reserve precision specifications for features that directly impact how your product works—applying standard tolerances to 80% of your part while maintaining tight control on 20% of critical features delivers the best cost-performance balance.
How Do I Balance Precision Requirements with My Budget?
Start with your project budget and work backward to determine which features truly need tight tolerances—most products function perfectly with precision applied to only 10-20% of their dimensions. Create a tolerance budget that prioritizes critical features while using cost-effective standard tolerances elsewhere.
Budget planning approach:
- Identify your total manufacturing budget first
- List features that absolutely must fit together precisely
- Apply tight tolerances only to those critical features
- Use standard tolerances for everything else to stay within budget
When planning your project, budget 2-4x higher costs for any feature requiring very tight tolerances. Many engineers over-specify precision “just to be safe,” but this can easily double your manufacturing budget. Start with relaxed tolerances during prototyping—you can always tighten specific dimensions later if testing shows it’s necessary.
A consumer electronics project saved 45% on manufacturing costs by questioning every tight tolerance during design review. They discovered that only connector cutouts actually needed precision—all other dimensions worked fine with standard tolerances.
Early budget discussions with manufacturing partners help identify where you can save money without compromising quality. Professional design reviews often reveal that assumed “critical” dimensions aren’t actually critical to product function.
Consider your industry requirements when budgeting—medical devices may justify higher precision costs for safety features, while consumer products can often use standard tolerances throughout most of the design.
Design Takeaway: Question every tight tolerance specification by asking “what happens to my product if this varies by ±0.1 mm?” and specify precision only when the answer reveals genuine performance or safety concerns that justify the extra cost.
Conclusion
Tolerances tighter than ±0.01 mm are often unnecessary for most components and can increase costs by 2-24x over standard precision. Reserve tight tolerances only for functional features impacting assembly, fit, or performance. Contact us to explore manufacturing solutions tailored to your product requirements and optimize precision specifications for cost-effective production.
Frequently Asked Questions
Ask “what happens if this dimension varies by ±0.1 mm?” If the answer is assembly problems, poor fit, or functional failure, then specify tight tolerances. Otherwise, use standard precision.
Start with standard ±0.05 mm tolerances during prototyping to reduce costs by 40-60%. Tighten only the dimensions that testing proves are critical to function or assembly.
Expect 2-3x longer lead times—standard parts ship in 5-7 days while tight tolerance parts need 10-14 days for careful machining and quality verification.
Contact manufacturers during early design phases for tolerance optimization advice. Early collaboration can identify cost-saving opportunities before finalizing drawings and specifications.
Yes, changing non-functional features from ±0.001″ to ±0.005″ can reduce part costs by 30-50% without affecting performance. Focus tight tolerances only on assembly-critical dimensions.
Tight tolerance parts (±0.001″) typically cost 3-4x more than standard tolerance parts (±0.005″). A $100 standard part becomes $300-400 with tight tolerances across critical features.
