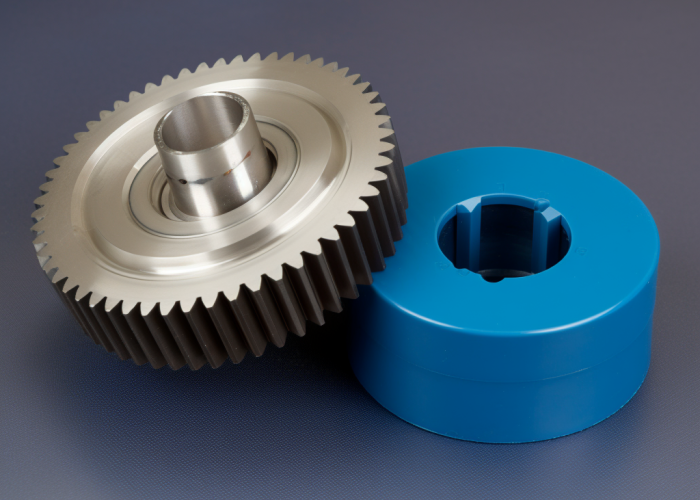
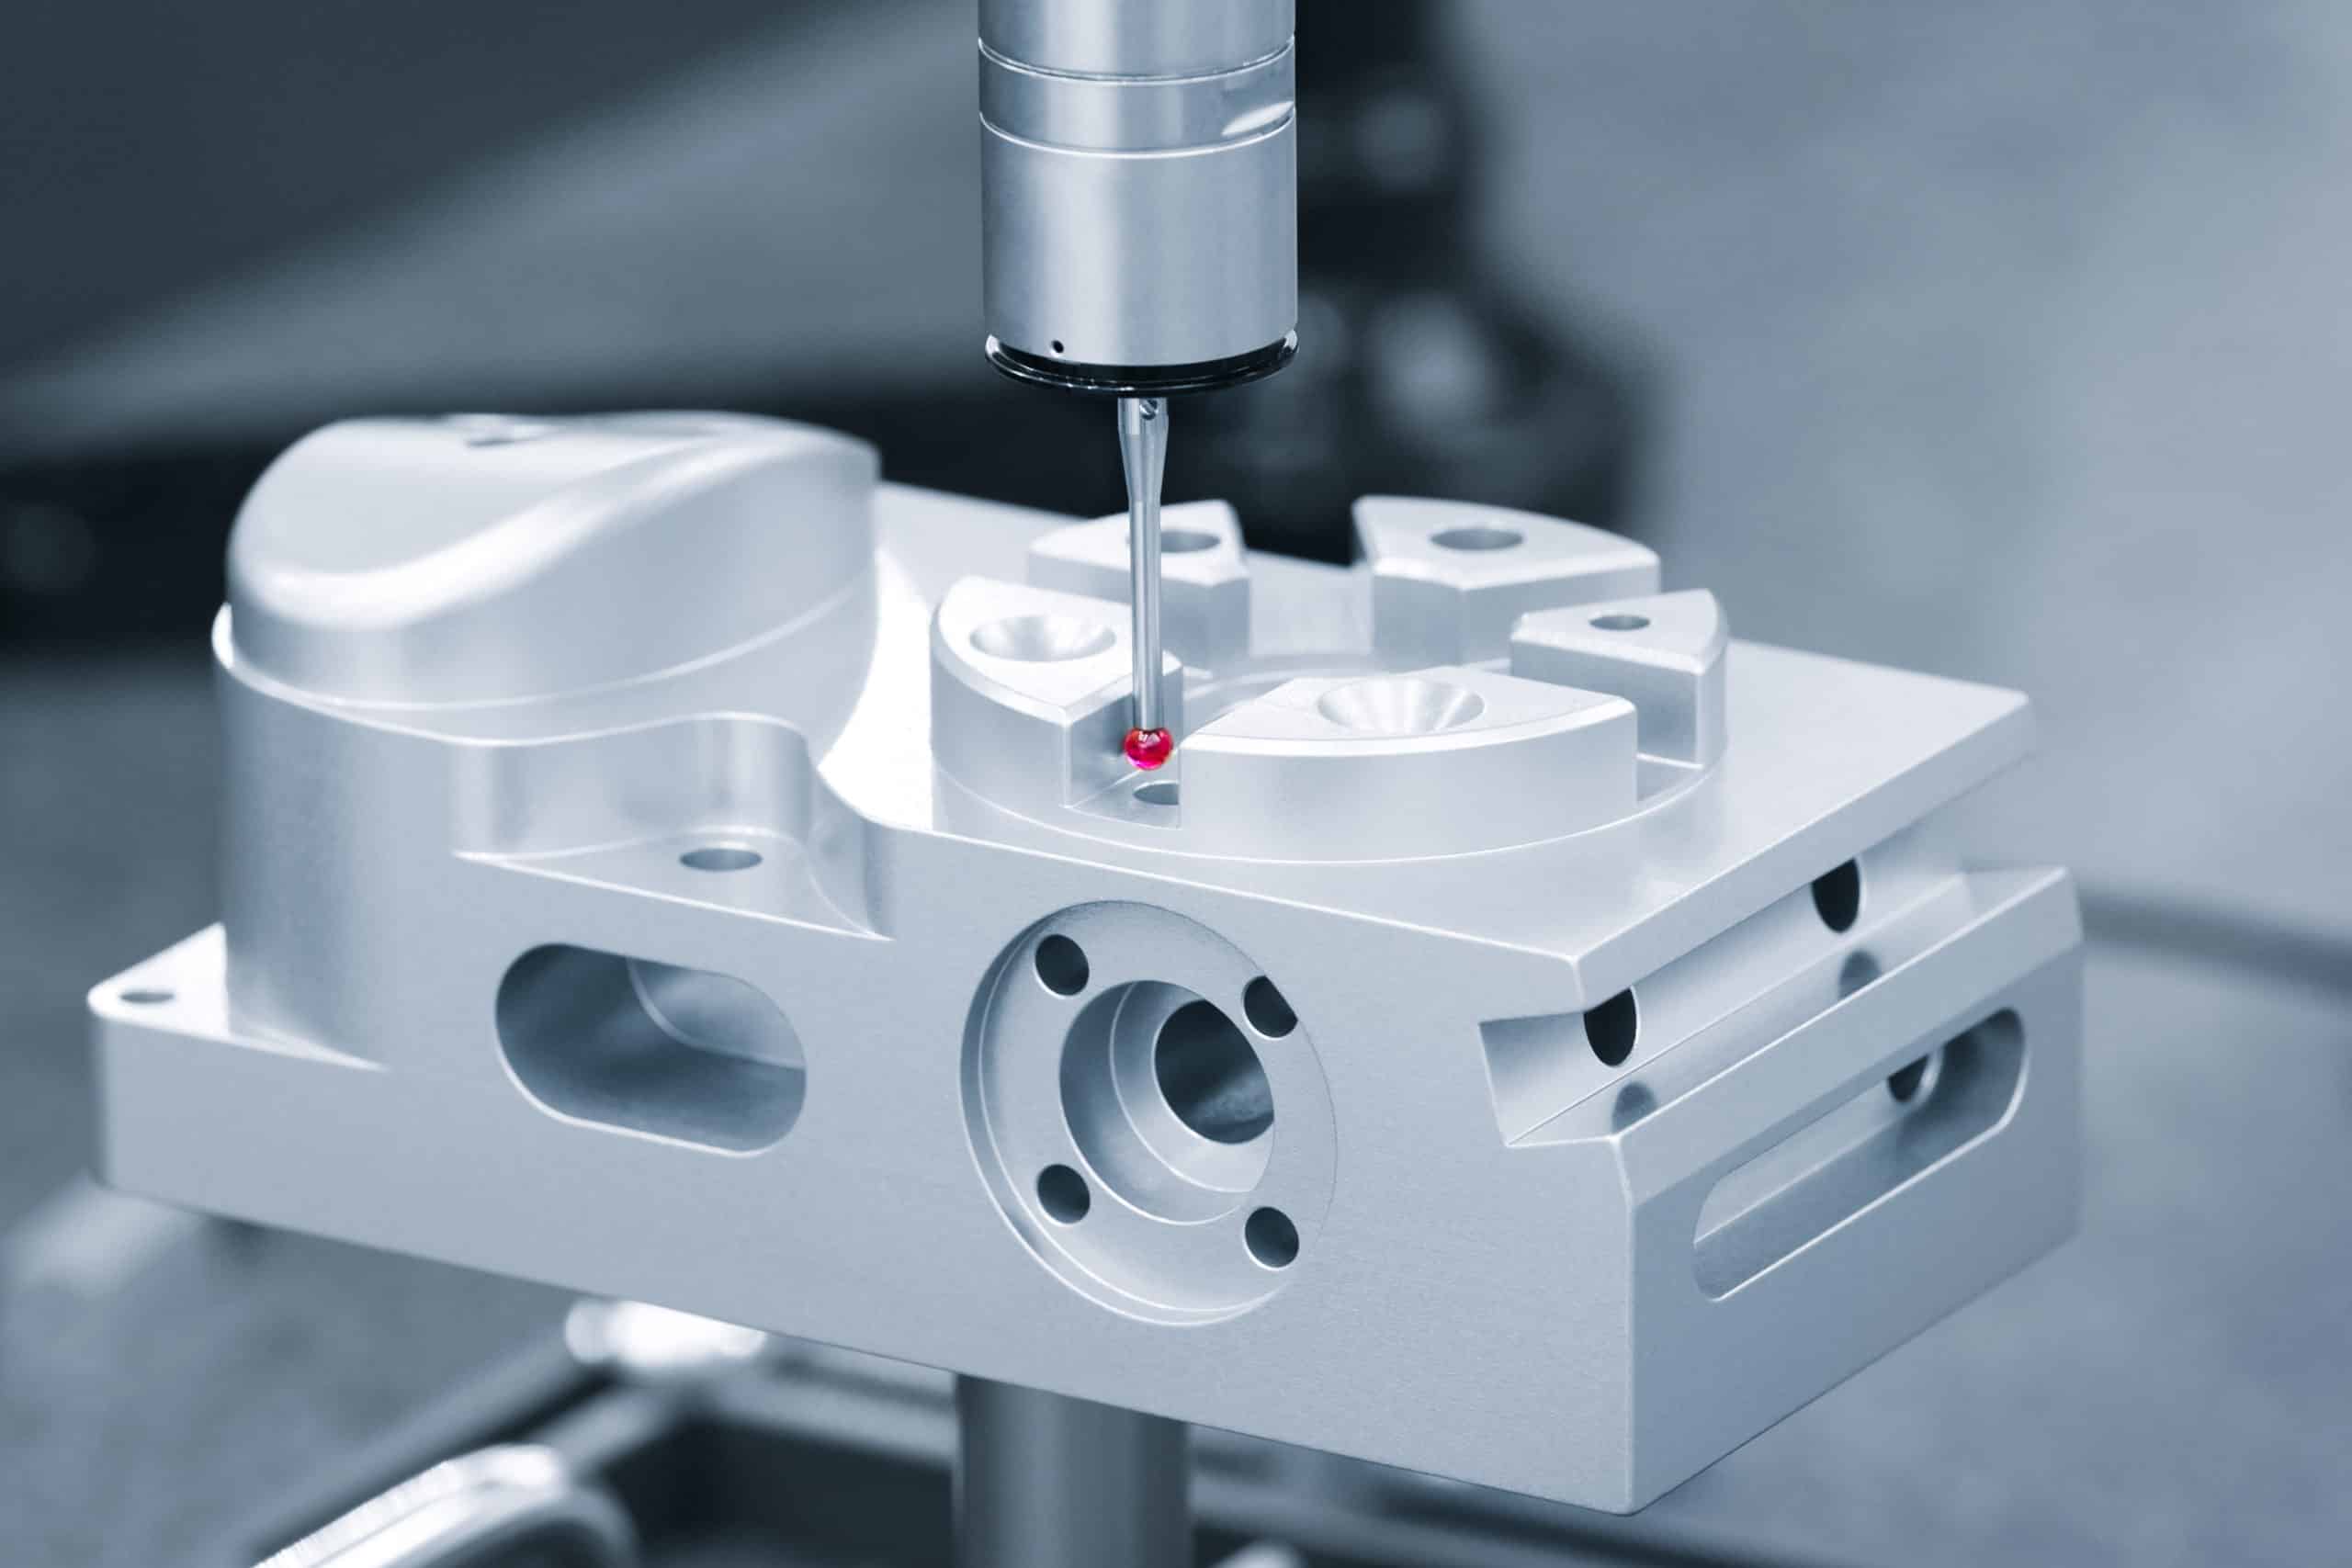
Your gear design ran quietly in simulation — but after machining, it buzzes or hums. The supplier blames “tolerance sensitivity,” even though everything passed inspection. That noise appeared after production, not in your design.
In most cases, noise reveals poor process control — tool wear, runout, or weak fixturing — not design error. A CMM report can’t hide misalignment or vibration from inconsistent setups.
Learn why quiet gear designs get noisy after machining, how to find root causes, and how switching to a capable gear shop restores silent performance.
Table of Contents
What Does Gear Noise Reveal About Supplier Process Control?
Gear noise after machining almost always means the supplier’s process is drifting, not your design. It exposes uncontrolled variation — runout, temperature, or alignment changes the shop failed to hold between setups. A gear that was quiet in design but hums after machining signals that repeatability, not geometry, has broken down.
Even tiny process shifts cause loud results. A 0.004 mm change in runout can raise vibration by more than 15 dB once the gear meshes under load. CMM readings may still appear “in spec,” yet static inspection can’t detect uneven tooth engagement. The issue lives in the cut, not the report.
Shops without logged spindle checks or climate control let tool wear or fixturing stress accumulate until noise appears at assembly. Reliable operations verify runout under load every shift and maintain temperature variation within ±1 °C — keeping accuracy stable through 48-hour continuous runs.
What to look for: ask for in-process runout data or temperature-stability records. Consistent readings (≤ 0.002 mm runout, ≤ 1 °C drift) show control; missing data means reactive inspection only.
Sourcing Takeaway:
If quiet parts turn noisy, you’re hearing process instability. Each hour spent re-testing noisy gears costs another shift of downtime — verify your supplier controls conditions during machining, not just measurements afterward.
Why Do Shops Blame “Design Tolerance” Instead of Fixing It?
Suppliers blame “tight tolerances” because it’s easier than admitting their process lacks capability. When noise appears, many say the print is “too strict,” but that’s an excuse masking thermal drift, tool wear, or weak setup discipline — all signs of a capability gap, not design overreach.
Typical job shops run aging spindles without growth compensation or skip tool-life monitoring. Scatter widens, Cp/Cpk drops below 1.33, and instead of recalibrating, they push blame onto the drawing. Capable operations treat ±0.01 mm tolerances as routine: they control environment, monitor tool deflection, and track performance data every batch. In one case, correcting a spindle offset of 0.003 mm cut gear noise by 20 %.
What to look for: when quoting, request process-capability data or control-chart evidence. Consistent Cp/Cpk > 1.33 shows genuine precision control; absence of data signals uncontrolled machining.
Every day spent debating “too tight” tolerances delays production and repeats noise. A qualified supplier proves control up front and maintains stability through 48-hour runs without drift — no excuses required.
Sourcing Takeaway:
If your supplier blames the print, the real issue is process maturity. Reliable machinists demonstrate tolerance capability with data before cutting, ensuring the next batch runs quietly instead of re-creating the same failure.
Is Tool Wear or Runout Behind Noise — or Poor Maintenance?
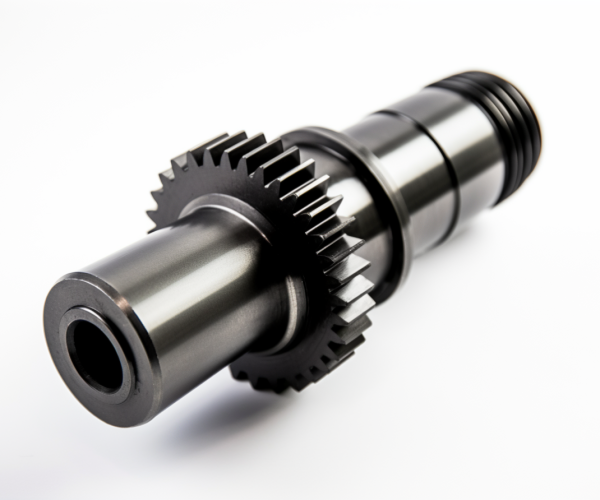
Most noisy gear failures trace back to runout growth from dull tools or neglected spindles. It starts small — vibration increases, surface finish degrades — and the problem shows up only after assembly. We’ve seen engineers lose entire testing weeks chasing “mystery noise” that was really uneven wear the supplier never monitored.
We control this by treating tooling as a precision system, not consumables. Every spindle is verified before production (≤ 0.002 mm under load). Tool balance is certified, and inserts are replaced proactively — usually every 30 hours of cut time or sooner if force deviation exceeds 5 %. Cutting-load and vibration logs run continuously, so any shift is corrected before it affects tooth geometry.
Typical job shops rely on post-process inspection. Once the part is off the machine, the damage is baked in. We catch it while cutting — maintaining form consistency across 48-hour continuous runs without geometry drift.
What to check: ask for tool-life or spindle-calibration records. If your supplier can’t show them, the next batch will sound just as loud.
Sourcing Takeaway:
Gear noise is the price of ignored maintenance. We prevent it through controlled tool-life tracking and spindle verification every run. If your project is already stuck with noisy parts, send one sample — we’ll re-cut and prove how stable tooling restores silence fast.
Suspect the noise isn’t your design?
Upload your drawing for a free manufacturability check — get verified feedback and a quote in 24 hours.
When Does Gear Noise Signal Poor Fixturing or Alignment?
If a gear hums even though it “meets spec,” the cause is often fixture distortion or alignment error. We’ve audited countless rejected batches that looked perfect on paper but were clamped under stress and released into misalignment after machining.
We design dedicated fixtures for every gear family. Each setup goes through load-simulation deflection testing before cutting, then re-tramming before every cycle. Alignment is maintained within 0.01 mm across multi-shift runs. That extra two hours of fixturing saves several days of rework and retesting.
Most shops skip this step to save time — using generic vices that flex under load. The result: a quiet design becomes a vibrating assembly. We build fixture validation into our schedule because stable support is the first requirement for stable sound.
What to check: ask your supplier if they perform loaded fixture verification. If not, alignment drift will repeat with every reorder — no matter how many tolerances they quote.
Sourcing Takeaway:
Noise caused by fixturing errors doesn’t fix itself. Our fixtures are tested under load and re-verified every setup, ensuring zero stress release after machining. And if your current batch already hums, we can re-inspect your fixture concept and show the correction path before you lose another week.
Even perfect fixturing means little if inspection ends at geometry — which leads to the next hidden cause.
Why Do Gears That Pass CMM Still Run Loud in Real Assemblies?
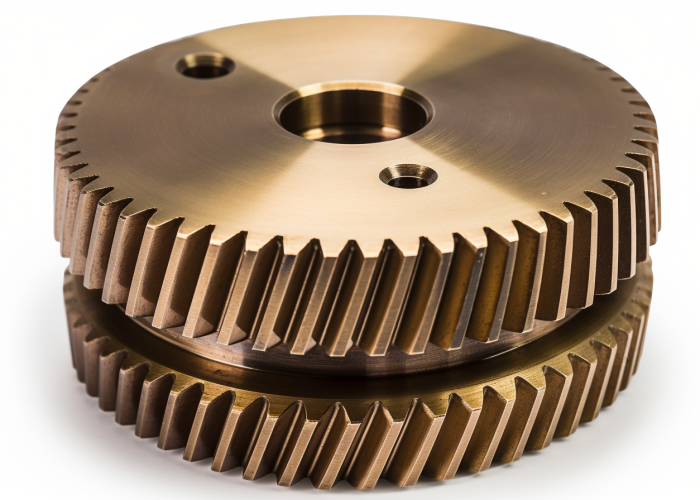
Passing CMM only proves geometry, not performance. Gears that measure perfect but scream on test rigs fail because static inspection ignores load behavior. We’ve seen teams waste test cycles on parts that were dimensionally flawless yet acoustically disastrous.
We combine CMM with functional testing under torque. Using single-flank and loaded-runout testers, we map real contact paths and verify flank centering through full rotation. Surface roughness and concentricity are confirmed under operating conditions. This adds about 30 minutes per batch — but it prevents days of debugging and unplanned retests.
Typical suppliers stop at dimensional checks because functional testers slow throughput. We build that time in. Quiet gears require data that proves performance, not just compliance.
What to check: ask your supplier whether they perform loaded contact-pattern validation. If the answer is no, “in-spec” parts will keep running loud.
Sourcing Takeaway:
CMM compliance doesn’t guarantee silence. We test under real running loads to confirm functional accuracy — so your next batch performs exactly as simulated. Send us one of your “passed but noisy” parts, and we’ll show you the functional data your previous supplier never measured.
Should You Rework Noisy Gears or Switch to a More Capable Shop?
If gears come back noisy, rework often feels safer than switching — but reworking rarely removes the root cause. Lapping or grinding may quiet vibration briefly, yet the same misalignment or stress distortion stays inside the part. We’ve seen teams spend weeks re-lapping parts that still failed their next test. Every rework cycle means another missed assembly window.
We handle rework differently. Our approach starts by remachining one sample using verified spindle alignment (≤ 0.002 mm) and controlled fixturing. When we replaced a customer’s re-lapped batch with a full re-cut under our process, measured noise dropped 15 dB — proof that geometry control, not polishing, fixes the problem.
Rework also wipes out traceability and changes case depth, risking tooth-contact failure later. Full re-machining under a controlled setup usually finishes faster — and costs less — than repeated touch-ups that never meet spec.
What to check: if your supplier proposes re-lapping without new process data, they’re guessing. Ask for runout and fixturing proof; if it’s missing, the next batch will sound the same.
Sourcing Takeaway:
When noise appears, switching to a capable gear shop is faster and safer than endless rework. We can re-machine one sample within 48 hours to confirm the fix — giving you data before committing to full production.
(Transition →) Once you decide switching beats rework, the next test is how fast a shop can actually recover performance.
How Fast Should a Shop Fix Gear Noise — and Why Most Can’t?
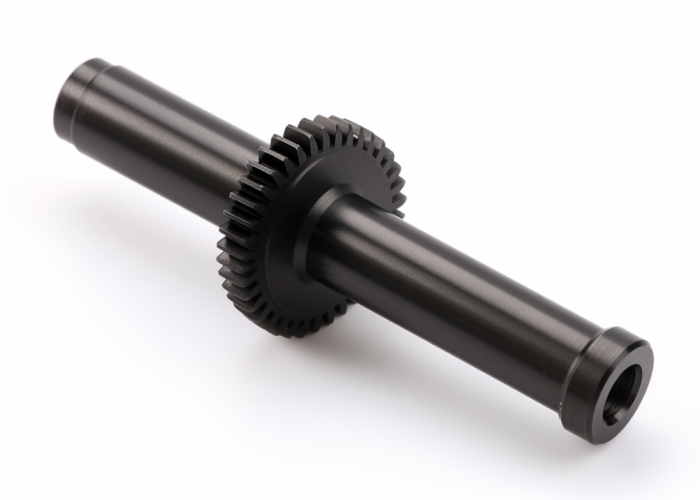
Most shops can’t fix noise quickly because they treat it as a quality problem instead of a process problem. They re-inspect, re-lap, and hope — losing another week while your schedule slips.
We treat noise recovery like containment. Within hours of receiving a failed sample, we map runout, contact pattern, and finish correlation. Our process data logs make root-cause isolation immediate: we know whether it’s tool wear, misalignment, or stress relief. That allows us to issue a corrective plan — often within one business day — and cut a verified replacement within 24-48 hours.
Typical job shops can’t match that speed. They rebuild setups from memory because their process data was never logged. Without that baseline, replication takes days. We maintain complete setup and calibration histories, so restoration starts immediately — not from scratch.
What to check: ask your supplier how long it takes to reproduce a prior setup. If the answer involves “starting over,” expect another delay.
Sourcing Takeaway:
A fast noise fix demands traceable setups and data. We can re-analyze and re-cut within 48 hours because our calibration history is recorded — not guessed. For hardened or case-carburized gears, new blanks may be needed; we’ll confirm that before cutting to protect your cost and lead time.
What Questions Reveal Whether a Shop Truly Controls Gear Accuracy?
You can spot process control before sending a PO — just ask the questions most shops avoid. Real capability is proven by data, not promises.
Ask these during quoting:
• What’s your verified runout tolerance under load? (expect ≤ 0.002 mm; higher = instability)
• How often do you calibrate fixturing and spindles? (every setup; “periodically” = red flag)
• Do you track Cp/Cpk on tight-tolerance gears? (target > 1.33; below 1 = uncontrolled)
• Can you show contact-pattern or loaded-runout tests? (no data = dimensional-only shop)
• What’s your typical turnaround for a re-cut correction? (expect 24-48 h; longer = no logged setups)
We answer these questions as part of every quote because engineers deserve proof, not guesswork. Quiet gears come from suppliers who measure everything — and show it without being asked.
Sourcing Takeaway:
A quiet result starts with the right questions. We share our process-control summary upfront so you can verify stability, not just price. If another shop hesitates on any of these answers, the noise you’re hearing now will return with your next batch.
⚙️ Quick Comparison: Typical Job Shop vs. Our Controlled Process
Process Factor | Typical Job Shop | Our Controlled Process |
Rework Approach | Surface touch-up / guess | Root-cause re-cut with data |
Diagnostic Speed | 3–7 days | 24–48 hours |
Setup Replication | Manual rebuild | Logged, traceable setup |
Proof Before Order | None | Single-piece verification cut |
Functional Testing | CMM only | Loaded runout + contact-pattern test |
In most cases, yes — we can recover warped parts without changing the CAD model. Success depends on whether the original datum references and fixture data are intact. When those are traceable, we can re-clamp, measure deformation, and correct flatness within spec instead of starting from scratch.
Most shops can’t do this because they never log offset or fixture coordinates. Once the part leaves the vise, recovery becomes guesswork. We’ve seen shops remove too much material trying to “eyeball” flatness, only to scrap 60 % of the lot.
Our recovery method is fully documented. We scan the surface, locate the original datums, and remove microns per pass until deviation stabilizes. On a recent 6061 plate run, parts warped 0.3 mm were restored to 0.02 mm flatness within 48 hours, costing 35 % of a new run. No redesign, no new approval cycle.
Action Insight: When your supplier proposes a redesign, ask for their recovery plan. If they can’t show fixture logs or coordinate checks, they’re guessing. We retain all setup data so we can correct parts quickly and get you back on schedule within two days.
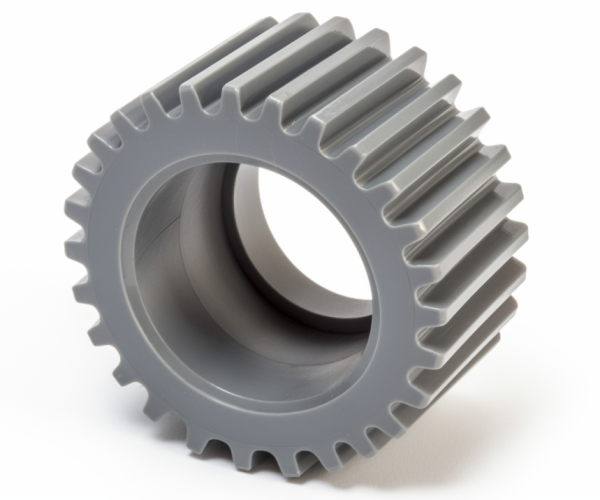
How Do Reliable Gear Machinists Prevent Noise Before It Starts?
We know how frustrating it is when a gear that should be silent starts humming after machining. Reliable machinists prevent that by stabilizing every variable before production begins, not chasing noise afterward.
Our process validation starts with simulation of tool deflection, spindle load, and fixture stress. Each setup is verified on test blanks; spindle balance and temperature stability (±1 °C) are logged before the first production cut. Tool paths are locked, and inspection points are pre-mapped so no operator “adjustment” shifts the geometry mid-run.
Most shops skip validation to save setup time — and that’s why their results drift from batch to batch. We invest those extra few hours up front so every run repeats the same contact pattern. In one test batch, a 0.003 mm alignment change raised noise by 10 dB; since adopting validation runs, that deviation has dropped to near zero.
What to check: ask whether your supplier performs pre-production validation or cuts directly from CAM. No validation = unpredictable results.
Sourcing Takeaway:
We prevent noise before it starts through controlled environments and verified setups. If you’re already fighting noise, we can prove it on one verification cut using your current blank — no need to restart production. You’ll see the difference before committing to a full order.
What Does Quiet Gear Performance Look Like — and How to Verify It?
You’ve probably experienced it — a gear that measures perfect but screams on the bench. Quiet performance isn’t a guess; it’s verified through dynamic testing that proves geometry behaves under real load.
Every production lot runs through loaded-runout, vibration, and contact-pattern tests. A properly quiet gear reads below 60 dB at rated torque with single-flank deviation under 6 µm. These numbers confirm both dimensional and functional accuracy.
Most shops stop at CMM because functional testers slow them down. We build that time in — about 30 minutes per batch — to save you days of debugging later. If variation appears, we trace it to the exact cause before shipment.
What to check: ask for vibration or loaded-runout data with your next quote. Absence of this data means the supplier is only measuring geometry, not real-world performance.
Sourcing Takeaway:
We understand how stressful failed noise tests can be. That’s why we supply dynamic test data with every batch — proof your design runs as quietly as it measures. And if you’d like to confirm before switching, we can test one of your existing “passed-but-noisy” gears under our load rig and show the performance gap within 24 hours.
Conclusion
Supplier noise problems rarely come from design — they come from uncontrolled machining. Okdor eliminates that variation with verified setups, functional testing, and 48-hour recovery capability. Don’t waste another week reworking noisy parts — upload your rejected drawings today for a free manufacturability assessment and revised quote within 24 hours.
Frequently Asked Questions
Reliable shops quote from verified capacity, not guesses. We provide milestone updates every two days and add overtime when needed. Typical lead times: prototypes in 48 hours, production runs in 5–7 days — preventing missed deliveries caused by overbooked or underplanned suppliers.
Yes — when the supplier has logged processes and verified setups. We don’t rework semi-finished parts, but we can quote and restart from your drawings or sample within 48 hours. This approach avoids uncertainty and keeps your timeline intact after supplier failure.
Capable suppliers provide data — not promises. Every Okdor shipment includes CMM, surface-finish, and functional test reports under ISO 2768 and AS9100 traceability. We verify gears under real load to confirm quiet, accurate performance before shipping — preventing post-assembly surprises.
When a batch fails testing, time is critical. Upload your drawing and inspection report — we’ll identify the root cause and issue a revised quote within 24 hours. Restarting production immediately is usually faster and cheaper than attempting rework that can’t meet tolerance or noise targets.
Many shops add risk markup for tight tolerances or unfamiliar materials. We price using documented process data — verified tooling, setup, and inspection times — so quotes stay consistent. Expect transparent cost breakdowns and fixed pricing valid for 14 days with no hidden premiums.
